pongbot-official-partner-webtennis24

First AI Tennis Robot

use code WT24 for a 5% discount
No Backswing, No Problem: The Drill to Fix Your Tennis Volley!

No Backswing, No Problem: The Drill to Fix Your Tennis Volley!


How to Teach the No-Backswing Tennis Volley

The no-backswing tennis volley lesson is a game-changer for beginning and intermediate players. Players can make early contact with the ball by keeping the racket in front of their shoulders, resulting in cleaner and more consistent volleys.
This blog post will delve into the essential drills and techniques to help you learn this important skill.

Table of Contents

Introduction to “No-Backswing Tennis Volley”

I emphasize the importance of avoiding a backswing when teaching the volley, especially to beginners.
The entire volley stroke should happen in front of the player’s shoulder, whether they are hitting a forehand or backhand.
Keeping the racket from going behind the line of their shoulders is crucial for developing proper technique.
This approach helps players make better contact with the ball and improves their overall consistency.

Fence Drill Description

To help players grasp the concept of the no-backswing volley, I use a simple drill where they stand with their backs against a fence (watch the video above for more details). This drill reinforces the idea that the racket should not touch the back fence during the stroke.
Here’s how it works:

  • Players start in a ready position with their backs against the fence.
  • They practice volleying, ensuring that their racket does not touch the back fence.
  • The focus is on keeping everything in front of their shoulders while stepping into the ball.

As they practice this drill, I remind them to think of the volley as a push rather than a punch. This helps them understand the importance of maintaining a stable racket head and controlling their shot.

Fence Drill Practice

Once players understand the drill, it’s time to practice. I often set up my two daughters, Bianca and Cezara, to demonstrate. They stand with their backs against the fence, ready to volley.
First, I guide them through a series of forehand and backhand shadow volleys, emphasizing the importance of not hitting the fence behind them.

During practice, I encourage them to:

  • Set up in the ready position.
  • Step into the ball with their racket heads up.
  • Maintain their racket in front of their shoulders.

For instance, when they practice their forehand volley, I might say, “Get ready, Bianca. Set, push!” This straightforward instruction helps them focus on the action without overthinking the mechanics.
As they practice, I remind them that the goal is to keep their racket head stable and avoid bringing it too far back.

Practice at the Net / No-Backswing Tennis Volley

After the fence drill, it’s time to move to the net.
I remind my daughters to visualize the fence still behind them as they continue practicing their volleys. The key is to ensure that everything happens in front of their shoulders.
I guide them through a series of forehand and backhand volleys, emphasizing the same principles from the fence drill.

In this setting, I instruct them to:

  • Get set and push the ball with their racket.
  • Maintain a stable racket head without swinging back.
  • Focus on making early contact with the ball.

As they volley, I encourage them to think about the push rather than a swing. I often say, “Imagine you still have the fence behind you. Everything happens in front!” This mental cue helps them stay consistent and focused on their technique.

Final Tips

As with any tennis skill, mastering the no-backswing volley takes time and practice. Here are some final tips to help you improve your technique:

  • Stay Relaxed: Tension can lead to mistakes. Keep your grip relaxed to allow for better racket control.
  • Focus on Timing: Early contact is key. Anticipate the ball’s arrival and position yourself accordingly.
  • Keep Practicing: Consistency comes with repetition. Regular practice will help solidify your technique.

Remember, the goal is to keep everything happening in front of your shoulders, which will not only improve your volleys but also enhance your overall game.

no-backswing tennis volley / coaching lesson

F.A.Q.

What is a no-backswing volley?

A no-backswing volley is a technique where the player keeps the racket in front of their shoulders, avoiding any significant backswing. This approach allows for quicker and more controlled volleys.

Why is it important to avoid a backswing?

Avoiding a backswing helps players make early contact with the ball, resulting in more consistent and accurate volleys. It also reduces the risk of mishitting the ball.

How can I practice the no-backswing volley?

Start with the fence drill, where you practice volleying with your back against a fence. Then, transition to practicing at the net, keeping the same principles in mind.

Can beginners use this technique?

Absolutely! The no-backswing volley technique is beneficial for players of all levels, including beginners. It helps establish a solid foundation for effective volleying.

Are there any drills to improve my volleying skills?

Yes! In addition to the fence drill, practicing with a partner at the net, focusing on keeping your racket in front, is an excellent way to improve your volleying skills.

For more tennis drills and lessons, feel free to check out Cosmin’s Tennis Training for valuable resources and tips.


Cosmin Miholca

Cosmin Miholca

Certified Tennis Coach

Ready to improve your tennis further?
Let’s get started!

7 Steps to Fix the Waiter’s Serve in Tennis

7 Steps to Fix the Waiter’s Serve in Tennis


How to Fix the Waiter’s Serve in Tennis

If you’ve been struggling with the waiter’s serve in tennis, you’re not alone. Many players face this technical flaw, but with the right guidance, it can be fixed!

In this blog post, we will break down the 7 steps to correct the waiter’s serve, focusing on the two major components that need fixing: the racquet back-drop, and the swing up to meet the ball. Let’s dive in!

Table of Contents

The 2 Major Components to Be Fixed

The first step in fixing the waiter’s serve is understanding the two major components that lead to this common issue.
The waiter’s serve typically features an open racket face as it swings towards the ball. This is often due to two main errors:

  • Wrist Position: Players often lay back their wrists too much in the trophy position, which opens the racket face prematurely.
  • Swing Path: Players tend to open the racket face too early.

To correct these flaws, we need to focus on the wrist position and the swing path during the serve (watch the video above for visual details).

The Proper Serve Grip

Before diving into the steps, let’s talk about the grip.
For a proper serve, you should use a continental grip. To achieve this grip, slide down towards the bottom of the grip, holding the racket as if you were hammering a nail with the edge of it.
Getting the grip right is crucial as it sets the foundation for your serve technique.

Step #1: Swing Up with the Edge

The first drill focuses on getting the player accustomed to swinging up with the edge of the racket. Here’s how to do it:

  1. Stand close to a fence with a windscreen.
  2. Hold the racket with a continental grip behind your back, palm inward.
  3. Practice swinging up towards the fence with the edge of the racket and tapping it.

Repeat this exercise at least 10 times to build a habit of swinging up with the edge.

Step #2: Swing Up & Pronate

Once you’re comfortable with the first step, it’s time to incorporate pronation into your swing. Here’s how:

  1. Begin with the racket behind your back, palm inward, as in the previous step.
  2. After swinging up towards the fence with the edge, turn your wrist inward just before making contact. This motion is called pronation.

Practice this sequence multiple times until it feels natural.

Step #3: Tap the Ball with the Edge

Now, let’s add a ball into the mix. Here’s how to practice:

  1. Stand just behind the service line to resist the temptation of swinging too hard.
  2. Hold the racket in the continental grip behind your back, palm inward.
  3. Toss the ball and swing up, trying to tap it with the edge of the racket.

Focus on the motion rather than the impact at first. Aim for at least 10 repetitions.

Step #4: Swing Up, Pronate & Contact

In this step, you’ll combine everything you’ve learned so far:

  1. Start with the racket behind your back and swing up towards the ball with the edge.
  2. Just before making contact, pronate your wrist inward.
  3. Focus on making contact without worrying about the follow-through.

This step is crucial for developing the right technique without falling back into old habits.

Step #5: Serve Backswing & Proper Racquet Back-Drop

Now, let’s introduce the backswing:

  1. Position yourself sideways to a fence, holding the racket with a continental grip.
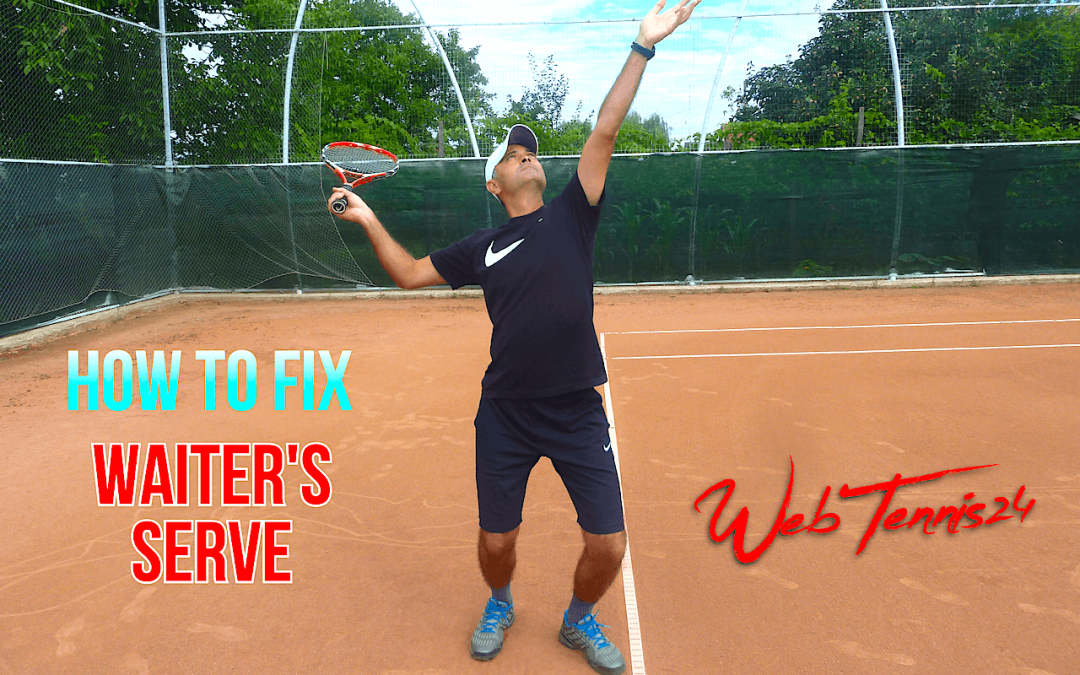
  2. Get into the trophy pose and let the racket drop between the V made by your thumb and index finger (watch the video above for a visual demonstration).
  3. From here, swing up towards the fence with the edge, pronating just before contact.

This step integrates the backswing into your serve motion.

Step #6: Correct Racquet Back-Drop Test

To ensure you’re executing the backswing correctly:

  1. Stand about 2 feet from a fence with your back facing it.
  2. Get into the serve-ready position and practice shadow serves.
  3. Make sure the racket drops behind your back between your fingers and swings up without hitting the fence.

This drill provides immediate feedback on your technique.

Step #7: Full Serve Swing with Correct Technique

Finally, it’s time to put everything together into a full serve:

  1. Position yourself close to the service line.
  2. Hold a basket of balls nearby.
  3. Focus on the steps we practiced: trophy pose, drop the racket behind your back, swing up with the edge, pronate before contact, and follow through.

Perform this slowly, emphasizing each step to build muscle memory.

Final Tips

As you work on fixing your waiter’s serve, keep these tips in mind:

  • Be patient! Breaking old habits takes time and practice.
  • Consider having someone watch you to provide feedback on your technique.
  • Practice consistently to build confidence and improve your serve.

With dedication, you’ll develop a more powerful and effective serve in no time!

waiter's serve tennis fix

FAQ

What is the waiter’s serve in tennis?

The waiter’s serve is a common technical flaw where the racket face is open during the swing, leading to inconsistent contact with the ball.

How can I improve my serve grip?

To improve your serve grip, practice holding the racket with a continental grip and ensure the V between your thumb and index finger is positioned on the edge of the racket.

How often should I practice these drills?

Practice these drills regularly, aiming for at least two sessions each week to reinforce the correct technique and build muscle memory.

Where can I find more tennis drills and tips?

You can explore more tennis drills and tips at WebTennis24, a great resource for players and coaches alike.

Can I get personalized help with my serve?

Yes! Consider reaching out to a local coach or visiting the WebTennis24 Training for a vast collection of technique lessons, drills and tips to improve your serve!


Cosmin Miholca

Cosmin Miholca

Certified Tennis Coach

Ready to improve your tennis further?
Let’s get started!

Essential Tennis Tactics: Footwork & Shot Selection from Baseline

Essential Tennis Tactics: Footwork & Shot Selection from Baseline


Tennis Footwork Tactics: Mastering Movement from the Baseline

When it comes to excelling in tennis, mastering your footwork is just as crucial as perfecting your strokes.
Moving around the court can dramatically affect your game, especially from the baseline.
In this blog, we’ll dive into effective tennis tactics, focusing on how to enhance your movement, shot selection, recovery footwork techniques, and drills to improve your overall court coverage.

Tennis Footwork Tactics from Baseline

Footwork is often the unsung hero of tennis. While players might focus on the power of their shots or the accuracy of their serves, the ability to move efficiently and quickly around the court can make or break a match.
From the baseline, your footwork dictates how well you can position yourself for each shot, how quickly you can recover, and ultimately how effectively you can control the game.
Understanding where to move after hitting the ball is a fundamental aspect of tennis footwork tactics.

Shot Selection & Court Coverage from Baseline

One of the first elements to consider is shot selection and how it influences your court coverage.
Every time you hit the ball, you need to be aware of the possible responses from your opponent.
If you choose to hit the ball down the line, you are opening yourself up to more running, as your opponent can return the shot crosscourt. This means you must be prepared to cover a larger area of the court.

In contrast, hitting the ball crosscourt generally requires less energy for recovery.
When you hit crosscourt, your opponent tends to have fewer angles to exploit, allowing you to recover to a more advantageous position.
For example, if you hit a crosscourt shot, your recovery can be to a closer spot, saving energy and better positioning you for the next shot (see the video above).

To effectively cover the court, you should always position yourself halfway between your opponent’s possible angles. This requires good anticipation and an understanding of your opponent’s tendencies.
The goal is to minimize the distance you need to cover after each shot.

Energy Management

Energy management is a crucial aspect of shot selection.
When you hit down the line, you must be prepared for a more strenuous recovery.
By hitting crosscourt more often, you can conserve energy and maintain better positioning for the next shot. This strategic decision-making plays a significant role in your overall performance.

Recovery Footwork Technique Explained

Recovery footwork is essential in tennis. After every shot, how you position yourself for the next ball can determine your effectiveness.
A common technique involves using a combination of crossover steps and shuffling.
When you hit the ball, your initial recovery step should be a crossover, which allows for quicker repositioning.
Following that, shuffle steps can help you adjust your position based on your opponent’s return.

For instance, after hitting a down-the-line shot, you may need to use two crossover steps followed by shuffle steps to get into position for the next ball.
This technique enables you to bounce back into the game quickly, maintaining your momentum and readiness for whatever comes next.

Practical Application

When practicing recovery footwork, it’s essential to focus on maintaining a low center of gravity and being ready to push off in any direction. This will not only improve your footwork but also enhance your overall agility on the court.
A well-executed recovery will keep you in control of the rally and allow you to dictate play.

Drills: Groundstroke Placement & Recovery Footwork

To truly master tennis footwork tactics, you need to incorporate specific drills into your training routine.
Here are some effective drills to enhance your groundstroke placement and recovery footwork:

  • Crosscourt and Down-the-Line Drill: Begin by hitting crosscourt shots and then follow up with a down-the-line shot. Focus on your recovery footwork, using crossover steps to reposition quickly.
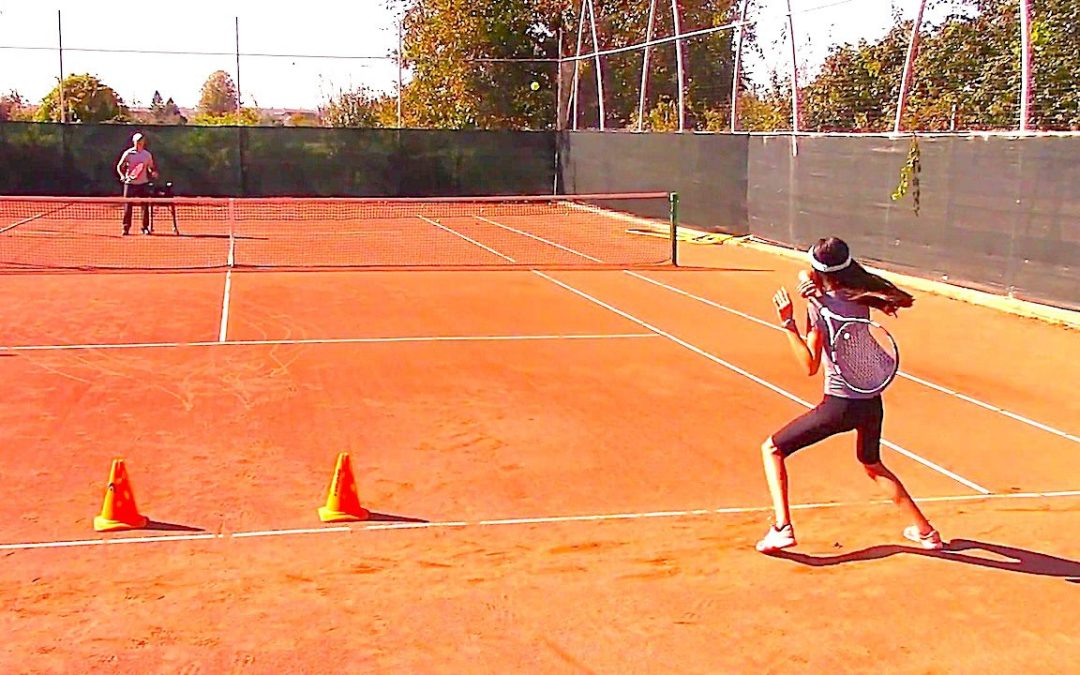
  • Cone Recovery Drill: Set up cones on the baseline to represent recovery areas (see the video above). After hitting your shot, practice moving to the correct cone using the proper footwork techniques. This will help reinforce your body’s natural movement patterns.
  • Shadow Footwork Drill: Without any balls, practice your footwork by mimicking the movements you would make during a rally. Focus on your crossover steps and shuffles, ensuring fluidity and speed.

By regularly incorporating these drills, you will not only improve your footwork but also enhance your overall performance on the court.
Consistency is key; the more you practice, the more natural these movements will become.

Tennis Coaching Footwork from the Baseline

FAQ

What is the importance of footwork in tennis?

Footwork is crucial in tennis as it determines how effectively you can position yourself for shots, recover after hitting, and respond to your opponent’s plays. Good footwork allows for better balance, quicker movement, and improved shot execution.

How can I improve my tennis footwork?

Improving footwork can be achieved through targeted drills that focus on recovery techniques, agility exercises, and practicing shot selection. Regular practice and incorporating footwork into your training routines will enhance your movement on the court.

How does shot selection affect my footwork?

Shot selection directly affects footwork because different shots require different movements. Hitting down the line typically requires more energy and movement than hitting crosscourt, which can affect how quickly you can recover and prepare for the next shot.

Where can I find more resources on tennis footwork tactics?

For more information on tennis footwork tactics, check out WebTennis24, which offers a wealth of resources on techniques, drills, and strategies to enhance your game.

By understanding these tennis footwork tactics and incorporating them into your practice, you will be well on your way to becoming a more agile and effective player on the court.
Whether you’re a beginner or a seasoned player, there’s always room for improvement!


Cosmin Miholca

Cosmin Miholca

Certified Tennis Coach

Ready to improve your tennis further?
Let’s get started!

Fix Your Contact Point with These 2 Tennis Drills

Fix Your Contact Point with These 2 Tennis Drills


Contact Point Tennis Drills

When it comes to improving your tennis game, focusing on the contact point is crucial.
It’s the moment where your racket meets the ball, and mastering this can significantly enhance your shot execution.

In this blog post, we’ll explore effective contact point tennis drills designed to help you or your students achieve better timing and consistency on the court. Let’s dive in!

Table of Contents

Intro to “Contact Point Tennis Drills”

One of the common challenges coaches face when teaching beginner players is the inconsistency of their contact point.
Players often hit the ball either too far in front or too far back, leading to poor shot execution. Understanding where the racket and ball should meet is essential for developing a solid foundation in tennis.
This post will cover two key drills that can help players learn to establish a consistent contact point.

Drill #1: Catch the Ball Out in Front

The first drill is simple yet effective. It helps players understand where the contact point should be by catching the ball out in front of their body.

  • Step 1: Begin by positioning your student at the service line, facing sideways as if preparing for a forehand.
  • Step 2: Toss a ball to your student, instructing them to catch it with their non-dominant hand after it bounces. This helps them recognize the ideal contact point.
  • Step 3: Once they catch the ball, ask them to freeze in that position. This moment of pause allows them to visualize where the ball should meet the racket.
  • Step 4: After freezing, instruct them to drop the ball and take a forehand swing. They should aim to make contact in the same position where they caught the ball.

This drill reinforces the concept that the ball should be contacted out in front of the body, not too close or too far away.
Encourage your student to repeat this process multiple times to build muscle memory.

Drill #2: Contact and Follow-Through

The second drill focuses on establishing the correct racket position at the point of contact and emphasizing the follow-through.

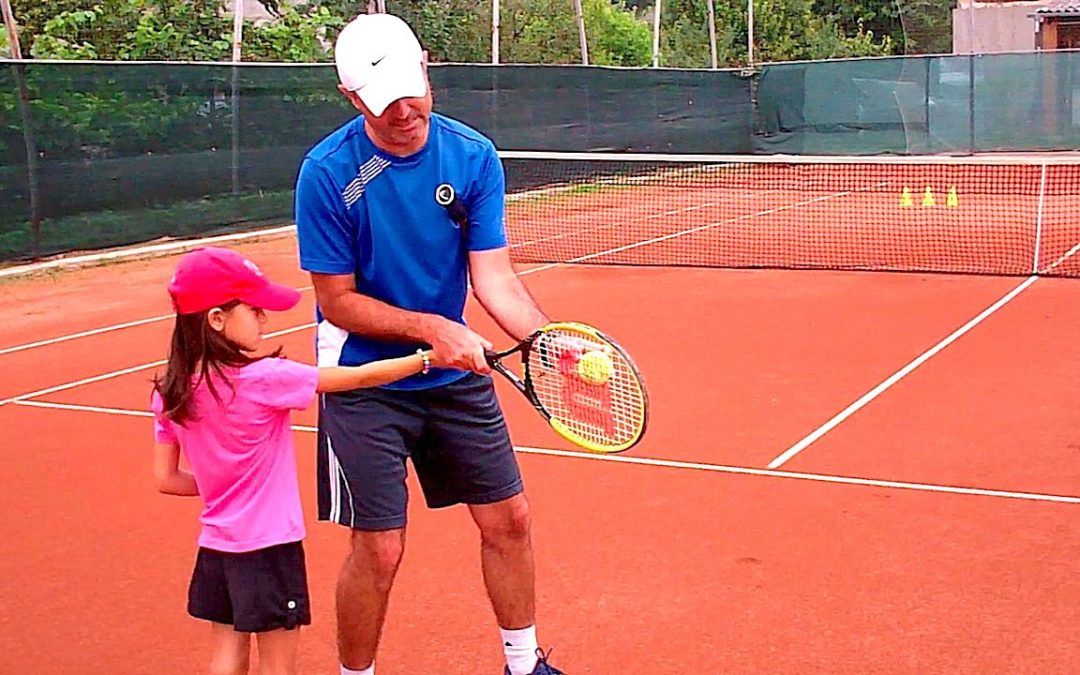
  • Step 1: Have your student stand with their racket in the position they would use to make contact with the ball. This position should mirror where they caught the ball in the previous drill.
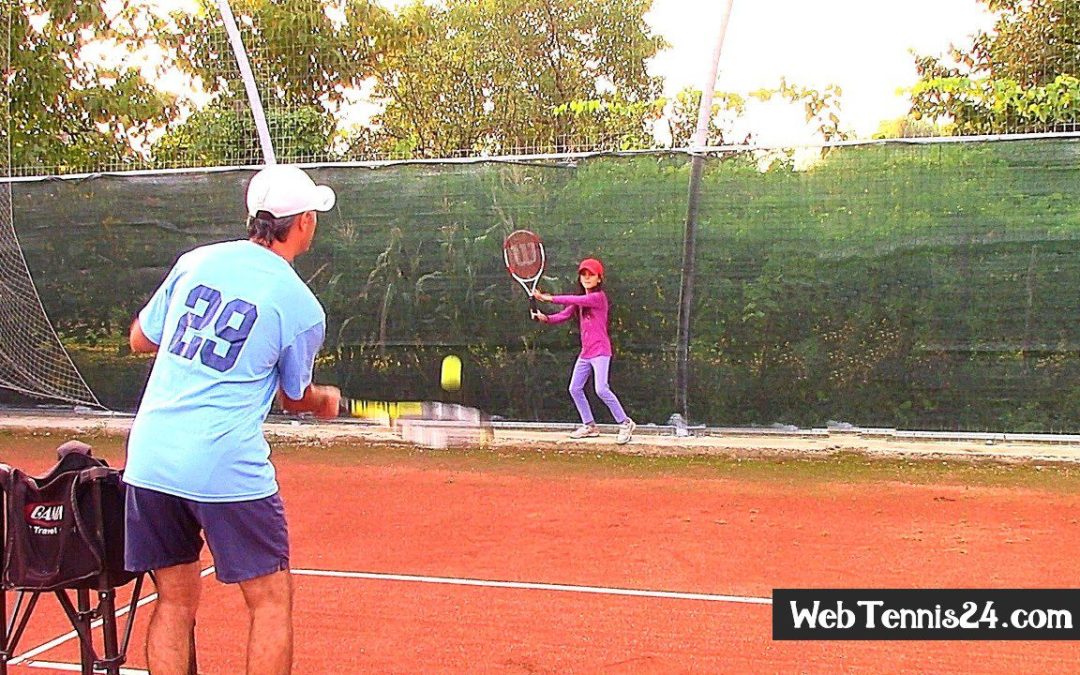
  • Step 2: Toss the ball to them again, instructing them to push through the ball and follow through without taking the racket back. This reinforces the importance of the contact point.
  • Step 3: Encourage them to push and follow through with acceleration, focusing on a long finish.
  • Step 4: Repeat the process several times, ensuring they maintain the correct contact point each time.

This drill emphasizes the importance of contact and follow-through without complicating the swing mechanics. It allows players to focus solely on where the racket meets the ball.

Practice the Optimal Point of Contact

After practicing the first two drills, it’s time to incorporate full swings into the training.
By now, your student should have a better understanding of the optimal contact point.
Here’s how you can proceed:

  • Step 1: Have your student get into their ready position and prepare for a full forehand swing.
  • Step 2: Feed them balls at varying speeds and heights, encouraging them to focus on making contact at the optimal point.
  • Step 3: If they struggle with timing or contact point, revert to the previous drills to reinforce the concepts.

It’s essential to keep the drills engaging and progressive. As players become more comfortable with their contact point, they can begin to experiment with different shots and spins.

tennis coaching / contact point fix

Frequently Asked Questions (FAQ)

Why is the contact point important in tennis?

The contact point is crucial because it determines the quality of your shot. Hitting the ball at the optimal point allows for better control, power, and accuracy.

How can I improve my contact point consistency?

Practicing drills that emphasize catching and making contact with the ball out in front can help. Repetition is key to developing muscle memory and consistency.

What should I do if I’m still struggling with my contact point?

If you continue to struggle, revisit the basic drills. Consider working with a coach for personalized feedback and adjustments to your technique.

Are these drills suitable for all skill levels?

Yes! These drills can be adapted for beginners and intermediate players. The key is to focus on the fundamentals and gradually introduce complexity as players improve.

Where can I find more resources on tennis drills?

For additional tennis drills and tips, you can check out resources like the Ultimate Tennis Practice for 2 Players.

By focusing on the contact point through these drills, you’ll be well on your way to improving your game. Remember, consistency comes with practice, so keep hitting the courts! Happy training!


Cosmin Miholca

Cosmin Miholca

Certified Tennis Coach

Ready to improve your tennis further?
Let’s get started!

The 4 Tennis Coaches Who Shaped My Game

The 4 Tennis Coaches Who Shaped My Game

two tennis players at the net

In a recent conversation with one of my tennis clients, she asked me which coach had the biggest impact on my career. As I reflected on my journey, I realized that four key coaches shaped my tennis development, each influencing me in different ways.

Starting Late, But Learning Fast

Many say that if you want to be great at tennis, you need to start young. By that standard, I was late to the game, picking up my first racket at age 12. But what I lacked in an early start, I made up for with intensity and dedication – thanks to my first coach: my father.

My father wasn’t a trained tennis coach. In fact, he didn’t know much about coaching tennis at all. His approach was rough and unrefined, but he instilled in my brother and me the discipline and perseverance needed to push forward. That foundation, though unconventional, proved invaluable.

A Young Coach with Big Ambitions

My second coach was a young sports teacher fresh out of college, eager to make a name for himself in our town. He was excellent at introducing kids to the game and fostering their initial love for tennis. However, by the time I was 14, I had outgrown his guidance. When I won a match against him, I took it as a sign that I needed to seek a new challenge.

Boarding School and the Two Mentors

High school marked a pivotal period in my tennis journey. My parents sent me to a boarding school with a rigorous tennis program. There, I trained under two remarkable coaches, each bringing unique strengths to my development.

  1. The Philosopher-Coach – This coach emphasized the mental side of the game. He encouraged us to think critically about our decisions on the court and how they mirrored life’s choices. Our conversations after practice were as enriching as our training sessions. He helped me see tennis as more than just a sport – it was a game of strategy, patience, and self-awareness.
  2. The Technician – Later in high school, I trained under a coach who, though socially awkward, was an exceptional player. Watching him play was mesmerizing – his strokes were fluid, his footwork effortless. He made tennis look easy, and his ability to demonstrate skills so clearly helped me refine my technique tremendously.

Beyond Coaching: A Lifelong Passion

After high school, I took a break from tennis during college. When I picked it back up, I immersed myself in learning – watching videos, studying online, and following mentors. My passion for improving and sharing knowledge eventually led me to create WebTennis24, a platform where players and coaches can access everything I’ve learned about the game.

Sharing My Knowledge with Others

Today, WebTennis24 offers three core membership programs:

Who Shaped Your Tennis Journey?

Looking back, each of my coaches played a crucial role in my growth, whether through discipline, motivation, deep thinking, or technical mastery.

But now, I’d love to hear from you:

How many coaches have you had, and was there one who made a significant impact on your game?

Share your story in the comments below – I’d love to hear about your journey!

Until next time, keep improving and enjoying the game!


Cosmin Miholca

Cosmin Miholca

Certified Tennis Coach

Ready to improve your tennis further?
Let’s get started!

Tennis Coaches: Boost Client Loyalty with These 2 Tips

Tennis Coaches: Boost Client Loyalty with These 2 Tips

Hey there, tennis coaches! If you want to keep your students coming back for more lessons and find extra value, you’re in the right place. I have two simple yet effective strategies that can truly “wow” your clients and keep them loyal to your coaching services.

1. Offer Free Racket Stringing

One fantastic way to add value to your coaching service is by offering free racket stringing to your students. You might be thinking, “Why should I spend my time doing this for free?” Well, let me tell you, it’s a game-changer. Here’s why.

First, consider the peace of mind it provides your students. Knowing that they can come to you whenever their racket strings break or when they want to try a new string without any additional cost is a huge relief. It’s a small gesture that shows you care about their game beyond just the lessons.

Plus, this added service can set you apart from other coaches. When your students talk to their friends about their tennis lessons, they’re more likely to mention the awesome perk of free stringing. It’s all about creating a buzz, and word-of-mouth is a powerful marketing tool.

Sure, it might take you 30 minutes to an hour to string a racket, but the loyalty and goodwill you build with your students are worth every second. They’ll appreciate it, and you’ll see them sticking around for more lessons.

2. Provide Free Hitting Sessions

Another way to enhance the value of your coaching is to offer free hitting sessions after every ten private lessons. This straightforward yet effective approach will keep your students engaged and excited about their progress.

Imagine this: after a series of lessons, your student gets a free half-hour or hour-long hitting session. It’s their chance to put into practice what they’ve learned, without the pressure of a structured lesson. Not only does this help reinforce their skills, but it also gives them a taste of what it’s like to play in a more relaxed setting.

This small gesture speaks volumes about your commitment to their improvement. It shows that you’re not just in it for the money; you’re genuinely invested in their growth as a player. Plus, it’s an excellent opportunity for you to observe their gameplay in action and provide personalized feedback.

Why These Tips Matter

So why do these tips matter in the grand scheme of coaching? It’s all about creating value and building relationships. When your clients feel valued and appreciated, they’re more likely to stick around and even refer others to you.

Offering these additional services doesn’t just benefit your clients; it also benefits you. It helps you build a solid reputation as a coach who goes above and beyond, and that’s something money can’t buy.

Remember, it’s not just about teaching tennis; it’s about creating an experience. When your students look forward to their lessons and the perks that come with them, they’re more likely to stay loyal to your coaching.

Want more tips on how to become the tennis coach your students value? Check out the coaching courses at WebTennis24 for even more insights and strategies.

If you’re interested in diving deeper into coaching tips, don’t miss out on these related videos:

2 tennis tips for coaches

FAQs

Why offer free services to students?

Offering free services like racket stringing and hitting sessions adds value to your coaching, makes your clients feel appreciated, and encourages them to continue taking lessons with you.

How can free services impact my business?

These services can enhance client loyalty, generate positive word-of-mouth, and set you apart from other coaches, ultimately benefiting your business in the long run.

How can I support your coaching tips?

If you love these tennis tips and want to support further content, consider buying me a coffee at Cosmin’s Tennis Training.

Remember, coaching is not just about teaching techniques; it’s about creating an enriching experience for your students. Try these tips and watch your coaching business thrive!


Cosmin Miholca

Cosmin Miholca

Certified Tennis Coach

Ready to improve your tennis further?
Let’s get started!

Engaging Warm-Up Tennis Games for Kids

Engaging Warm-Up Tennis Games for Kids


3 Exciting Tennis Games for Kids: Perfect Warm-Up for Beginners

Table of Contents

Intro to warm-up tennis games for kids

The following games are not just about getting the heart rate up; they’re essential for developing important skills like footwork, speed, balance, and hand-eye coordination.
As parents and coaches, we want our young athletes to enjoy the game while learning the fundamentals.
So, let’s dive into three of our favorite warm-up games that will get the kids excited and ready to play!

Warm-up tennis game #1: Bounce It!

Our first game is called “Bounce It!” It’s a fantastic way to improve hand-eye coordination while keeping the kids engaged. Here’s how it works:

  • Start by having two players positioned on opposite sides of the court.
  • The coach feeds the ball to one player, and their goal is to keep the ball bouncing on their side using only their racket – no hands allowed!
  • Once they feel confident, they can send the ball over to the other player’s side.
  • The key rule? If the ball rolls on their side, the other player scores a point!

This game emphasizes racket control and helps the kids get used to the feel of the ball. Plus, it’s a great way to warm up those muscles!

Warm-up tennis game #2: Caterpillar

Next up is “Caterpillar,” a game that focuses on lateral movement and quick footwork. This one’s a blast and gets the kids moving!

  • The coach, at the service line, gets ten balls set up next to him. The players, who will start behind the baseline, are facing the coach.
  • The coach will roll the balls towards the baseline, one by one, changing the direction of each ball, while the kids move laterally allowing each ball to pass between their feet spread wide.
  • Encourage them to stay low and keep their knees bent for better balance and speed.

This drill is all about agility and getting those quick feet moving!

Warm-up tennis game #3: Royal Court

Finally, we have “Royal Court,” a game that combines catching skills with a competitive edge. Here’s how it works:

  • Players start at the back fence with their rackets down.
  • One by one, call out a player’s name and toss the ball high into the air.
  • The player must catch the ball after one bounce and quickly place it on their racket strings.
  • The first one to catch and place five balls on their racket wins!

This game not only enhances catching skills but also teaches kids to react quickly and adjust their positioning based on the ball’s bounce. It’s a fun competition that kids love!

caterpillar - fun tennis game for kids

FAQ

What age group are these games suitable for?

These warm-up games are perfect for kids aged 10 and under, as they are designed to be fun and engaging while developing essential tennis skills.

How long should each game last?

Each game can last about 2-7 minutes, allowing kids to warm up effectively without losing interest. Feel free to adjust the time based on their energy levels!

Can these tennis games be played in larger groups?

Absolutely! These games can easily be adapted to large groups of players. The more kids, the more fun they will have. I would not recommend more than 6 young players in a group though.

Where can I find more tennis coaching resources?

If you’re looking for comprehensive coaching lessons, drills, and tips, check out the WT24 Coaching membership. It’s a great resource for coaches and parents wanting to teach their kids tennis!

Are there more videos available on tennis coaching?

You can find additional related videos on our YouTube channel, such as Kids Tennis Coaching Lessons and Tennis Coaching Tips.


Cosmin Miholca

Cosmin Miholca

Certified Tennis Coach

Ready to improve your tennis further?
Let’s get started!