Fix Your Contact Point with These 2 Tennis Drills
Contact Point Tennis Drills
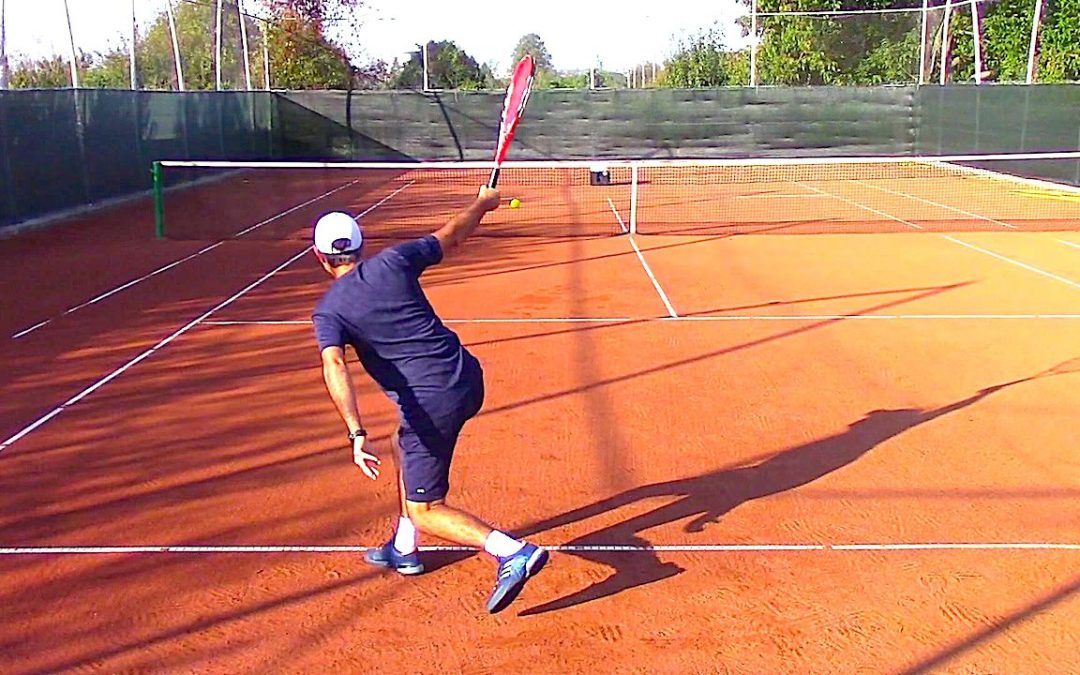
When it comes to improving your tennis game, focusing on the contact point is crucial.
It’s the moment where your racket meets the ball, and mastering this can significantly enhance your shot execution.
In this blog post, we’ll explore effective contact point tennis drills designed to help you or your students achieve better timing and consistency on the court. Let’s dive in!
Table of Contents
- Intro to “Contact Point Tennis Drills”
- Drill #1: Catch the Ball Out in Front
- Drill #2: Contact and Follow-Through
- Practice the Optimal Point of Contact
- Frequently Asked Questions (FAQ)
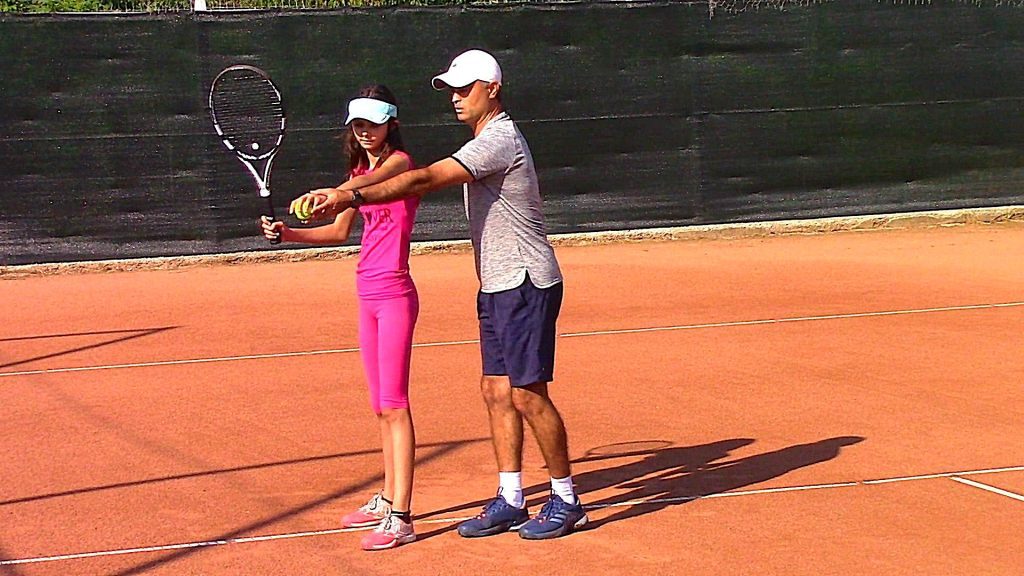
Intro to “Contact Point Tennis Drills”
One of the common challenges coaches face when teaching beginner players is the inconsistency of their contact point.
Players often hit the ball either too far in front or too far back, leading to poor shot execution. Understanding where the racket and ball should meet is essential for developing a solid foundation in tennis.
This post will cover two key drills that can help players learn to establish a consistent contact point.
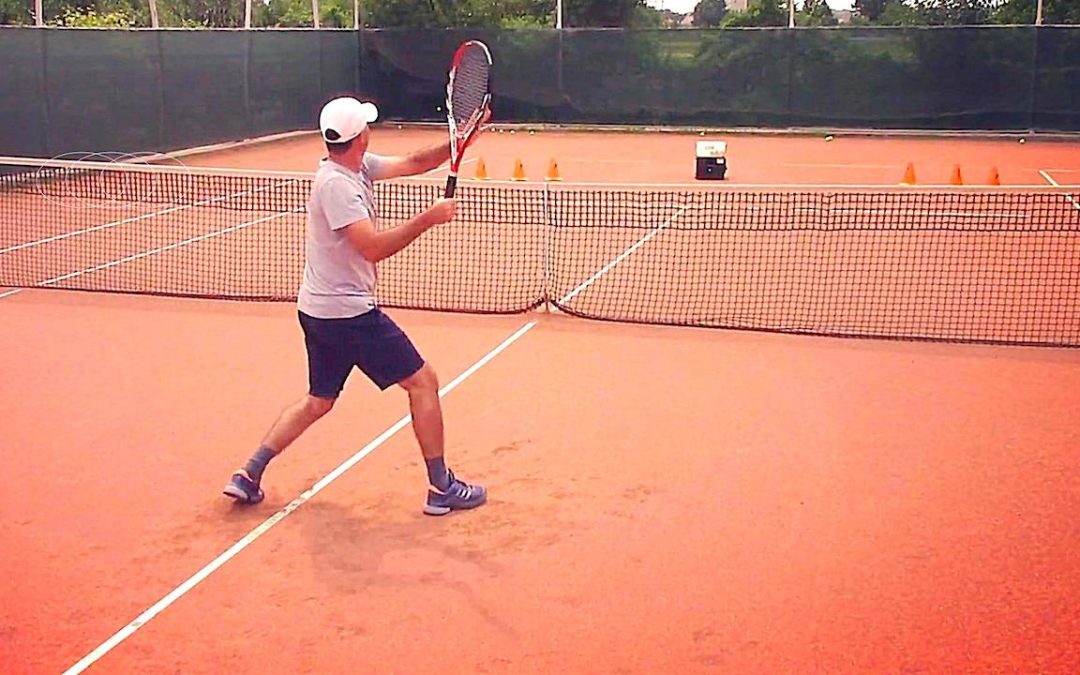
Drill #1: Catch the Ball Out in Front
The first drill is simple yet effective. It helps players understand where the contact point should be by catching the ball out in front of their body.
- Step 1: Begin by positioning your student at the service line, facing sideways as if preparing for a forehand.
- Step 2: Toss a ball to your student, instructing them to catch it with their non-dominant hand after it bounces. This helps them recognize the ideal contact point.
- Step 3: Once they catch the ball, ask them to freeze in that position. This moment of pause allows them to visualize where the ball should meet the racket.
- Step 4: After freezing, instruct them to drop the ball and take a forehand swing. They should aim to make contact in the same position where they caught the ball.
This drill reinforces the concept that the ball should be contacted out in front of the body, not too close or too far away.
Encourage your student to repeat this process multiple times to build muscle memory.
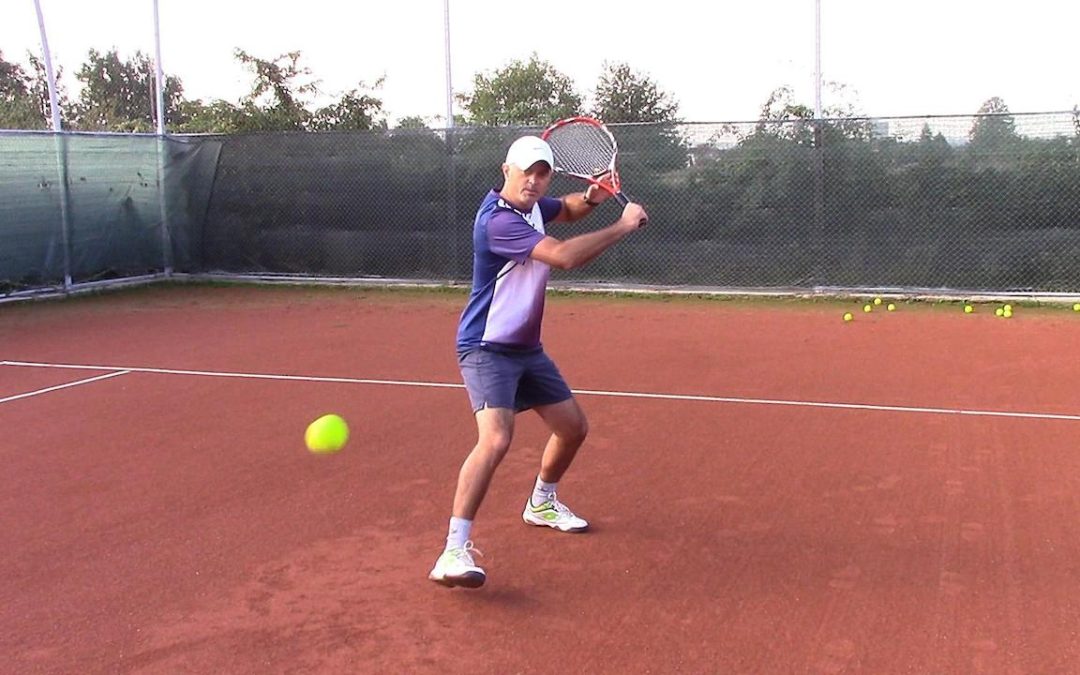
Drill #2: Contact and Follow-Through
The second drill focuses on establishing the correct racket position at the point of contact and emphasizing the follow-through.
- Step 1: Have your student stand with their racket in the position they would use to make contact with the ball. This position should mirror where they caught the ball in the previous drill.
- Step 2: Toss the ball to them again, instructing them to push through the ball and follow through without taking the racket back. This reinforces the importance of the contact point.
- Step 3: Encourage them to push and follow through with acceleration, focusing on a long finish.
- Step 4: Repeat the process several times, ensuring they maintain the correct contact point each time.
This drill emphasizes the importance of contact and follow-through without complicating the swing mechanics. It allows players to focus solely on where the racket meets the ball.
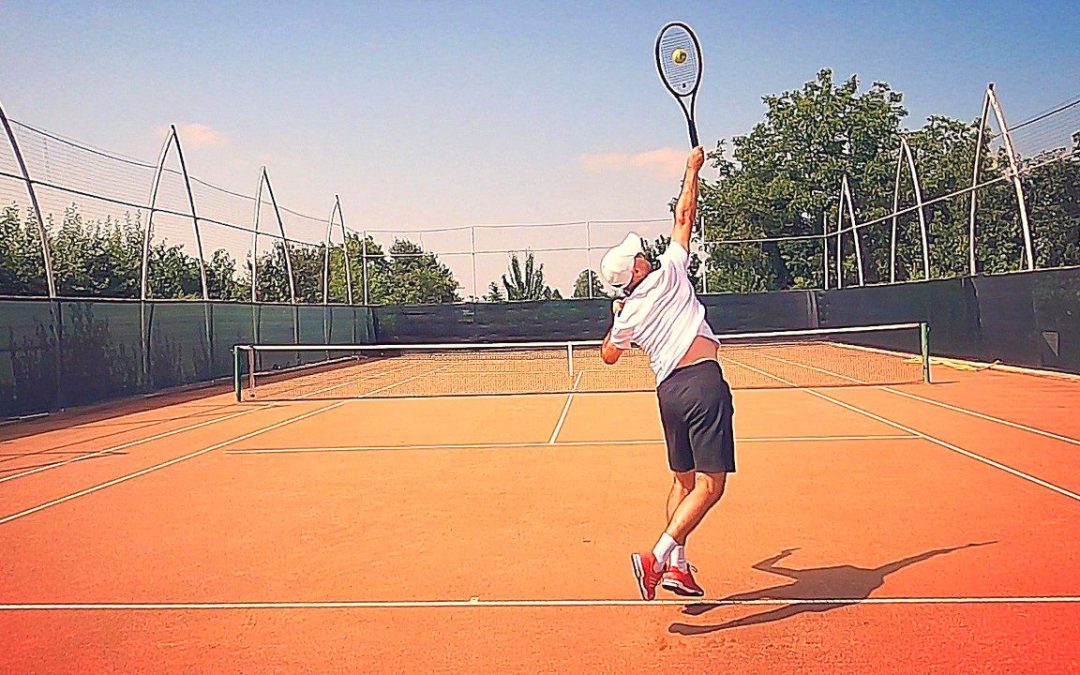
Practice the Optimal Point of Contact
After practicing the first two drills, it’s time to incorporate full swings into the training.
By now, your student should have a better understanding of the optimal contact point.
Here’s how you can proceed:
- Step 1: Have your student get into their ready position and prepare for a full forehand swing.
- Step 2: Feed them balls at varying speeds and heights, encouraging them to focus on making contact at the optimal point.
- Step 3: If they struggle with timing or contact point, revert to the previous drills to reinforce the concepts.
It’s essential to keep the drills engaging and progressive. As players become more comfortable with their contact point, they can begin to experiment with different shots and spins.
Frequently Asked Questions (FAQ)
Why is the contact point important in tennis?
The contact point is crucial because it determines the quality of your shot. Hitting the ball at the optimal point allows for better control, power, and accuracy.
How can I improve my contact point consistency?
Practicing drills that emphasize catching and making contact with the ball out in front can help. Repetition is key to developing muscle memory and consistency.
What should I do if I’m still struggling with my contact point?
If you continue to struggle, revisit the basic drills. Consider working with a coach for personalized feedback and adjustments to your technique.
Are these drills suitable for all skill levels?
Yes! These drills can be adapted for beginners and intermediate players. The key is to focus on the fundamentals and gradually introduce complexity as players improve.
Where can I find more resources on tennis drills?
For additional tennis drills and tips, you can check out resources like the Ultimate Tennis Practice for 2 Players.
By focusing on the contact point through these drills, you’ll be well on your way to improving your game. Remember, consistency comes with practice, so keep hitting the courts! Happy training!