Is the Tennis Clay Court Better Than a Hard Court?
Personal Experience: Clay Court vs. Hard Court
Intro to Something Different
Today, let’s dive into something a bit different. We’re exploring the world of tennis courts, specifically focusing on the clay tennis court as we take a closer look at its unique characteristics and compare it to hard courts. I invite you to share your favorite court surface in the comments below – I’ll share mine, too!
Whose tennis court is it, and why do you hear animal sounds around it?
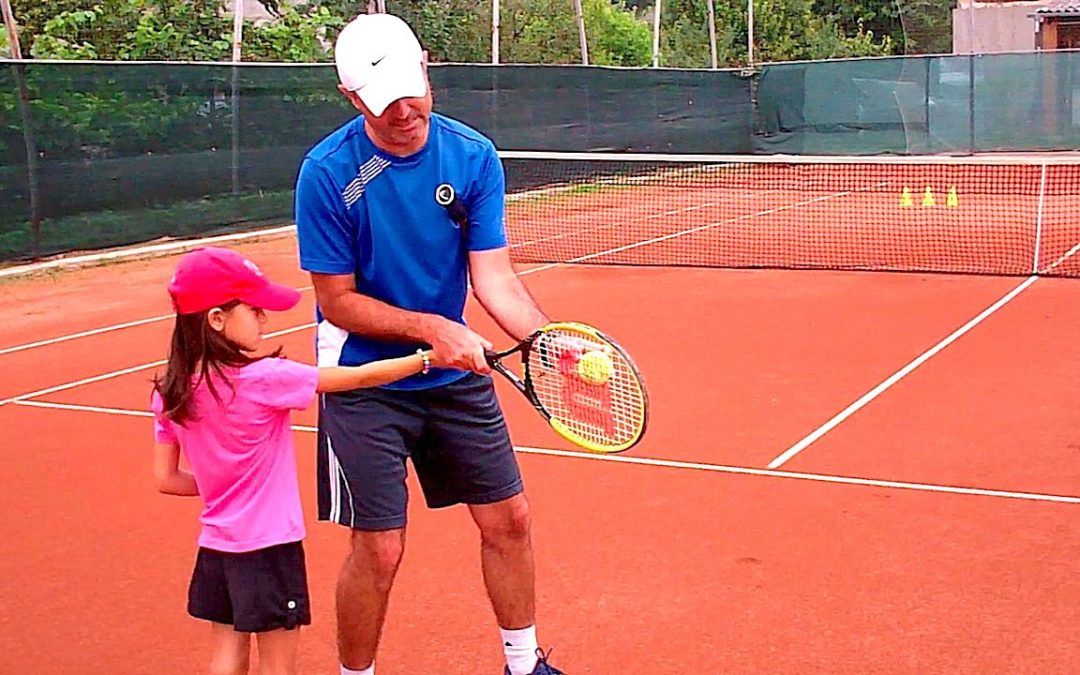
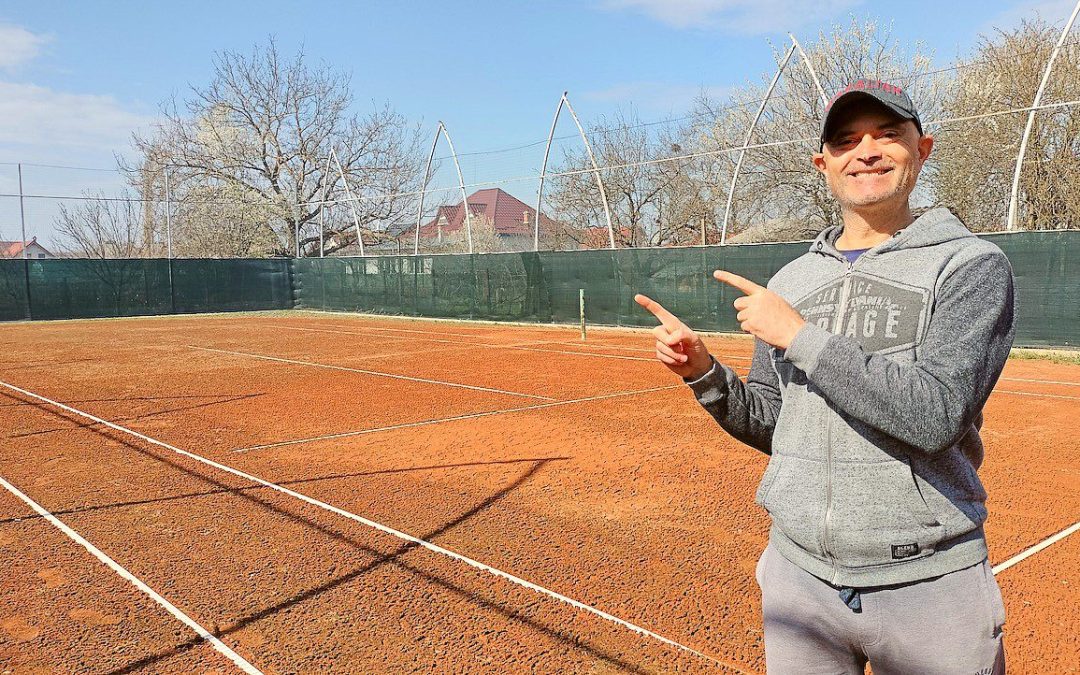
Before we jump into the details, let me introduce you to a special tennis court. This particular court belongs to one of my neighbors, who has graciously allowed us to film lessons and share tips over the years.
You might have noticed in some videos the sounds of roosters, dogs, and even cows in the background. That’s because this is a private neighborhood with small farms scattered around, giving it a unique charm.
Entering the clay court facility: the abandoned court cover, the new windscreen, and the state of the court after winter
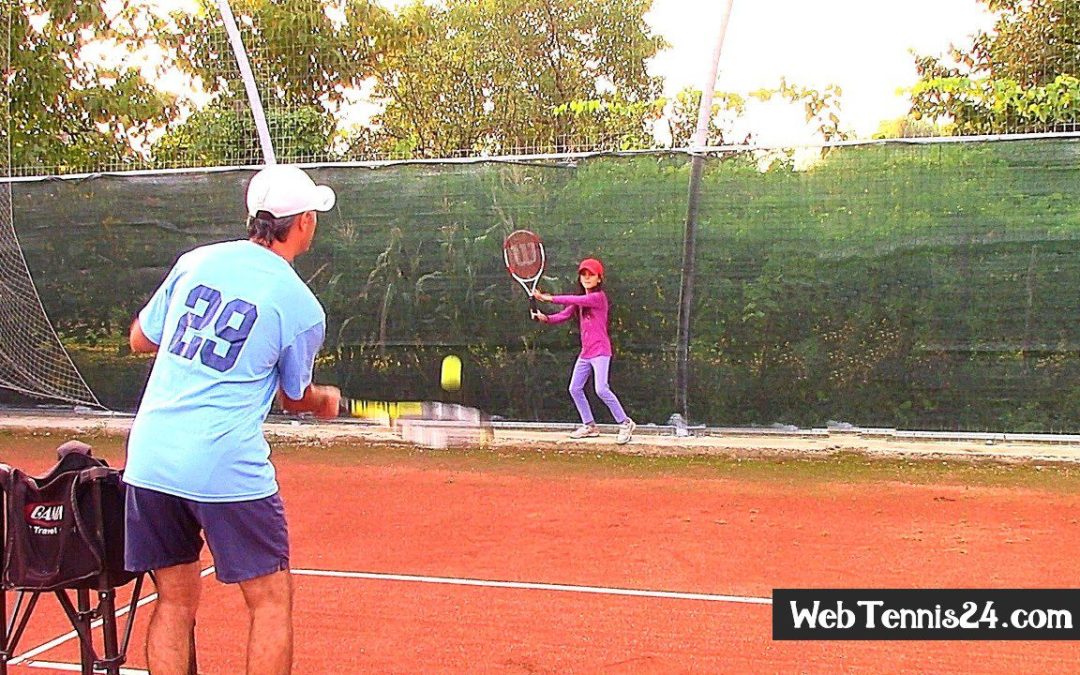
As we enter our clay court facility, you’ll notice the abandoned court cover and the new windscreen that I recently installed. After a long winter, the court isn’t in the best shape – there’s grass and tools scattered everywhere (see the video above).
The windscreens need replacement every couple of years due to wear and tear from the elements, but they do enhance the appearance and functionality of the court.
Interesting facts about playing on a clay court – things few people know, including maintenance, customs, advantages, and disadvantages
Now, let’s talk about some interesting facts regarding clay courts that many may not be aware of.
One of the first things to note is maintenance. Preparing a clay court for play takes about 15-20 minutes. This includes:
- Brushing: We use a special brush to smooth out the surface and remove any marks or debris.
- Cleaning the lines: A specific broom is employed to clean the lines, ensuring they are visible for accurate play.
- Watering: It’s essential to water the court to keep the dust down. A hose is used to lightly spray the surface, preventing dry conditions that can lead to dust inhalation during play.
Interestingly, it’s customary to leave the court in good condition for the next players. After your game, you should brush the court, clean the lines, and water it again.
This routine can take another 15 to 20 minutes, which is why some players prefer hard courts – less maintenance!
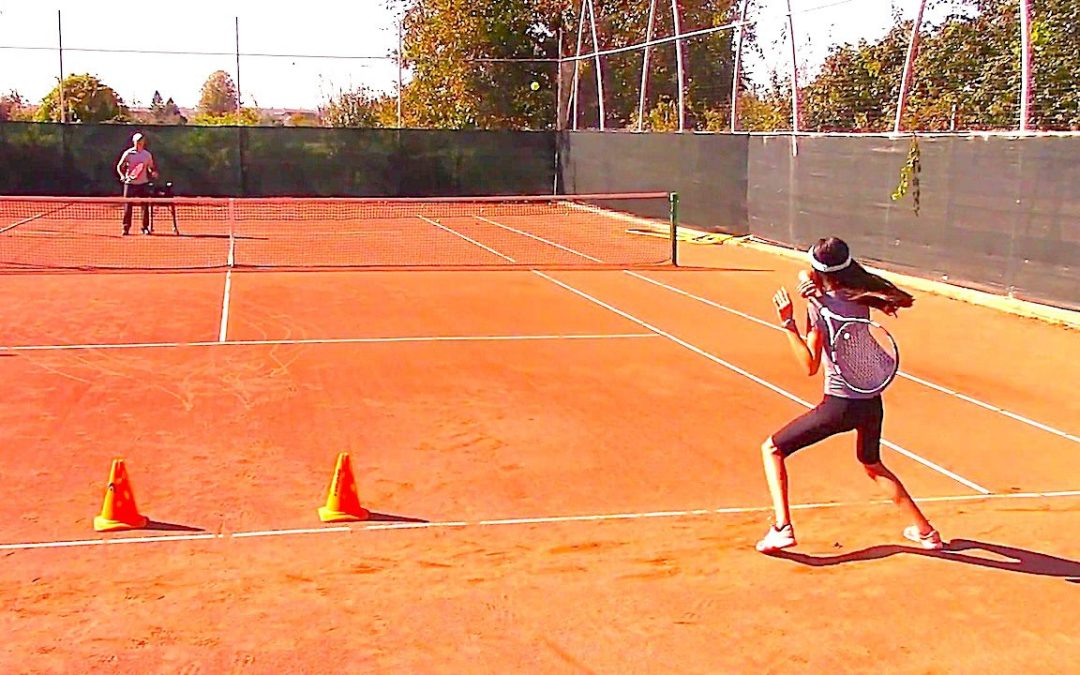
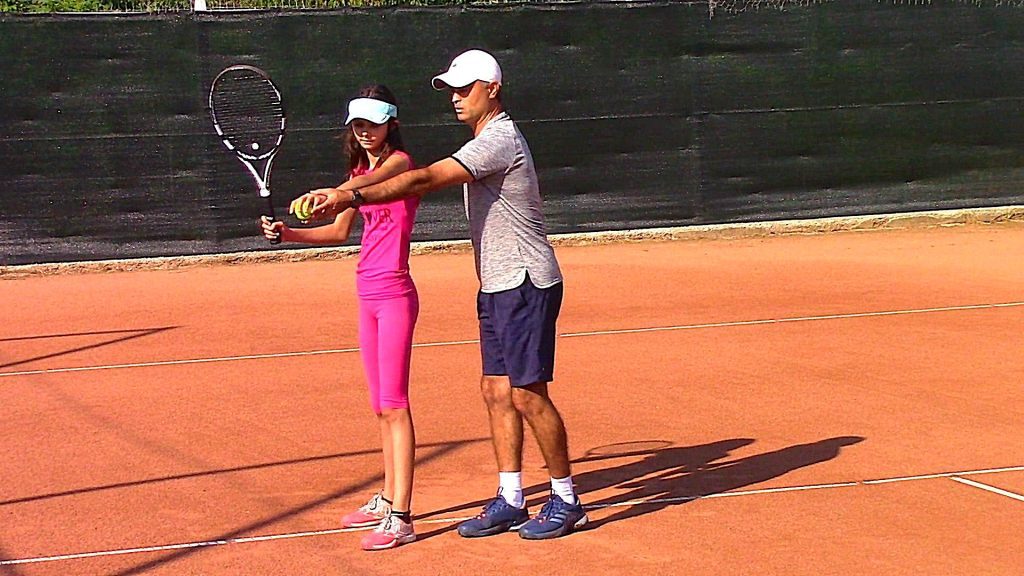
On the plus side, clay courts are easier on your joints, providing a softer surface that reduces the risk of injuries. They allow for longer rallies, favoring players who excel in patience and strategic play. However, if you prefer a faster game with less emphasis on maintenance, hard courts might be more appealing.

FAQs
What is a hard court in tennis?
A hard tennis court is made of asphalt or concrete, offering a faster surface with more consistent bounces, making it ideal for players with strong attacking skills.
What is the difference between clay and hard court tennis?
Clay courts are softer and bouncier, resulting in slower-paced games with more spin, while hard courts provide a faster surface with less spin.
Are clay courts better for the knees?
Yes, clay courts are less likely to cause strain and provide a more forgiving environment for players with joint pains or pre-existing injuries.
Can I wear clay shoes on a hard court?
While you can, it’s not advisable as clay shoes are designed for different traction and may not perform well on hard surfaces.
Who is the best player on hard court?
Novak Djokovic is often recognized as one of the best players on hard courts, along with other legends like Andy Murray and Roger Federer.