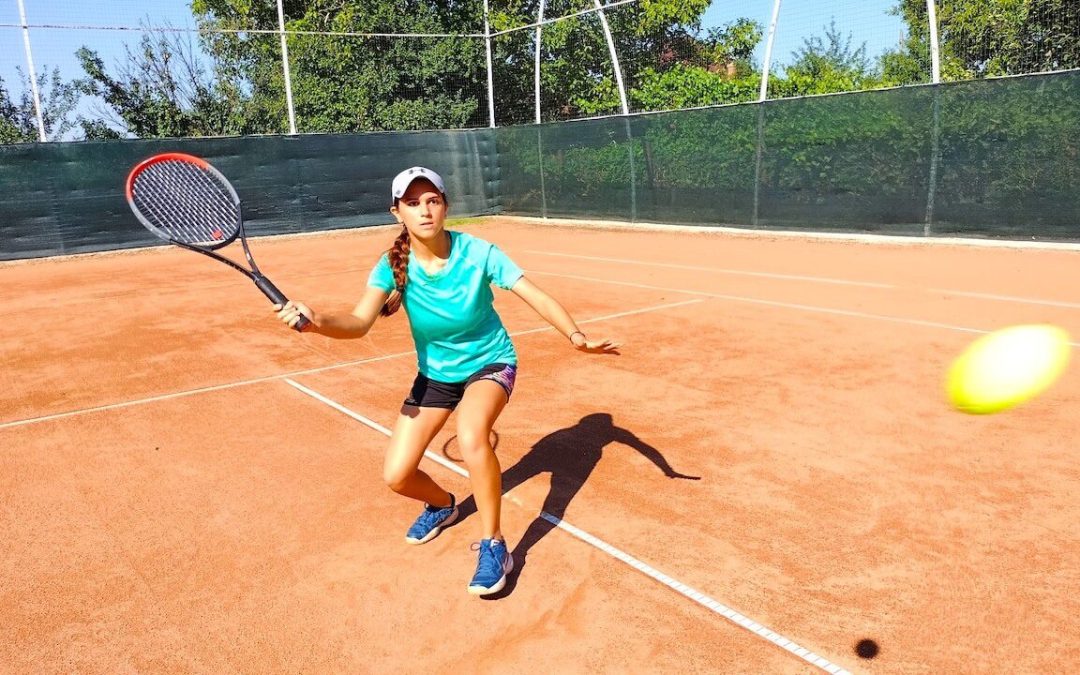
pongbot-official-partner-webtennis24

First AI Tennis Robot

use code WT24 for a 5% discount
Master Tennis Ball Feeding with Technique and Progression Drills

Master Tennis Ball Feeding with Technique and Progression Drills

How to Master Tennis Ball Feeding: Technique and Progression Drills

I teach tennis feeding the way I wish someone had taught me: simple, repeatable, and focused on control. In this article, I break down tennis ball feeding step by step so you can feed practice partners or students like a pro.
I use the continental grip because it gives me versatility – flat, light topspin, or even a touch of slice – while keeping feeds consistent and easy to control, especially during group drills.

Why I Use the Continental Grip for Tennis Ball Feeding

I call it Continental or ‘hammer’ grip because you hold the racket like you would a hammer. That grip keeps the racket face slightly open, which helps clear the net when you are close and prevents excessive topspin that can bury feeds into the net.
When you use a forehand grip like semi-western, the racket plane closes and naturally produces more topspin.
For starting rallies or teaching beginners, I prefer feeds with minimal spin so the receiver gets an easy ball.

Key Technical Principles

Before you start drilling, lock these technical cues into your routine. They are short and specific, so you can repeat them until they become automatic.

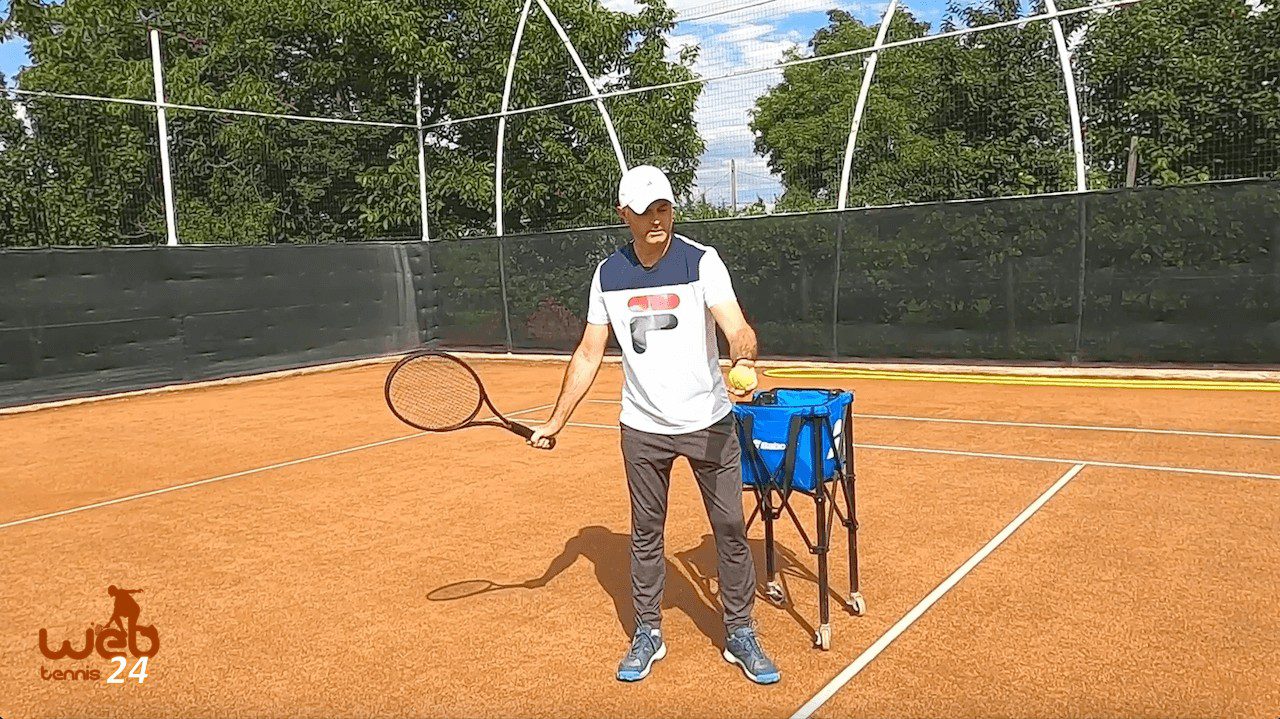
  • Grip: Continental, relaxed grip.
  • Wrist and forearm: Keep a roughly 90-degree angle between the forearm and racket with the wrist locked. No collapsing or excessive wrist flicking.
  • Elbow position: Keep the feeding elbow close to your body. Think of your arm as a pendulum with the elbow anchored.
  • Backswing: Short backswing. Start the racket just slightly behind the shoulder line – no big swing. The goal is a push, not a stroke.
  • Contact: Toss the ball with your palm up, lift it gently, and push it with the slightly open racket face (about 10 to 20 degrees open). Minimal follow-through.
  • Finish: Stop with the racket pointing toward the target. Do not finish with a full forehand follow-through.
  • Weight transfer: Start with the weight on your back foot and transfer to the front foot during the push.

Progression Drills I Use

Progression builds control and consistency. I use three simple stages so you and your students can feel success quickly.

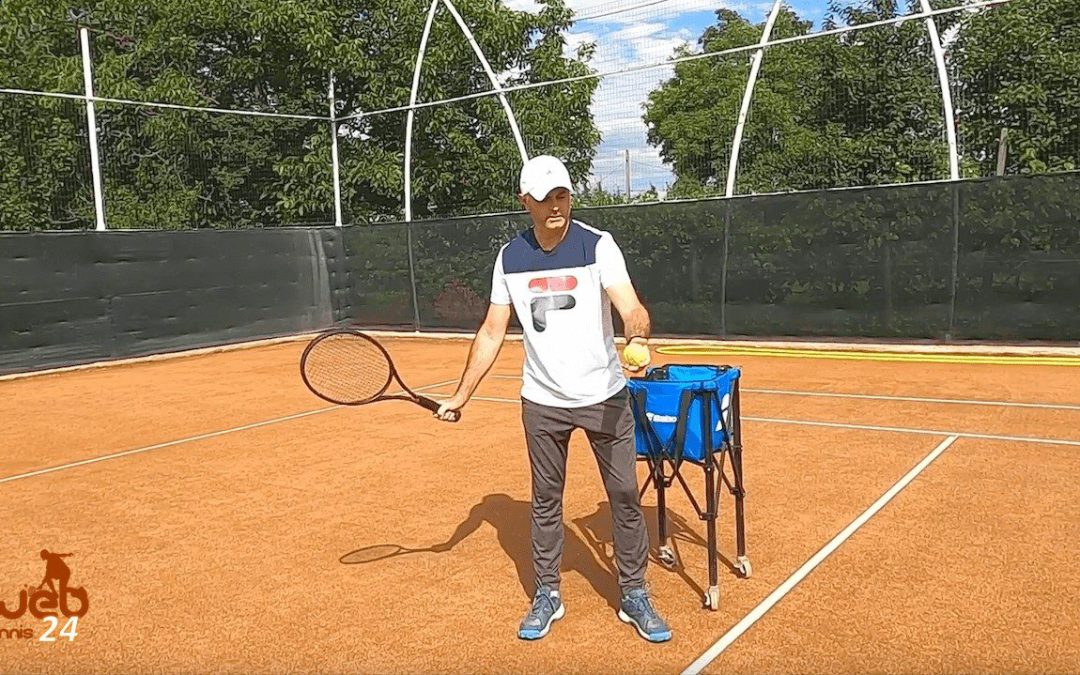
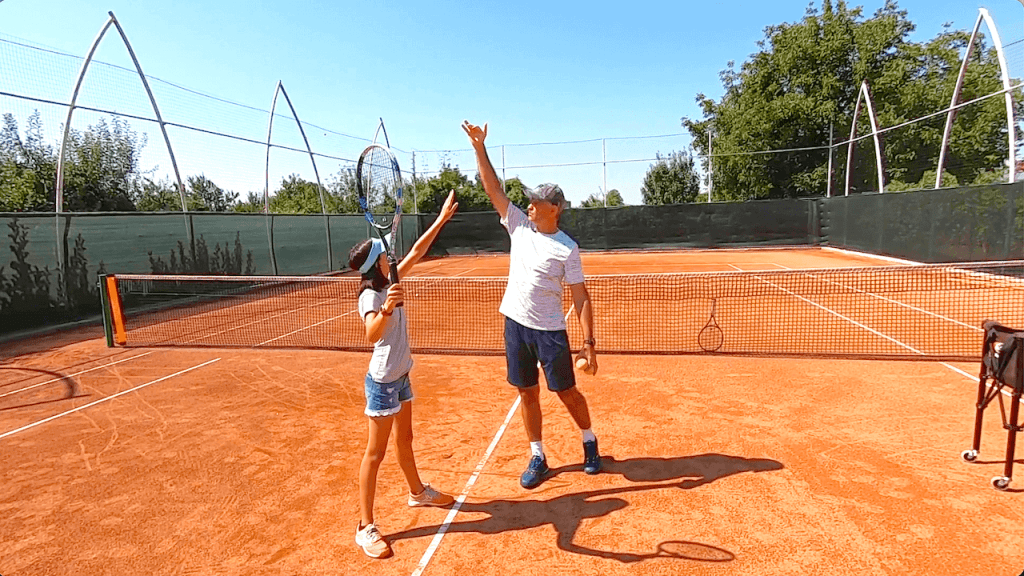
  1. Close to the service line: Stand just behind the service line with a basket of balls. Continental grip, wrist locked, elbow close. Toss palm up, lift the ball gently, push it over the net – no swing. Aim to get the ball just over the net. Practice until you feel stable.
  2. Step-back routine: After you make three consecutive successful feeds over the net, take one step back. Repeat the three-feed step-back pattern until you reach the baseline. This gradual increase in distance forces a slightly longer preparation while preserving the short push action.
  3. Baseline feeds: From the baseline, you will take the racket a bit further back to give yourself room, but keep the short backswing and locked wrist. Maintain the slightly open racket face to produce a flat-ish feed with minimal spin. Aim for the feed to go about three feet over the net and land just beyond the service line so the receiver gets a comfortable first ball of the rally.

Common Mistakes to Avoid

Watch out for these pitfalls:

  • Letting the wrist collapse or using too much wrist action. That kills consistency.
  • Using a forehand grip for feeding. It often produces too much topspin and nets the feed – especially when close to the net.
  • Over-swinging and following through like a normal forehand. Feeds should be a controlled push with a short follow-through.
  • Elbow away from the body. That creates a big swing and less control.

How I Use Tennis Ball Feeding in Group Coaching

For rapid feeding in group lessons I rely on the continental grip because it lets me feed quickly and accurately without sending the balls into the net. When players need many reps, I keep feeds low-spin and flat so recipients can focus on rhythm and footwork instead of fighting varying bounce and heavy topspin.

tennis ball feeding

What grip should I use for tennis ball feeding?

Use the continental grip. It gives you versatility to feed flat, slightly spun, or sliced balls and helps you clear the net when you feed from close in.

How do I hold my wrist and racket?

Keep the wrist locked with about a 90-degree angle between the forearm and the racket. Maintain a relaxed but steady grip and avoid collapsing the wrist.

Where should I stand and how should I progress?

Start just behind the service line and feed until comfortable. After three successful feeds, move one step back. Repeat until you reach the baseline and can feed consistently from there.

How high and where should the feed land?

Aim for the ball to clear the net by about three feet and land just past the service line (see the video above). That gives the receiver an easy, low-spin ball to start the rally.


Cosmin Miholca

Cosmin Miholca

Certified Tennis Coach

Ready to improve your tennis further?
Let’s get started!

11 Tennis Drills and Techniques You Can Do Better with TopspinPro

11 Tennis Drills and Techniques You Can Do Better with TopspinPro


Creative Ways to Practice Spin, Serve, and Movement

In the video above, we demonstrate how TopspinPro transforms practice by showcasing 11 drills that accelerate learning. If you want to feel slice and topspin almost instantly, this TopspinPro tennis drills approach is hard to beat.

Overview

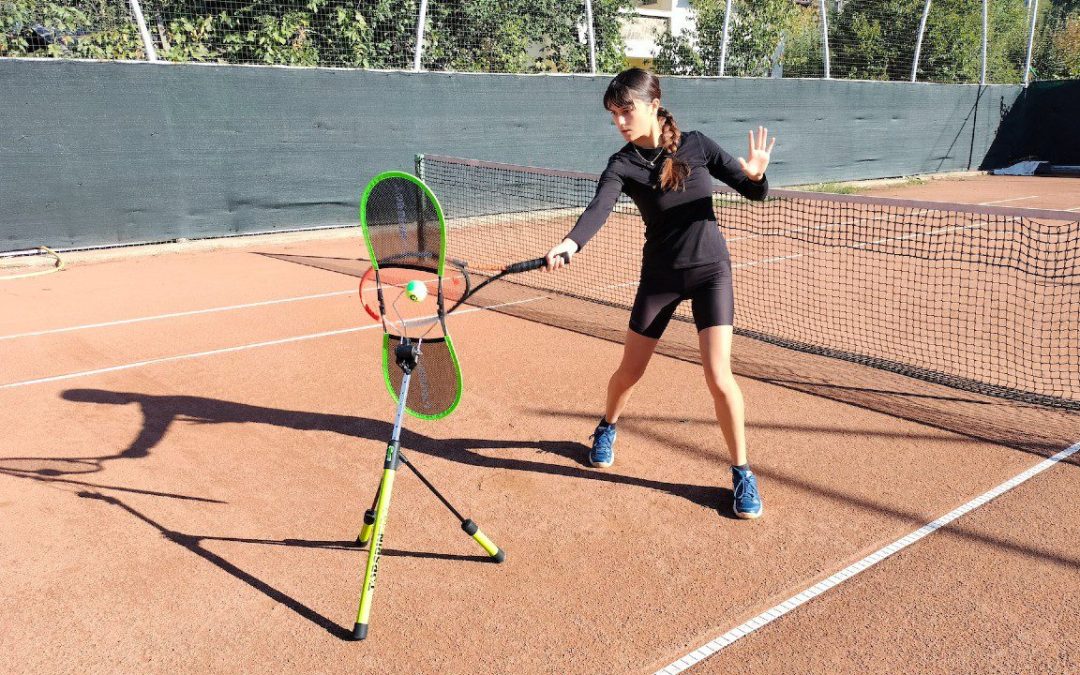
The TopspinPro is a portable training tool that creates consistent spin on balls so you can see and feel the path of slice, topspin, and kick serves.
As I say, “it makes teaching and learning so much easier” and it’s “one of the best ways to learn and feel slice and topspin almost instantly.”
You use it to practice slice and topspin forehand and backhand, slice and kick serves, volleys, drive volleys, serve+1 sequences, and movement/cardio patterns.

What you can do with it

  • Topspin forehand & backhand: feel the brush-up motion and ball arc in real time.
  • Slice forehand & backhand: instantly recognize face angle and contact.
  • Slice and kick serves: repeatable ball flight to learn wrist and swing path.
  • Volley and drive-volley contact: practice punch timing and spin control.
  • Footwork, return of serve, and cardio drills: simulate rally variability for movement training.

Pros & Cons

  • Pros: Immediate tactile feedback, accelerates motor learning, versatile for many drills.
  • Cons: Additional cost, requires setup on the court, may need practice to integrate into regular sessions.

Who it’s for

If you coach, learn faster with feel, or want to add structured drill variety, the TopspinPro is ideal. It’s useful at beginner to advanced levels – especially when you struggle to “feel” topspin or slice during solo practice.

Recommendation

For players and coaches serious about accelerating skill transfer, the TopspinPro tennis drills are a practical guide. It helps you isolate technique, get instant feedback, and repeatable reps that translate quickly to match play.

TopspinPro Tennis Drills On-Court Practice

FAQ

  • Q: Is it easy to use?
    A: Yes – set it up on court and adjust spin; beginners will grasp basics in a few reps.
  • Q: Will it replace live partner practice?
    A: No – it’s a complementary tool that speeds skill acquisition between partner sessions.
  • Q: Can it help serve mechanics?
    A: Yes – use it for both slice and kick serve feel.
  • Q: Where to buy?
    A: Purchase from the TopspinPro site or authorized dealers; coaches often share a 10% off discount link.

Try integrating the TopspinPro tennis drills into short, focused sessions, and you’ll notice faster gains in spin awareness, contact quality, and movement patterns.


Cosmin Miholca

Cosmin Miholca

Certified Tennis Coach

Ready to improve your tennis further?
Let’s get started!

Never Miss the Drive Volley Again! Tennis Lesson

Never Miss the Drive Volley Again! Tennis Lesson


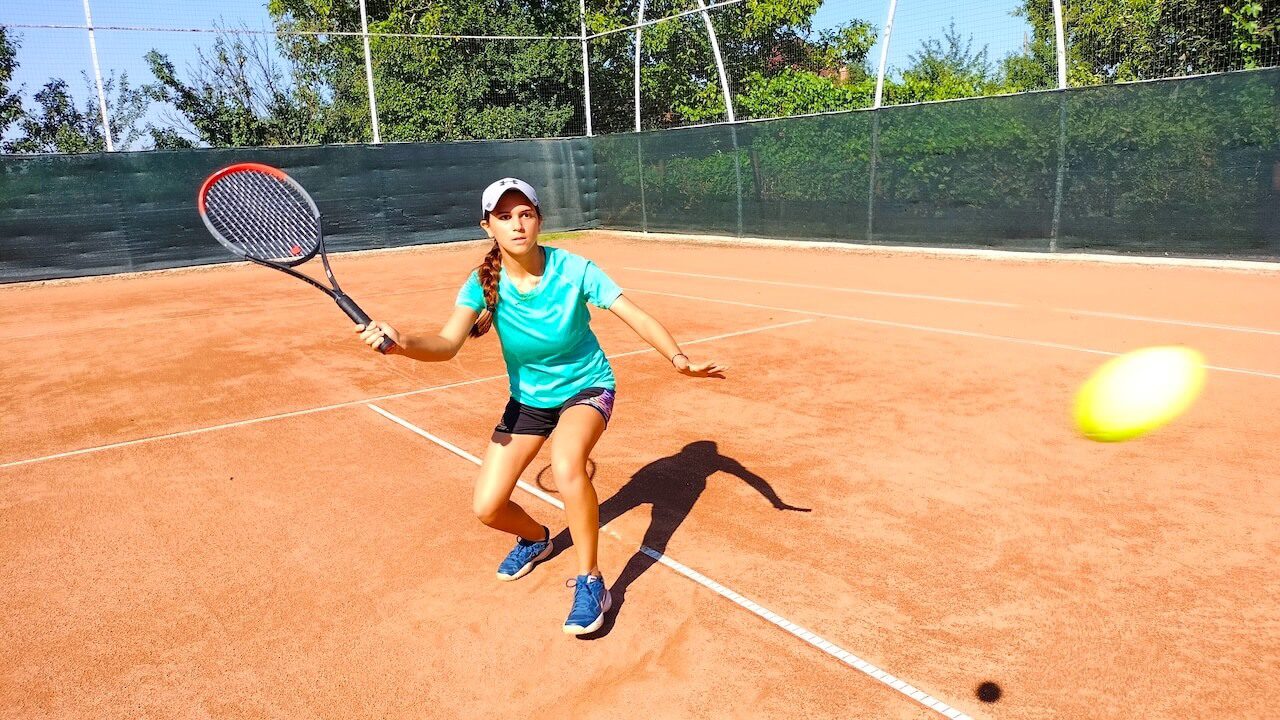
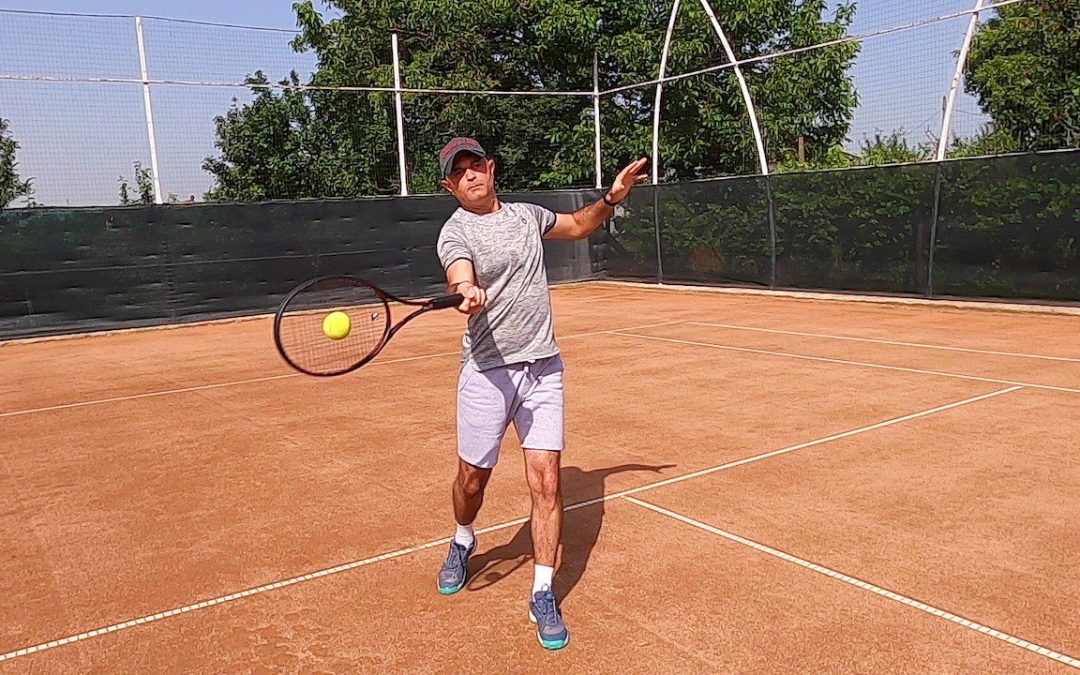
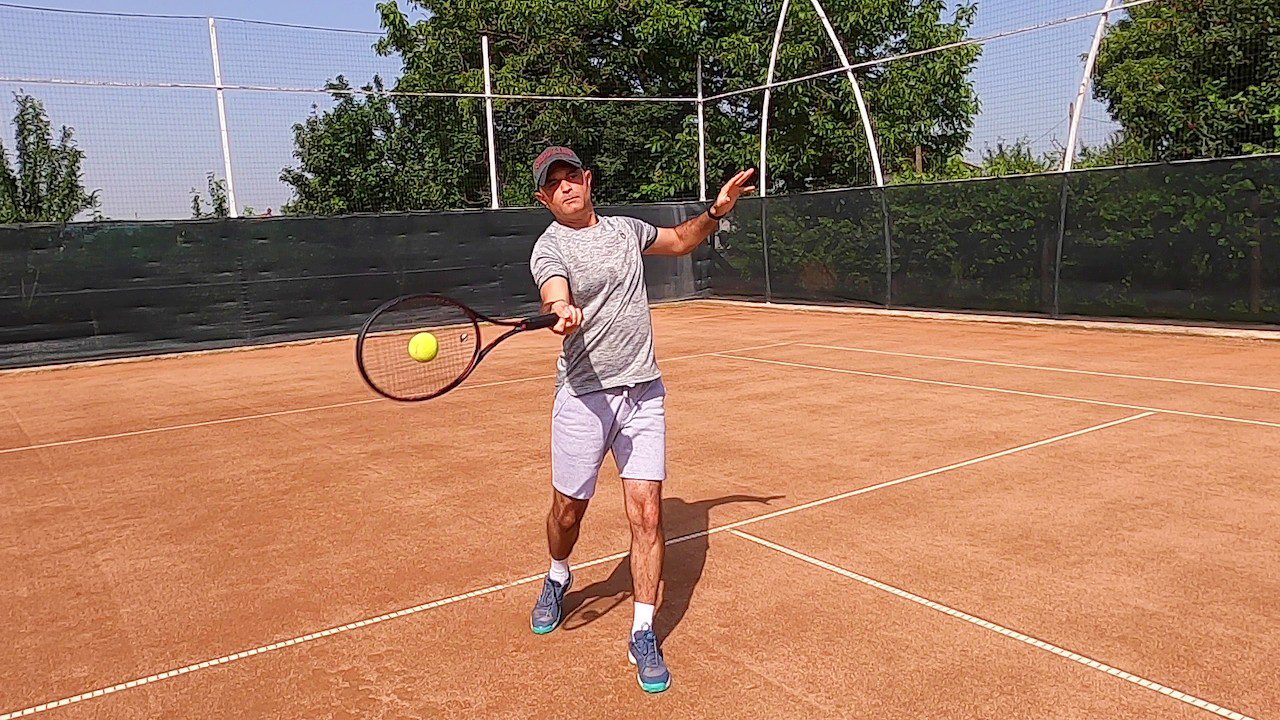
In this tennis lesson, I explain where to execute the drive volley, the subtle technical differences from a forehand groundstroke, and a step-by-step progression of drills you can practice today. The goal is simple: take the ball early, hit with purpose, and move forward to finish the point.

Why the drive volley matters

The drive volley is an aggressive, attacking shot. Most of the time it is a put-away: you take the ball early and force your opponent into a defensive reply. Even when it doesn’t finish the point outright, it often produces a weak response that lets you close the rally.
In match play, the player who can consistently execute the drive volley converts pressure into points.
This drive volley tennis lesson focuses on repeatable mechanics and progressive drills so you can build that consistency.

Three technical differences from a forehand groundstroke

Technically, the drive volley is similar to a forehand (or backhand) groundstroke, but there are three important differences to remember:

  1. Contact happens in the air – you take the ball before it bounces.
  2. The point of contact is higher – aim to strike around the chest to shoulder level.
  3. The ball is dropping faster when taken in the air, so you must swing and aim higher or the ball will sail into the net.

Preparation and grip: how I set up

Grip: I use the same grip I do for a regular forehand groundstroke: either an Eastern (hand on bevel 2) or a Semi-western (bevel 3). Keeping that familiar grip helps the feel and timing when switching from baseline rallies to taking balls early.

Footwork and positioning: you will usually be well inside the baseline – around the service line or even closer to the net – when you prepare for a drive volley.
As soon as you see your opponent produce a high, floating return, move forward quickly. Good footwork and balance are the hardest parts of this shot because you need to get your body behind the path of the incoming ball quickly.

Body setup: load your weight on the outside (back) foot and bring the racket back with both hands. Keep your non-dominant hand on the racket neck to ensure a solid shoulder turn. Elbow slightly elevated; racket face roughly 45° pointing upward; dominant palm facing down; strings slightly angled down.
This setup is nearly identical to a forehand, except you will take the ball in the air.

Contact: chest/shoulder level, short backswing, low-to-high

Where to hit: aim to make contact at chest or shoulder height – the higher you hit, the easier it is to clear the net. Letting the ball drop lower increases the chance of hitting the net.

Backswing: keep it short. You don’t want a large wind-up. For the drive volley, the racket should stay just behind the incoming ball. Practice tossing balls up to yourself and see how the racket naturally drops into the correct position without a long take-back.

Swing direction: swing low-to-high. Because the incoming ball may have underspin or be dropping quickly, a low-to-high path helps lift and clear the net. Brush up and slightly across to add spin when appropriate.

Initiation: start the swing with the hips, then let the shoulders and arm follow. This sequencing keeps the shot compact and powerful without over-swinging.

Follow-through: finish across the body and transfer weight

When you brush up and across the ball, the racket travels across your body and typically finishes near the waist. If you’re imparting more spin, the finish can end lower around the hips. After contact, transfer your weight from the outside foot onto the inside foot – finish with your whole body moving forward. 

Net positioning after the shot: a successful drive volley usually results in a powerful ball that your opponent blocks back. Do not retreat to the baseline – move forward to the net and be ready for a finishing volley.
The drive volley should be followed by aggressive net coverage so you can convert the point.

Common mistakes and how I fix them

  • Too big a backswing: This leads to timing issues and nets.
    Fix: shorten the backswing – keep the racket just behind the ball and let the swing drop naturally.
  • Contact too low: Hitting when the ball is below chest level makes it harder to clear the net.
    Fix: step forward earlier and meet the ball higher.
  • No weight transfer: Staying on the back foot reduces power and control.
    Fix: consciously push weight from the outside foot to the inside foot as you swing.
  • Finishing with the racket too high: If you’re not brushing the ball, you may lack spin.
    Fix: brush up and across to finish nearer the waist for extra spin and control.
  • Retreating after the shot: Moving back to the baseline gives your opponent time.
    Fix: immediately approach the net after your drive volley and prepare to volley again.

Final tips and review

Keep the grip you use for your forehand. Anticipate early and get your outside foot behind the ball as soon as you see a floating return. Short backswing, contact at chest or shoulder height, low-to-high swing path, brush across for spin, and finish with weight on the inside foot. After the shot, move forward and be ready to finish the point with a volley.

I’ve found the drive volley to be one of the most satisfying offensive shots – play it aggressively and with good footwork. 

Drive Volley Tennis

FAQ / Frequently Asked Questions

Q: Where should I stand to hit the drive volley?

A: Generally well inside the baseline – around the service line or closer to the net. You want to be positioned so you can take the ball early at chest/shoulder height.

Q: What grip do you recommend for the drive volley?

A: Use the same forehand grip you already use – eastern (bevel 2) or semi-western (bevel 3). This keeps the feel and mechanics consistent with your groundstroke.

Q: How high should I make contact?

A: Aim to make contact around chest to shoulder level. The higher the contact (within reason), the easier it is to clear the net and dictate the point.

Q: Should I follow the shot to the net?

A: Yes, always move forward after a drive volley. The shot is usually heavy, and opponents often block the return. You should be in a position for a finishing volley rather than retreating to the baseline.

Q: How can I practice this alone?

A: Start with tosses to yourself, then use a ball machine or feed from a basket. Focus on short backswing, chest-level contact, and low-to-high finish. Gradually add movement and match-like feeds.

Closing

This drive volley tennis lesson lays out the technical essentials and a practical progression you can use on the court. Keep your backswing short, contact the ball higher than a groundstroke, swing low-to-high, and always move forward to finish the point.
Have fun with it – it’s an aggressive, rewarding shot that changes the match when executed well.


Cosmin Miholca

Cosmin Miholca

Certified Tennis Coach

Ready to improve your tennis further?
Let’s get started!

3 Must-Practice Advanced Beginner Tennis Drills (with PongBot)

3 Must-Practice Advanced Beginner Tennis Drills (with PongBot)


Beginner Tennis Drills: Placement & Consistency Under Pressure

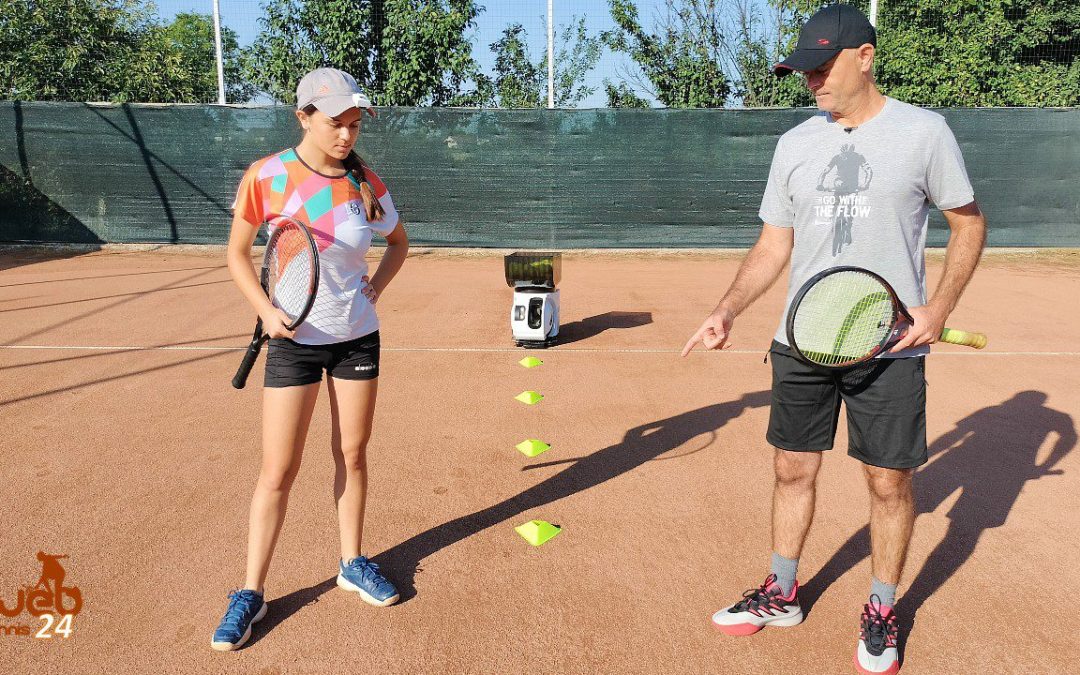
In the above video, I walk you through three beginner tennis drills that I regularly use with players who have the basics down and want to improve accuracy, consistency, and confidence. I use a PongBot tennis robot, but every drill works just as well with someone feeding balls.

Why these drills work

These beginner tennis drills focus on repetition under a little pressure, clear objectives, and a simple scoring or timing system so players can measure progress. Each drill targets a specific aspect: directional control on groundstrokes, depth consistency, and volley placement.

Drill 1: Groundstroke Under Pressure

Setup: Divide the court into deuce and ad halves. The player rallies side-to-side.
Scoring: +1 for each ball that lands in the target half, −1 for any miss (other side, net, or out). The goal is to reach +4 before falling to −4 (see the video above).

Why it helps: The incremental reward system encourages focus and calm under small amounts of pressure. It forces the player to prioritize control over power and reinforces consistent footwork and recovery.

Drill 2: Deep Groundstroke

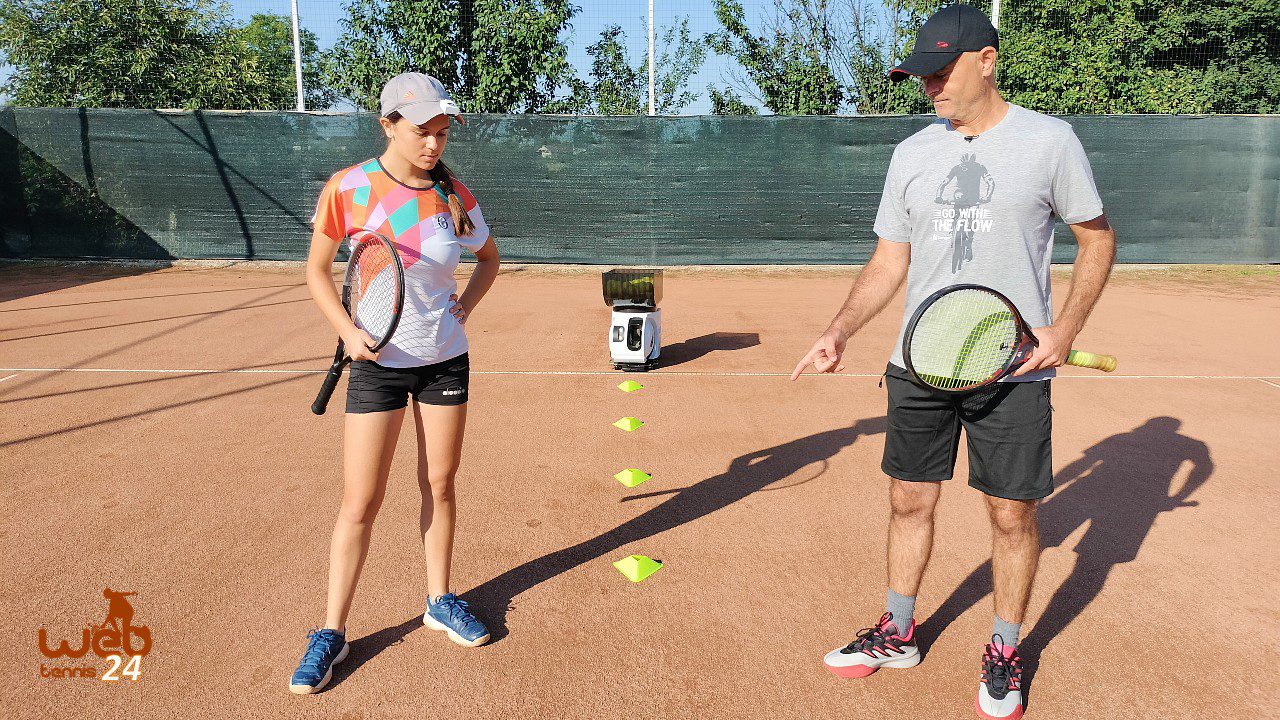
Setup: Place cones along the service line. The machine feeds balls side-to-side.
Scoring: +1 when the ball lands between the service line and baseline (deep), −1 for short, beyond baseline, net, or out. Do it for two minutes and tally the score.

Why it helps: This drill trains players to hit with depth, an often overlooked but crucial element for controlling rallies and pushing opponents back. The timed format builds endurance and consistency under continuous pressure.

Drill 3: Volley Placement

Setup: Move the recovery position to the net (see video above). Practice six volleys to deuce side, six to ad side, then six down the line, and six crosscourt. Use a tight recovery zone so each feed waits until the player is ready.

Why it helps: Beginners often can make proper contact but struggle with placement. This drill isolates volley direction and forces quick decision-making and compact technique at the net.

Coaching tips

  • Use a ball machine for steady, repeatable feeds; a human feeder works too.
  • Keep targets realistic for the player’s level – adjust the cone placement and recovery zone size.
  • Provide short, specific feedback between repetitions (footwork, racquet face, contact point).

beginner tennis drills with pongbot tennis robot

FAQ

Q: Can I do these drills alone?

A: Yes. A ball machine is ideal, but a partner feeding consistently will work equally well.

Q: How often should I practice these beginner tennis drills?

A: Two to three focused sessions per week will produce noticeable improvement in accuracy and confidence.

Q: Are these drills suitable for absolute beginners?

A: They’re best for advanced beginners who have basic forehand, backhand, and volley mechanics and need to add consistency and placement.

Want to improve quickly? Practice with clear targets and measurable goals – consistency beats power every time.


Cosmin Miholca

Cosmin Miholca

Certified Tennis Coach

Ready to improve your tennis further?
Let’s get started!

One-Handed vs Two-Handed Backhand: Pros, Cons & How to Choose

One-Handed vs Two-Handed Backhand: Pros, Cons & How to Choose


Two-Handed or One-Handed Tennis Backhand? My Honest Opinion

In the video above, I discuss a common question: which tennis backhand should you learn: one-handed or two-handed? After playing and teaching both for three decades, I want to give you a clear, practical take on the pros and cons so you can choose what fits your game and goals.

Why do many players start with a two-handed backhand

Two-handed backhands are popular with players and coaches because they feel more stable and easier to control. Using both hands naturally gives added support, which helps when learning timing and point of contact. Under pressure, like return of serve or dealing with high-bouncing balls and kick serves, two hands often feel more reliable. It’s also more forgiving: you can be a bit early or late on contact and still keep the ball in play.

Drawbacks of the two-handed backhand

  • Requires a larger muscle chain and more rotation from the hips and shoulders.
  • Can feel cramped if you lack flexibility.
  • Less effortless feeling compared with a well-executed one-hander.

Why I fell in love with the one-handed backhand

The one-handed backhand felt almost effortless when I learned it. A sideways turn and a fluid arm swing create a simple, elegant stroke. It uses less upper-body uncoiling and can be very rewarding to hit when contact is timed correctly.

Challenges of the one-handed backhand

  • Contact must be precise and out in front; being late drastically reduces control.
  • High-bouncing balls and some serves are tougher to handle without a strong slice or solid forearm control.
  • Requires intentional grip work and forearm strength to stabilize the racket at impact.

How I teach backhands

As a coach, I give beginners both options – one-handed and two-handed. I demonstrate each technique, feed a few balls, and ask which feels more natural. Most beginners prefer two hands for control, but many later try the one-hander and enjoy the simplicity and feel. Ultimately, it’s about what feels right and what suits your movement and flexibility.

How to choose

  1. Try both styles on court; feel matters more than theory.
  2. Consider your physical traits: flexibility, arm strength, and comfort when turning sideways.
  3. Work on precise contact for one-handers and functional rotation for two-handers.

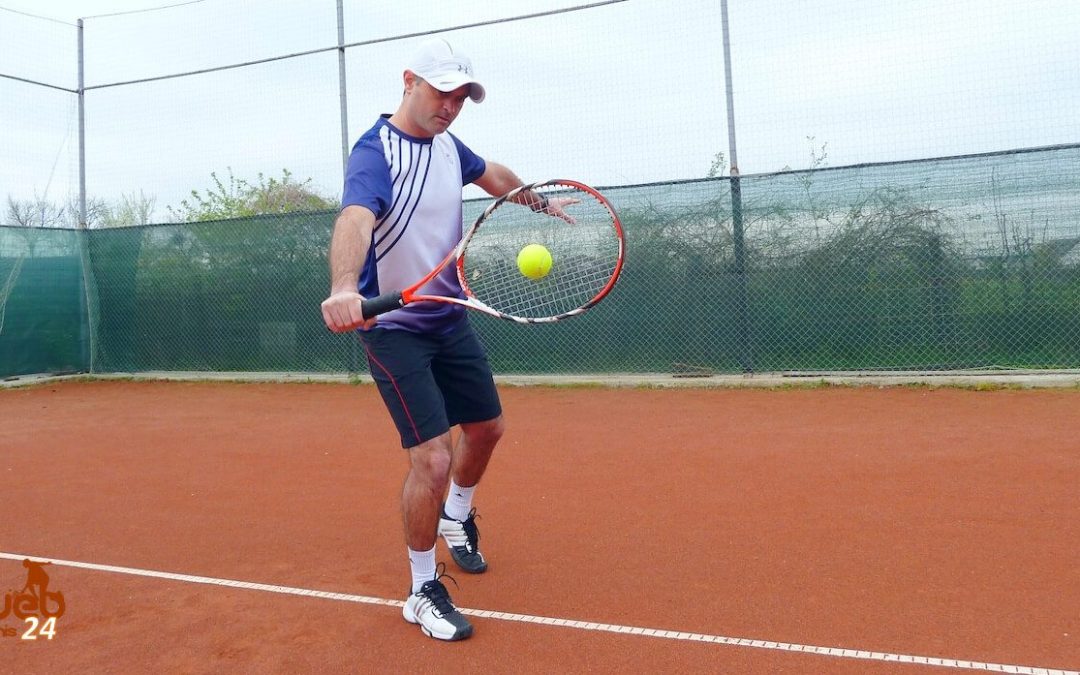
One-Handed Tennis Backhand / WebTennis24

FAQ

Which backhand is better for beginners?

Two-handed is generally easier to learn and control at first, so many coaches recommend it for new players.

Can I switch from two-handed to one-handed later?

Yes. With focused practice on the contact point, grip, and forearm strengt,h you can transition, but expect a learning period.

Which style handles high-bouncing serves better?

A two-handed backhand tends to be easier for handling high or kick serves. One-handers rely on a strong slice or perfect timing.

Do I need a strong forearm for the one-handed tennis backhand?

Yes. Forearm and wrist control are important to stabilize the racket at impact and produce consistent shots.

Conclusion

Both backhands have clear advantages. Two-handed offers control and power; one-handed offers simplicity and an effortless feel when executed well.
I recommend trying both, understanding the contact and technique, and choosing the style that matches your body and comfort on court.


Cosmin Miholca

Cosmin Miholca

Certified Tennis Coach

Ready to improve your tennis further?
Let’s get started!

Improve Your Doubles Tennis with 3 AI-Driven Custom Drills

Improve Your Doubles Tennis with 3 AI-Driven Custom Drills


AI Custom Tennis Drills to Improve Your Doubles Game

If you want to get better at doubles tennis, using AI custom doubles tennis drills can help you practice key skills and become a smarter player.
The following drills are designed to help you improve your net play, volleys, overheads, and court movement – all important for doubles success.
Whether you train alone or with a partner, these drills offer a fun and effective way to work on your game.

Drill 1: Tactical Doubles Advance

The first drill focuses on moving forward to the net, a crucial skill in doubles. You start by hitting a series of shots on one side of the court: a slice forehand crosscourt, a half volley forehand crosscourt, followed by a high volley put-away down the line. After completing these shots on the deuce side, you get a few seconds to move to the ad side and repeat the sequence.
This drill helps you practice approaching the net and finishing points with aggressive volleys. It can be done solo with a ball machine or with a partner taking turns hitting balls.
The alternating feeds make it realistic and keep you sharp.

Drill 2: Half-Court Doubles Dominance

The second drill is about controlling the half-court area, which is very important in doubles strategy. You start at the baseline with two topspin groundstrokes, directing them crosscourt. Then you hit an approach shot to move closer to the net. Once at the net, you practice three volleys and finish with an overhead smash.
After finishing on one side, you switch and repeat the same pattern on the other side of the court.
This drill builds your ability to handle different types of shots and maintain pressure at the net.
Like the first drill, it works well solo or with a partner, with the ball machine alternating feeds between players.

Drill 3: Lob Defense and Net Attack

The third drill is the most fun and helps you improve your reaction to lobs and your net attack.
Starting at the net, you prepare for a lob ball that lands at or beyond the service line.
You run back to hit it and then come forward for a short ball approach.
After moving up, you do three volleys: forehand volley, backhand volley, and a high put-away volley to finish.
This drill trains your footwork, quick reactions, and volley skills under pressure.
It can be done alone or with a partner, alternating to keep the pace and intensity up.

Why Use AI Custom Doubles Tennis Drills?

These drills are created specifically for doubles play and can be downloaded from the PongBot app if you own the AI ball machine.
The PongBot machine feeds balls with precise timing and placement, making your practice sessions efficient and realistic. You can also customize the drills to fit your needs, whether you want to focus more on volleys, approach shots, or court movement.
Using AI custom doubles tennis drills helps you get consistent reps on important shots, improves your timing, and builds confidence for match situations. Plus, the ability to practice alone or with a partner makes it easy to fit training into your schedule.

Final Thoughts

Working on your doubles skills with these AI custom doubles tennis drills will help you become a better player by improving your net play, volleys, overheads, and court positioning. Whether training solo or with friends, these drills are enjoyable and practical. If you want to try them, consider using a PongBot AI ball machine to get the most out of your practice.

doubles tennis drills with AI ball machine

Frequently Asked Questions

Can I do these drills without a ball machine?

Yes! You can have someone feed balls to you manually and still benefit from these drills. The key is to maintain the sequence and timing of shots.

How many players can practice with these drills?

These drills work well for solo practice or with two players. They can also be adapted for small groups, making them great for coaches training multiple players.

What skills do these drills improve?

These drills focus on net approach, volleys, overheads, lob defense, and court movement – all essential for doubles tennis.

Where can I get these drills?

If you own a PongBot AI ball machine, you can download these drills directly from the PongBot app’s drill library.


Cosmin Miholca

Cosmin Miholca

Certified Tennis Coach

Ready to improve your tennis further?
Let’s get started!

I Tested the Smartest Tennis Ball Machine: Pongbot Pace S Pro

I Tested the Smartest Tennis Ball Machine: Pongbot Pace S Pro


Discover the Future of Tennis Training with the AI Tennis Ball Machine: PongBot Pace S Pro

After more than two decades of regularly using tennis ball machines in my training, I recently encountered the PongBot Pace S Pro – an AI tennis ball machine that genuinely impressed me.
This isn’t just another ball feeder; it’s the world’s first smart ball machine that tracks your movement on the court and adapts its feeds in real time.
Imagine training with a partner who watches your every step and adjusts the ball placement accordingly.

In this article, I’ll walk you through my three favorite features of the PongBot Pace S Pro: Custom Drills, Recovery Trigger, and Adaptive Rally.

Custom Drills: Tailor Your Practice to Your Goals

One of the most exciting capabilities of the PongBot Pace S Pro is the ability to create custom drills. Whether you’re a player, coach, or tennis parent, this feature allows you to design drills that align perfectly with your training objectives.

What makes this feature remarkable is that you can program up to 45 balls in one sequence. For instance, you might want to practice a combination of baseline strokes, approach shots, volleys, and overheads all in one fluid drill. The machine can deliver this complex sequence seamlessly, making your practice session both varied and dynamic.

Using the accompanying app, setting up these drills is intuitive and fun. You can customize every ball’s spin (topspin, slice, or no spin), speed, height, and placement on the court. This level of control means you can replicate specific match scenarios or focus on particular shots that need improvement.

To illustrate, I programmed an 11-ball drill involving my daughter Bianca, which included baseline forehands and backhands, short balls to bring her forward, volleys, and lobs (watch the video above). The machine fed balls in a pattern that mimicked a real match, allowing me to coach her live while the machine managed the ball feeds. This hands-free approach lets coaches focus on instruction without interrupting the flow of practice.

Additionally, the app offers over 300 pre-programmed drills designed by professionals, which you can use directly or modify to fit your needs. This extensive library ensures that players of all levels have access to high-quality training routines at their fingertips.

Recovery Trigger: Training at Your Own Pace

The Recovery Trigger feature is a game-changer for anyone looking to simulate realistic match conditions while controlling the pace of their training. This function allows you to designate a “recovery spot” on the court, such as behind the baseline, at the service line, or closer to the net, using the app.

The AI tennis ball machine then waits to feed the next ball until you return to this recovery spot after hitting your shot. This means the machine adapts to your speed and stamina. If you recover quickly, the machine speeds up the ball feed; if you take your time, it waits patiently.

This feature is especially useful for coaches because it allows them to pause the drill to give feedback or instructions without the ball machine continuing to feed balls relentlessly. For players, it means you can manage your energy levels and focus on quality shots rather than rushing to keep up with a preset tempo.

The technology behind this is impressive: the machine uses two sensors placed on the net and a wearable tag on the player (attached to clothing or a visor) to track the player’s position on the court. This setup enables the machine to know precisely when you’ve returned to the designated recovery spot.

During a demonstration with Bianca, we set the recovery spot behind the baseline. As she hit each shot, the machine only fed the next ball once she returned to the spot. When she slowed down, the machine waited, and when she sped up, the ball feeds came quicker (see the video above).
This personalized pacing makes workouts more effective and less exhausting.

Adaptive Rally: Intelligent Ball Feeding Based on Your Position

The third feature I’m excited to share is the Adaptive Rally. This function allows the AI tennis ball machine to track your position on the court and feed balls accordingly.
Instead of a fixed ball placement, the machine adjusts in real time based on where you move.

For example, if you hit a ball and then move several steps to the right, the next ball will be fed to that new position, helping you work on your footwork and shot preparation without feeling rushed.

This feature is particularly beneficial for beginner players who need extra time to get into position without the pressure of a constant ball feed. It encourages proper footwork and positioning, which are foundational skills for tennis improvement.

Using the same sensor and tag system as the Recovery Trigger, the machine continuously monitors your location. Whether you’re at the baseline or the net, you can customize drills to match your position and training focus.

In practice, I had Bianca wear the tag while the machine tracked her movement. As she shifted around the court, the machine adapted, ensuring the next ball was fed exactly where she was standing.
This flexibility makes practice sessions feel more dynamic and less robotic.

Additional Features and Final Thoughts

Beyond these three standout features, the PongBot Pace S Pro comes loaded with other impressive capabilities:

  • Smart match simulation: Mimics real match scenarios to prepare players mentally and physically.
  • NTRP-based ball feeds: Customize speed and difficulty based on your National Tennis Rating Program level.
  • Remote and app control: Operate the machine easily from your remote, or smartphone.

While this AI tennis ball machine won’t replace a coach or hitting partner – because nothing can replace human feedback and interaction – it offers a unique, challenging, and fun way to enhance your training whenever you want. It’s perfect for players looking to improve independently, or coaches seeking an efficient way to run drills.

One minor downside? You can’t claim to have beaten a robot! But the benefits far outweigh that small drawback.

smart AI tennis ball machine - PongBot Pace S Pro

Frequently Asked Questions (FAQs)

What makes the PongBot Pace S Pro different from other ball machines?

The PongBot Pace S Pro is the world’s first AI tennis ball machine that tracks your movement on the court and adapts its ball feeds in real time, offering features like custom drills, recovery trigger, and adaptive rally that simulate realistic match play.

Can I customize drills on the PongBot Pace S Pro?

Yes! You can create drills with up to 45 balls per sequence, customizing spin, speed, height, and placement. The app also includes over 300 pre-programmed professional drills.

How does the Recovery Trigger feature work?

You set a recovery spot on the court, and the machine waits to feed the next ball until you return to that spot. This allows you to train at your own pace and gives coaches time to provide feedback during drills.

Is the PongBot Pace S Pro suitable for beginners?

Absolutely. The Adaptive Rally feature is especially helpful for beginners, as it feeds balls based on your position, allowing you to focus on footwork without feeling rushed.

How do I control the machine during practice?

The Pace S Pro can be controlled via a lightweight remote, or a smartphone app, giving you flexibility and convenience during training sessions.

Where can I buy the PongBot Pace S Pro?

You can purchase it online through authorized dealers. Using the discount code CTT5 will save you 5% at checkout.


Cosmin Miholca

Cosmin Miholca

Certified Tennis Coach

Ready to improve your tennis further?
Let’s get started!