How to Hit a Perfect Half-Volley: A Step-by-Step Tennis Lesson
The Half-Volley Tennis Lesson: Techniques and Drills
Welcome to this comprehensive half-volley tennis lesson, where we will dive deep into one of tennis’s most challenging yet rewarding strokes.
Understanding the half-volley can significantly improve your game, whether you’re a beginner or an advanced player.
In this article, we will cover the essential techniques, grips, and drills to help you master this critical shot.
🎾 Intro to Half-Volley Tennis Lesson
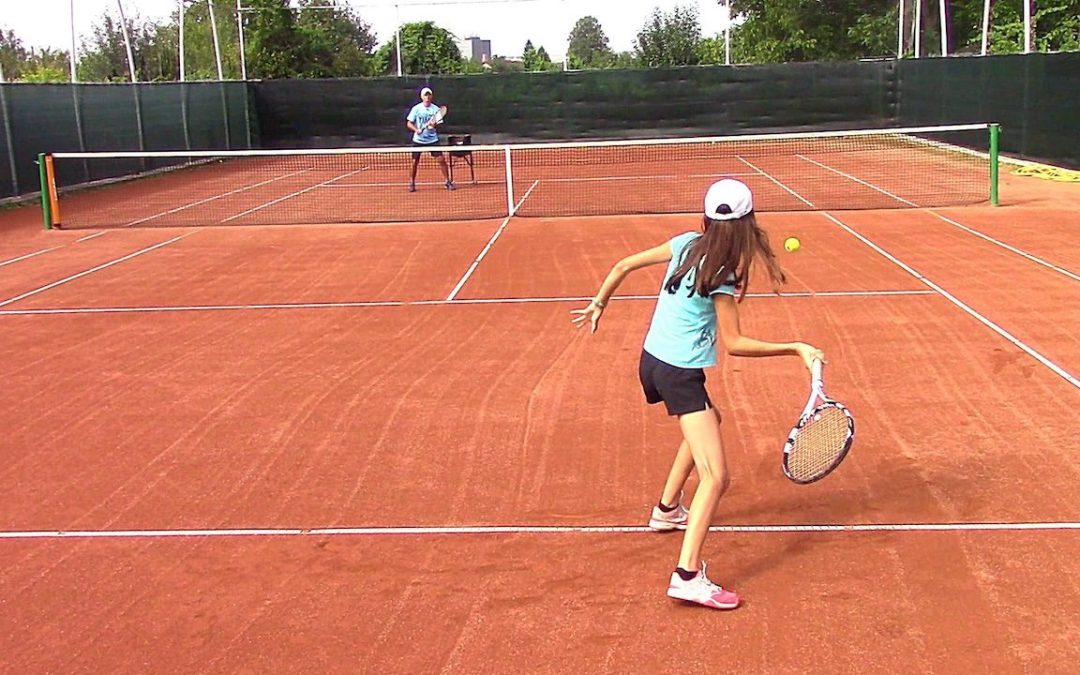
The half-volley is a unique stroke that requires a combination of good anticipation, racket control, and balance. It is often encountered during match play, especially when transitioning from the baseline to the net.
In doubles, your opponents will frequently aim to hit the ball down at your feet, making the half-volley an essential skill to develop.
The goal of this lesson is to guide you step-by-step through the different aspects of the half-volley, including grip, preparation, contact, and follow-through.
🎾 Half-Volley: Grip & Preparation
The first step in executing a successful half-volley is mastering the grip. I highly recommend using the continental grip, often referred to as the hammer grip. To achieve this grip, position the V formed by your index and thumb on the edge of the racket and slide it down towards the bottom.
This grip allows you to have better control and makes it easier to react quickly to incoming shots.
As you approach the net and notice a ball coming toward your feet, transition into the continental grip.
It’s crucial to never stand straight when preparing to hit a half-volley. Always bend your knees to lower your center of gravity. This position not only enhances stability but also enables you to get down to the ball more effectively.
Remember, your back should remain straight while you bend your knees!
When preparing to hit the ball, ensure that your racket is behind the path of the incoming shot, and avoid taking a backswing.
The half-volley is about quick reaction and finesse, not about power. So, as you get into position, keep your racket parallel to the ground, ready to make contact with the ball just after it bounces.
🎾 Half-Volley: The Contact
Contacting the ball during a half-volley is crucial for success.
As you bend your knees and get into position, aim to make contact right after the ball bounces. Your racket should be positioned in front of you, with strings facing forward.
It’s important to maintain that 45-degree angle with your body towards the net post, ensuring that your racket doesn’t swing back behind your shoulders.
At the moment of contact, think of the half-volley as a push rather than a swing. You won’t generate much power from a backswing, so focus on using your legs to provide the necessary force.
As you push through the ball, transfer your weight forward. This technique not only helps in controlling the shot but also ensures that you maintain momentum after making contact.
🎾 Half-Volley: Finish/Follow-Through
The follow-through in a half-volley is shorter and more controlled than in other strokes. After making contact, continue directing your racket towards your target.
If you aim for a cross-court shot, your racket should finish pointing in that direction. For a down-the-line shot, adjust your follow-through accordingly.
Remember, the half-volley is not about elaborate follow-throughs; it’s about precision and placement.
As you practice, focus on guiding the ball rather than trying to hit it hard. The objective is to get the ball over the net and into the court while avoiding giving your opponents an easy opportunity to attack.
🎾 Half-Volley: Purpose in Singles and Doubles Play
Understanding the strategic use of the half-volley is vital for both singles and doubles play. In singles, the half-volley can be used to keep the ball straight ahead or to exploit openings. In doubles, the priority shifts to keeping the shot away from the opposing net player. Always remember to keep your shot low and controlled to minimize the chance of giving your opponents a high ball to attack.
In summary, the half-volley serves as a crucial transition shot. It’s essential to keep moving forward after hitting the ball, maintaining pressure on your opponents, and positioning yourself for the next shot.
The half-volley is not just a defensive move; it can also be an offensive weapon when executed correctly.
🎾 Half-Volley: Progression Drills
Now that you have a solid understanding of the half-volley, let’s dive into some effective drills to practice this skill. Start with a few basic drills to build your confidence and consistency:
- Solo Bounce Drill: Begin by holding the racket with the continental grip. Bounce a ball in front of you and, as it drops, bend your knees and catch the ball right as it comes up off the ground. Focus on getting the racket behind the ball without a backswing, and push through the ball using your legs.
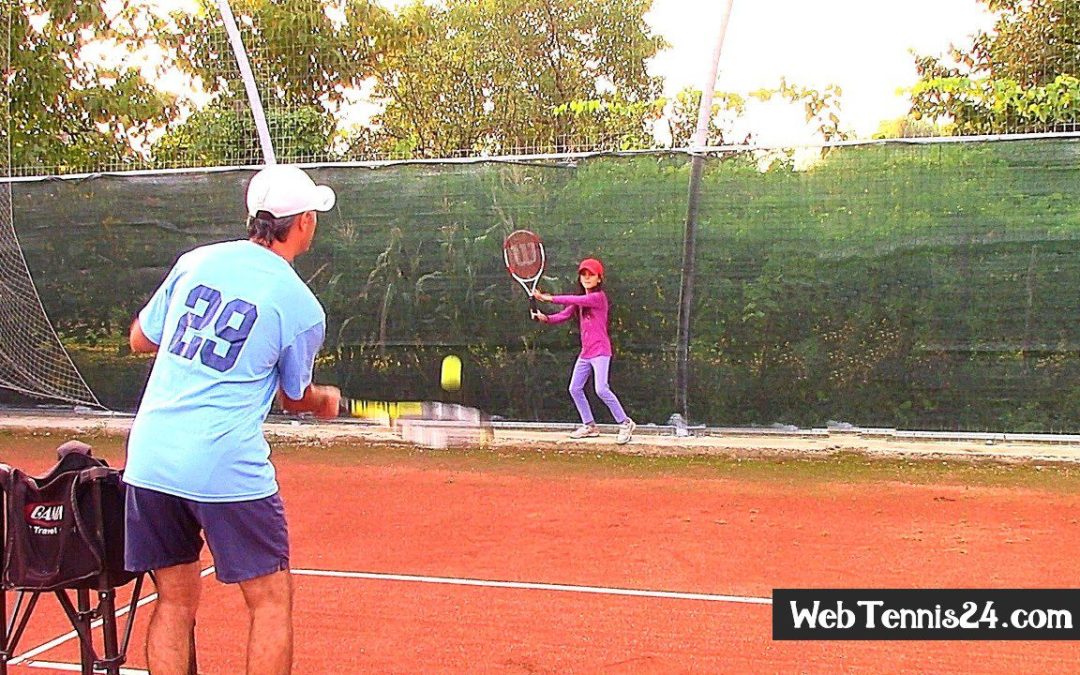
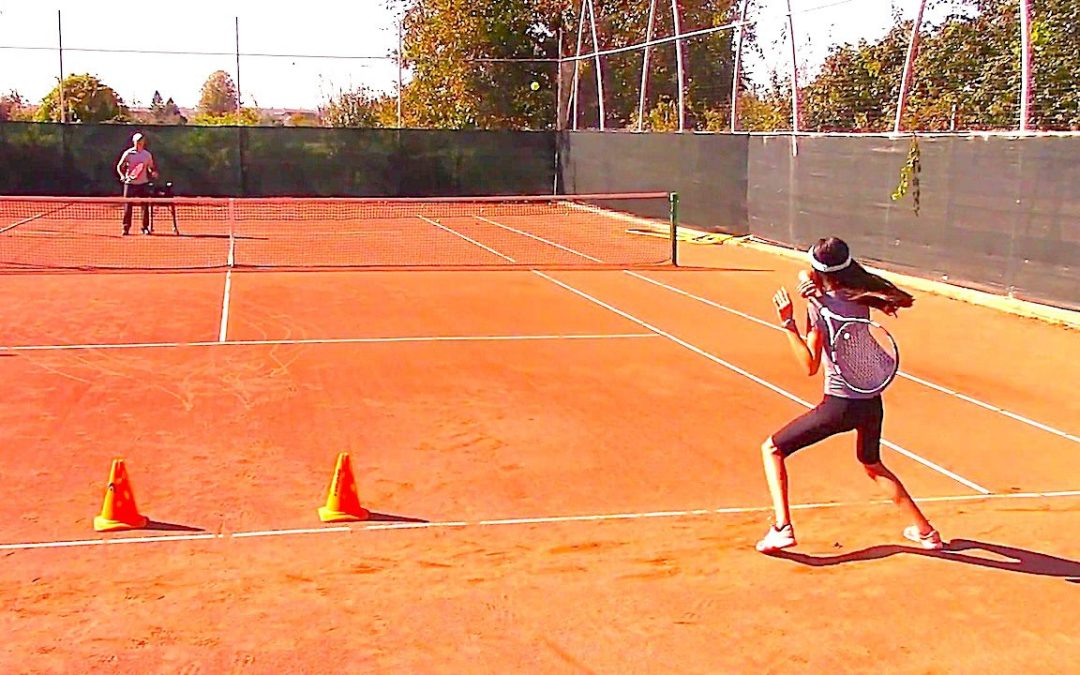
- Partner Feeding Drill: Position yourself at the service line or behind it while a partner feeds you balls. Ensure that you turn your body slightly sideways at a 45-degree angle. As the ball approaches, bend your knees and push through the ball right after it bounces.
- Ball Machine Drill: If you have access to a ball machine, set it to feed balls just inside the service line. Practice your half-volley technique by focusing on timing, footwork, and pushing through the ball. This drill simulates match conditions and allows you to work on your placement.
- Placement Drills: As you become more comfortable with the half-volley, practice targeting specific areas of the court. Aim for cross-court shots and down-the-line shots, ensuring that your racket follows the direction of your target.
These drills will help you develop the timing, footwork, and control necessary for executing effective half-volleys during matches.
Remember to have fun with your practice and be creative with your drills!
FAQ
What is a half-volley in tennis?
A half-volley is a shot executed just after the ball bounces, requiring quick reflexes and precise control. It is often used when transitioning from the baseline to the net.
Why is the continental grip important for half-volleys?
The continental grip allows for better control and quick adjustments when responding to low balls, making it an ideal choice for executing half-volleys.
How can I improve my half-volley technique?
Practice drills that focus on timing, footwork, and the push-through technique. Consistent practice with a partner or ball machine will enhance your skills.
Is the half-volley an offensive or defensive shot?
The half-volley can be both! While it is often used as a defensive shot to handle low balls, it can also be strategically placed to create offensive opportunities against your opponents.
In conclusion, mastering the half-volley is essential for any tennis player looking to elevate their game. By focusing on the grip, preparation, contact, and follow-through, you can develop a reliable half-volley that will serve you well in matches.
For more in-depth training and tips, check out Cosmin’s Tennis Training.