Easy Way to Teach the Volley / Fun Tennis Lesson
The volley is my favourite tennis stroke to teach, and that’s because I follow a progression that is both educational and fun for my students to learn.
It all begins by presenting the volley as a “catch” and imagining that the racquet is an extension of the player’s hand.
Here are the steps that I follow (see the video below for visual demonstration):
1. I toss a few balls towards my student’s dominant side and ask them to catch. While they do that, I emphasize the fact that they do not take the hand back before catching the ball, nor do they follow through after catching it. So the volley should not have a backswing or a follow-through.
It is a catch and a push. The pushing should come from stepping forward toward the ball or getting the body weight into it.
2. After getting comfortable catching the ball (by the way, to take some pressure away you can use soft balls such as kids’ balls for the student to not be afraid of being hit in the face), proceed to catching the ball using the racquet.
Help the player imagine that the racquet is a bigger hand and that they should attempt to once again catch the balls, this time on the strings. Tell them that they should not be swinging, just tapping the ball so that it goes over the net (by the way, the player should be no more than 6 feet away from the net, at this stage; later on, we’ll show them where to position and how to cover the court).
3. Continue the same drill while the player slides, gradually, the hand lower towards the bottom of the grip. All this time, the student is taught to hold the racquet with a “hammer” grip (like they would be hammering a nail with the edge of it).
4. Once the player feels more comfortable catching and tapping the ball with the strings holding the racquet with a hammer grip, the next step would be to learn the basic footwork. Explain to them that power, when volleying, comes from catching the ball out in front and moving the body weight into it.
For that, as they prepare to catch the ball on the strings, they have to take a step in the direction of the ball.
(Note: Keep in mind that we are at the beginning stages of learning the volley, therefore the footwork that the player learns is a basic one, keeping it simple and not overwhelming them with too much information. Later on, we’ll add the more complex movement that requires covering the court and getting to the ball in balance).
Some of the technical aspects, that a coach should pay attention to:
- don’t let the racquet head drop below the hand level; keep the racquet cocked so that there is a 90 degrees angle between the forearm and handle;
- no backswing – racquet stays in front of the line of shoulders;
- no follow-through – after catching the ball, the racquet comes to a stop and is brought back to the ready position;
- remind the player that power comes from catching the ball early and stepping into the shot;
- the racquet head is slightly open (facing up) so that later on, combined with a high to low push (or punch), it will create an under-spin which is essential to control the ball.
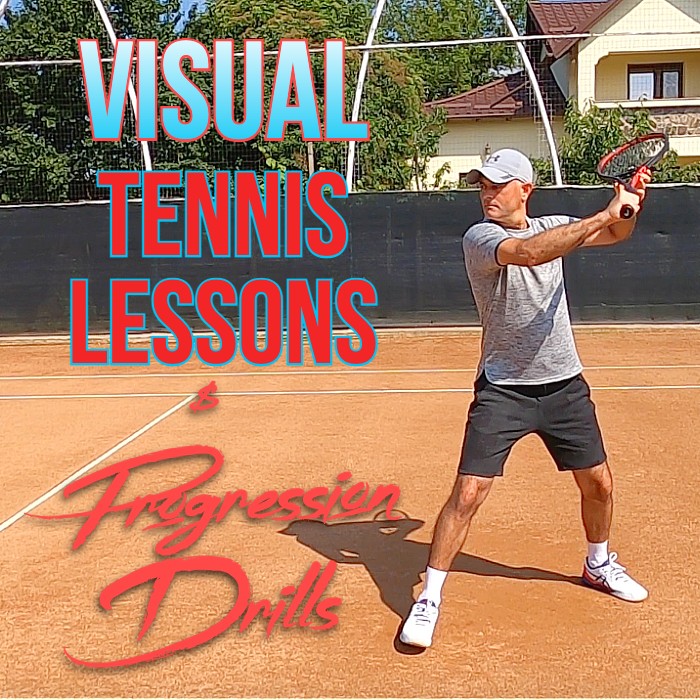
For a visual presentation of this lesson, see the video below.
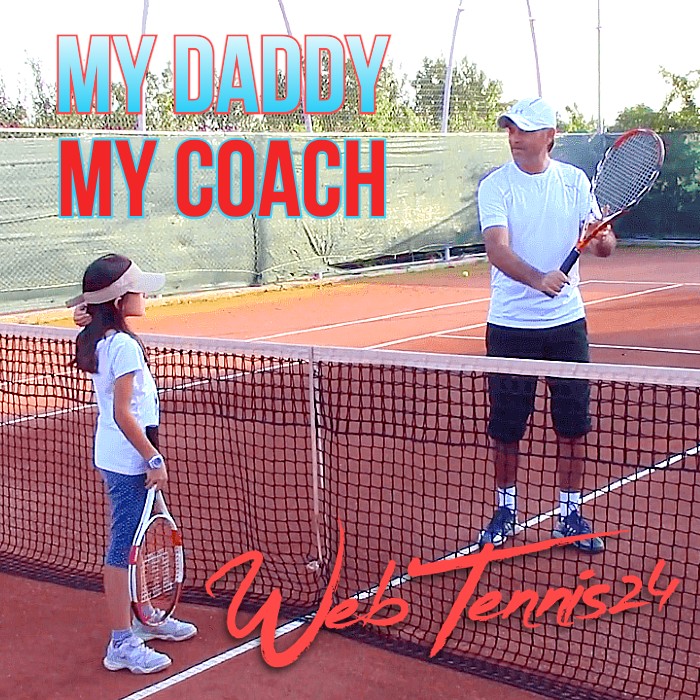
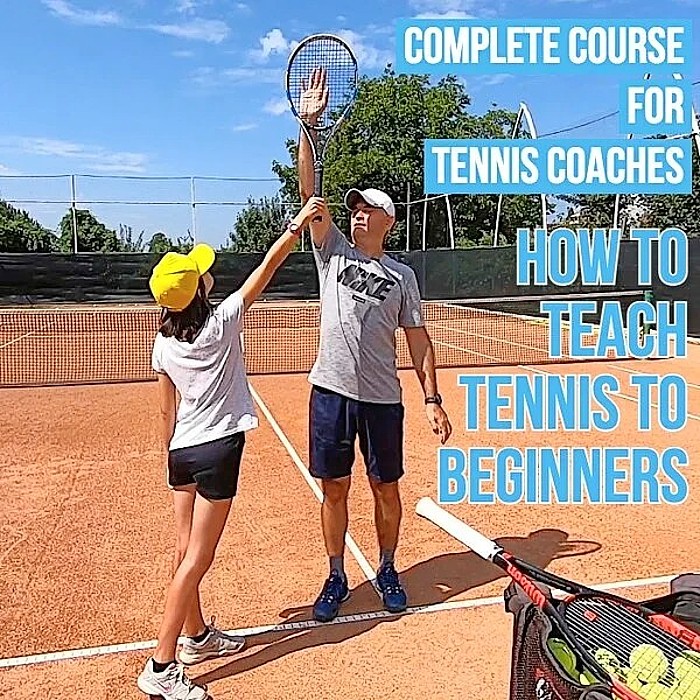
To learn how to teach tennis to children or any beginning player, visit the My Daddy / My Coach section or 10 Lesson Plans / How to Teach Beginning Tennis Players from WebTennis24.

Cosmin Miholca
Certified Tennis Coach
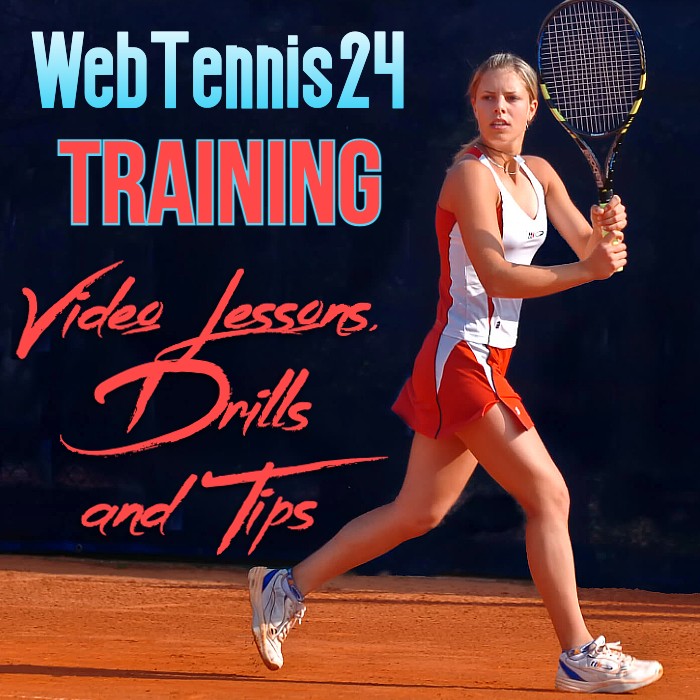
Check out my work at WebTennis24 where I share with you my best video tennis lessons, drills and tips for players, coaches and tennis parents.


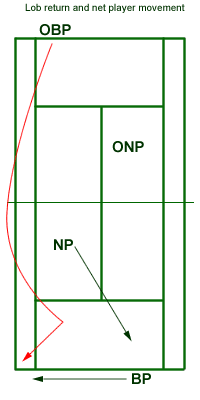 As you see in the attached diagram, lobbing the net player can greatly affect the defending team (the one being lobbed: BP-NP) which has to change positions to retrieve the lob: