
Practical Tennis Coaching Tips: Grips, Footwork, Depth and Power
Tennis Coaching Q&A: Practical Answers Every Coach and Player Can Use
These clear, coach-friendly solutions focus on how to teach beginners, fix common technical issues, and build progressions that create reliable players.
Each section includes simple cues, drill ideas, and the reasoning behind common teaching choices.
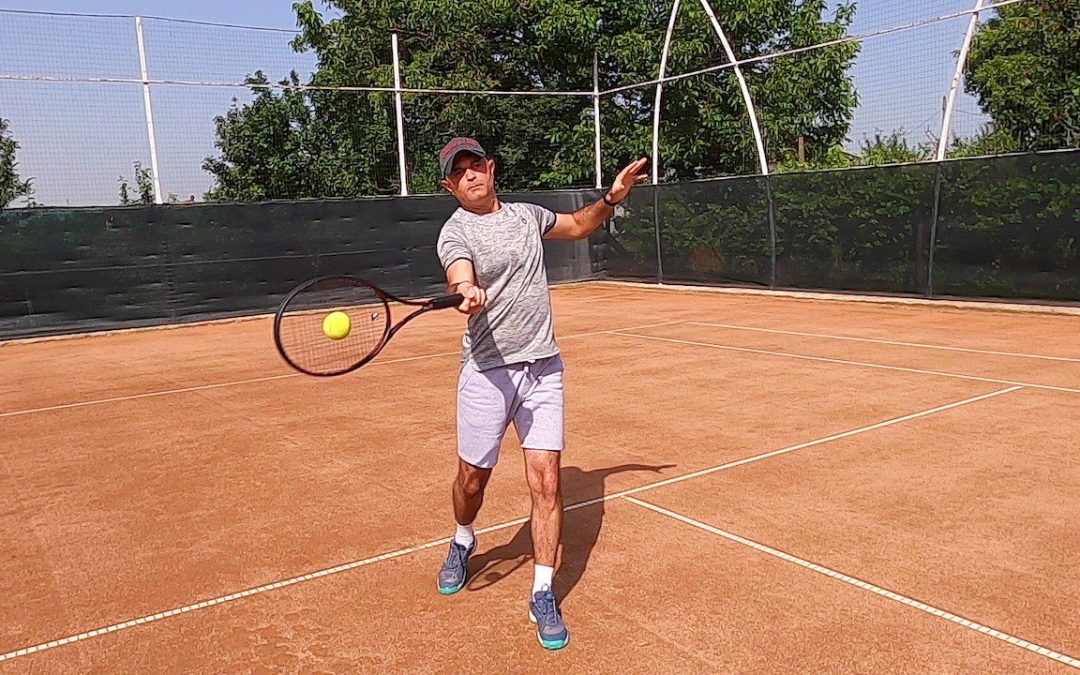
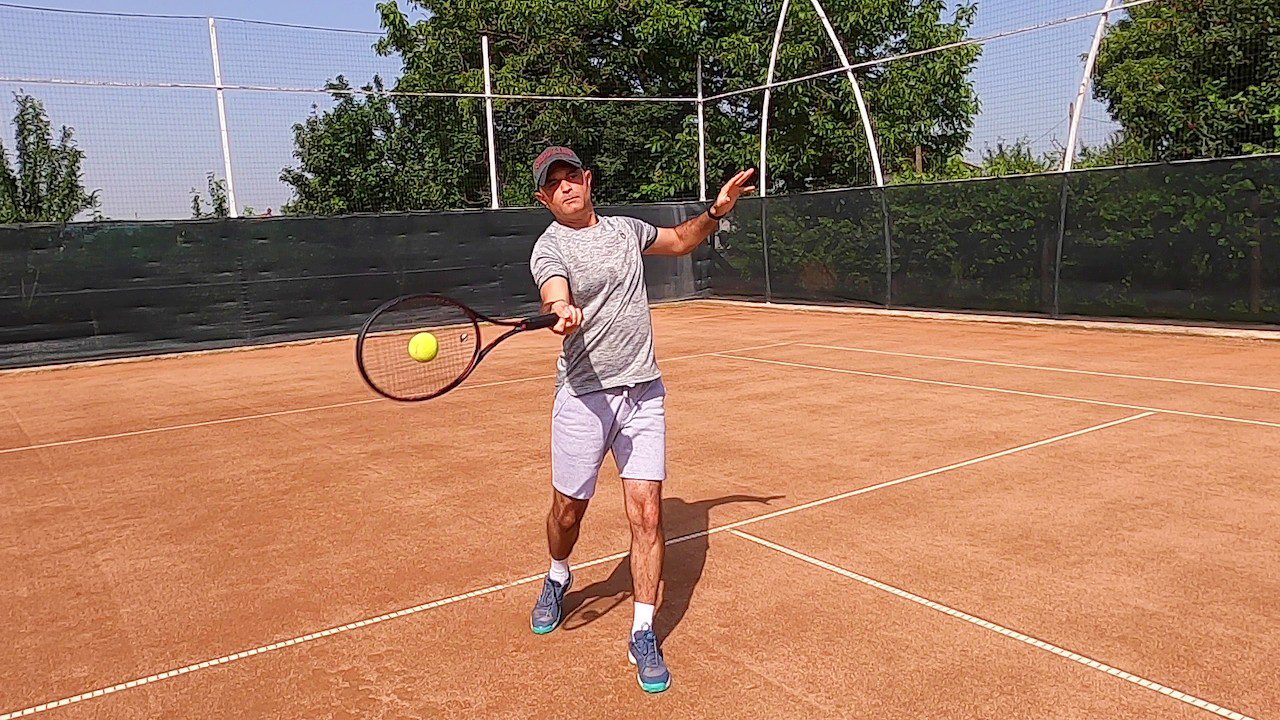
Rallying with a Continental (Hammer) Grip
When working with beginners, use the continental or hammer grip while rallying. This grip produces flatter, lower-spin balls that are easier for new players to control. It reduces excessive topspin bounce that can make rallies unpredictable for students still learning timing.
Keep the swing compact. Aim to minimize spin on the ball. The goal is predictable, controllable rebounds so the student can feel consistent contact and start building rally rhythm.
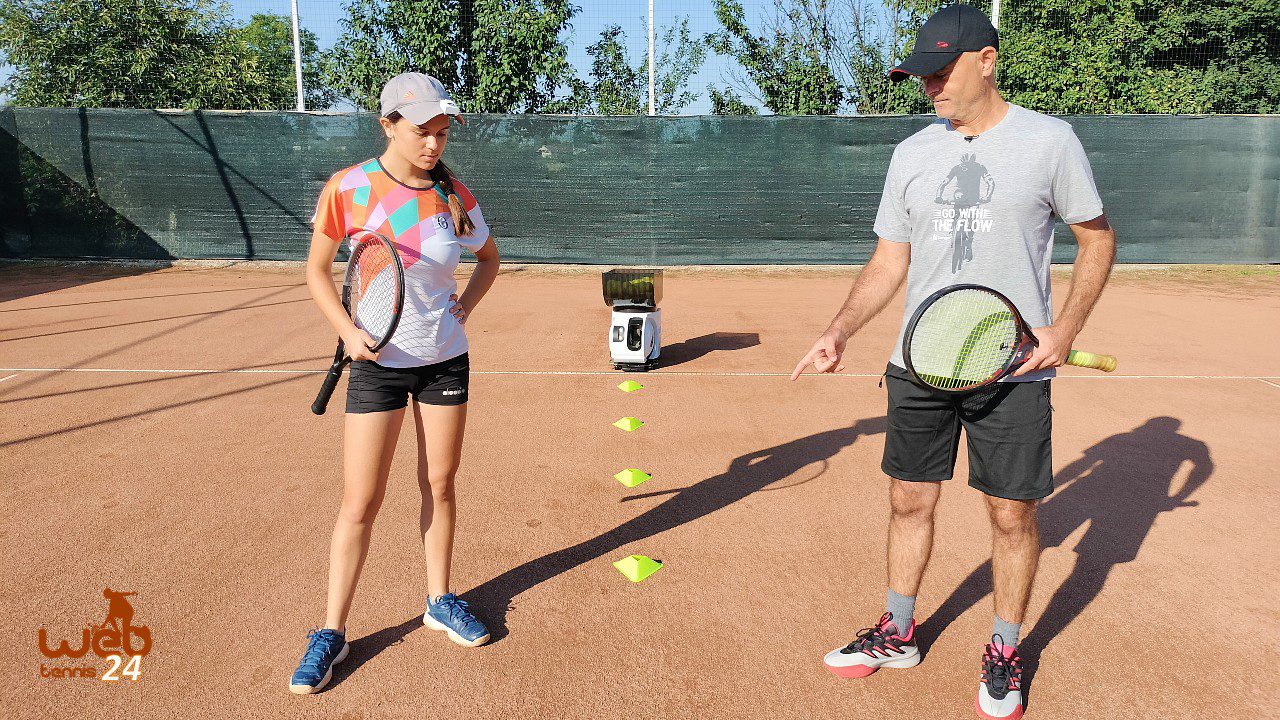
Depth Control: How to Cue Short vs Deep
To teach short and deep shots, use two simple visual cues:
- Brush up on the ball to create more topspin and shorten the landing point.
- Swing through the ball to reach depth.
For drills, place a small portable net or a line of cones halfway between the baseline and the net. Ask players to land the ball in front of the cones for short shots and beyond them for deep shots. Repeat with emphasis on the upward or forward swing path.
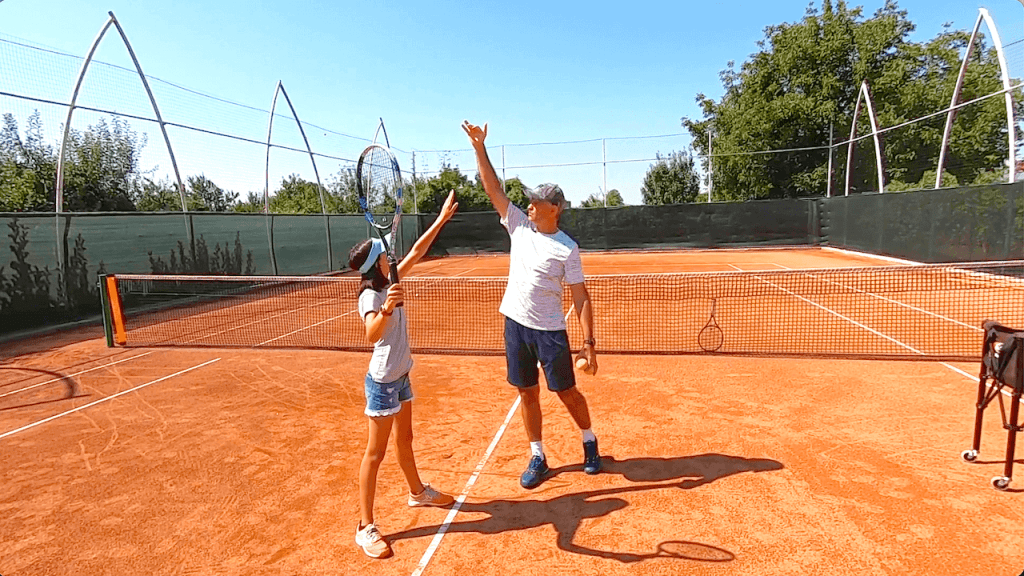
Ready Position: Why the First Step Is a Step-Out
The initial action from the ready position should be a step-out toward the incoming ball while loading the outside foot. This is not just footwork – it is a unit turn that coils the shoulders and takes the racket back by body rotation rather than by arm pull.
Cue players to split, step out, and load the outside foot. Teach that the racket should go back through the torso turn. This creates a more efficient kinetic chain and cleaner timing for contact.
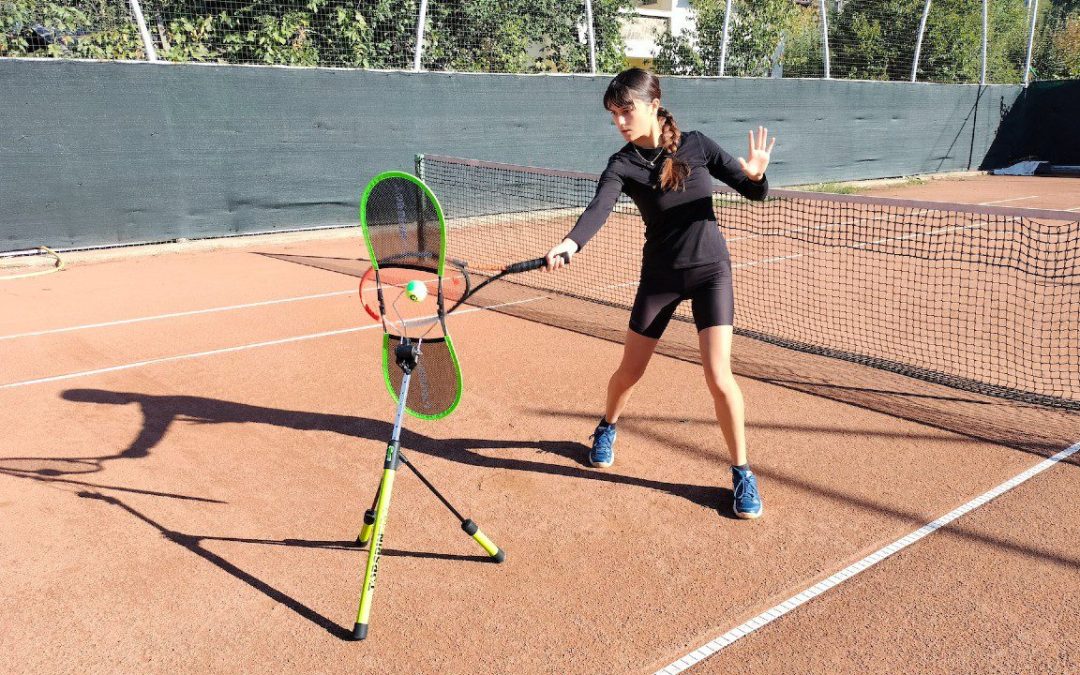
Loop Swing Drill: Which Way Should the Coach Hold the Racket?
When assisting a loop swing drill, orient the coach’s racket so the handle points toward the player – see the above video. For children especially, this limits an exaggerated backswing and forces a compact loop – over, under, then low-to-high.
Fixing Shanks and Improving Ball Tracking
Shanks usually happen for a few reasons: timing errors, taking eyes off the ball, poor bounce anticipation, inappropriate grip, or a small racket head that reduces forgiveness.
Corrective steps:
- Practice drills that start the racket just behind the contact point so the player learns the correct hand and racket position first.
- Check grip: a semi-western orientation typically presents the strings more forward and reduces frame hits compared with an extreme western grip.
- Encourage steady eye contact up to and through contact. If necessary, use short toss drills where the student watches the ball and punches through from the contact position.
- Try a slightly larger racket head for less advanced players to increase the margin for error.
Generating Effortless Power
Power is a product of timing, a loose arm, body rotation, leg drive, and equipment choices. Emphasize these points:
- Relaxed arm and wrist – imagine the arm like a whip or cooked spaghetti.
- Legs and rotation – drop, coil, then accelerate up and through.
- String tension – lower tension adds liveliness; higher tension favors control.
- Coachable mindset: allow “good misses” that go long rather than short. Deep misses usually mean the player stayed relaxed and aggressive.
Serve Contact Point and the Role of the Small Jump
Teach the serve contact point so it is as high as the player can comfortably reach while fully extended. As the player adds leg drive and learns knee bend, a small jump often appears naturally.
The jump should not be deliberate. It is a byproduct of pushing up from the legs to reach the highest contact point. Cue players to bend, push, and reach, and the slight lift will follow.
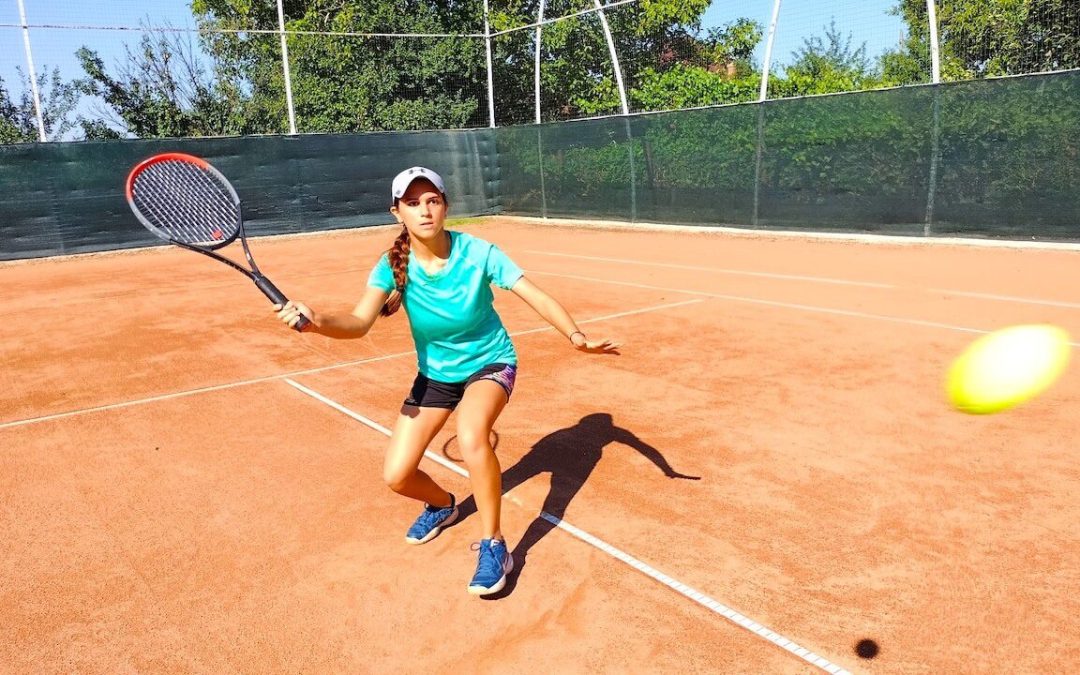
Open Stance Forehand and Closed Stance Backhand for Beginners
Starting the forehand in an open stance encourages hip and shoulder rotation, making the stroke more natural and powerful for beginners. For the backhand, a closed or square stance simplifies body positioning when both hands are on the racket and gives better initial control.
Teach the backhand with a step in and allow the back foot to come around during the swing to gain freedom. As players progress, both strokes can be adapted to more advanced stances.
Teaching Progression: Technique to Power
A practical development sequence is: Technique → Consistency → Placement → Spin → Power. Technique first, then build the ability to repeat it. Once a player can consistently rally, work on placing the ball purposefully. Spin comes next, and finally introduce power once control is reliable.
Contact-First Teaching Philosophy
Start many beginner drills from the contact point plus follow-through. Have the student push the ball from the contact position to feel grip, racket face, and finish. This accelerates understanding of where the ball meets the strings and teaches a relaxed, long finish that shows fluid technique.
Volley Set Position: Preventing the Drop
Young players often drop the racket head because they cannot hold the wrist angle. Teach a locked wrist with roughly a 90-degree angle between the forearm and racket. A useful progression:
- Choke up on the racket neck so the movement arm is shorter and wrist control is easier.
- Practice short reps to hold the 90-degree angle and punch through the ball.
- Gradually slide the hand down the grip as strength and stability improve.
Backhand Half-Volley: How to Introduce It
The half-volley is timing-intensive. Teach it later, after basic volleys and footwork are solid. For the backhand half-volley, start with a two-handed half-volley to give stability. Once timing and racket control are present, remove the non-dominant hand and work toward the one-handed version.
FAQs
When rallying with beginners using a continental grip, can you still produce topspin or are you limited to blocks and slices?
Using a continental grip as a coach produces flatter, lower-spin balls that are easier for beginners to manage. It is possible to create a little topspin with a compact swing, but the main benefit is control and predictability while building basic feel.
What is the most effective cue for controlling shot depth in short-to-deep drills?
Tell players to brush up for shorter, higher-bouncing shots and to swing through for deeper, penetrating shots. Use a visual target like a small net or line of cones halfway to the net to help players internalize the difference.
Why teach a step-out from the ready position rather than just rotating the shoulders?
The step-out loads the outside foot and creates a unit turn. The racket is taken back by body rotation, not arm movement. This produces cleaner timing, better power generation, and safer mechanics.
How do I stop players from shanking the ball with the frame?
Start with drills from the contact point, check grip orientation (avoid extreme western if causing frame hits), increase racket head size if needed, and emphasize steady eye contact to improve timing and sweet spot consistency.
Should players visualize serve placement or focus on racket face and technique?
Both matter, but placement is largely built through repetition and feel. Encourage players to look at the target, serve, then adjust based on where the ball lands. Technical tweaks come later once feel is established.
How should I introduce volleys to young players who keep dropping the racket head?
Have them choke up on the racket neck to shorten the lever and practice holding a 90-degree forearm-to-racket angle. Gradually slide the hand down the grip as wrist strength and control improve.