
Switching to a Two-Handed Backhand? Train These 2 Things!
Switching from a one-handed to a two-handed backhand is not simply a matter of putting another hand on the racket. You need to change what your hands are used to doing.
The shortcut I like focuses on two things: teaching both hands to work together and teaching the non-dominant hand to swing toward the ball. Once those movements feel more comfortable, you have a foundation for your new stroke.
This is a simple progression, not a complete lesson covering every technical detail of the two-handed backhand. The goal is to make the transition less awkward by practicing the movements separately, then bringing them together.
Why I Use Two Hands in Matches
I grew up playing with a two-handed backhand. When I started coaching, I needed one hand free to hold tennis balls while rallying with students. So I learned a one-handed backhand, and I loved it.
I still enjoy using one hand when I teach or rally for fun. In matches, though, especially under pressure, I tend to return to two hands. For me, it offers better control, an easier return of serve, and more comfort handling high balls and creating angles. Power and control are also reasons I prefer it in competition.
That does not mean everybody needs to switch. If you are still deciding, my comparison of one-handed and two-handed backhands can help you think through the choice. If you have already decided, the next step is to retrain the movement.
Understand the Two Changes First
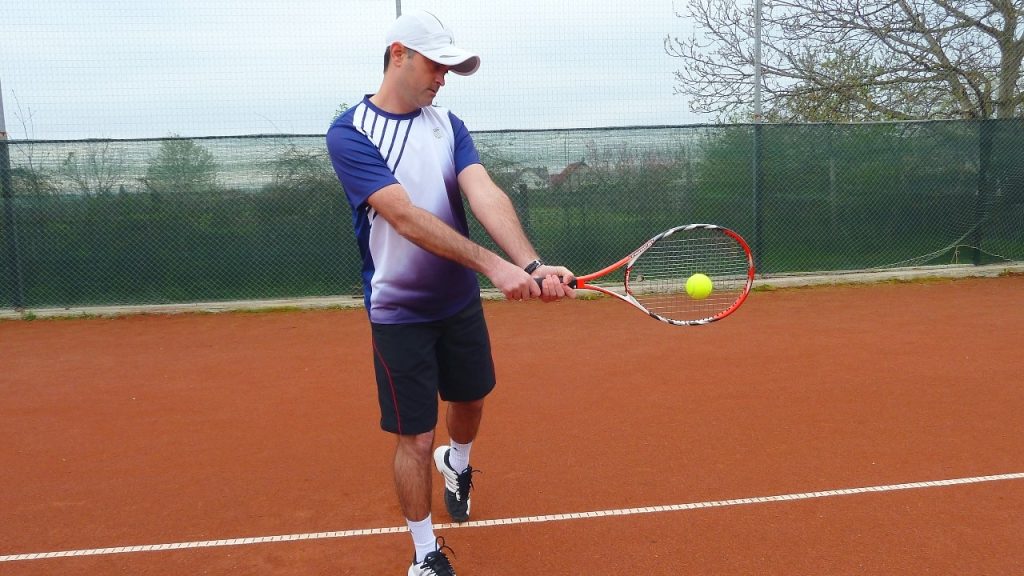
On the one-handed backhand, the hands separate during the forward swing, and the body stays more sideways. On the two-handed backhand, the hands stay together while the hips and shoulders rotate through the shot.
Your non-dominant hand also gets a new job. Instead of moving away from the ball, it must help swing the racket toward it. For me, as a right-handed player, that is the left hand.
In this progression, think of the non-dominant hand as the hand that swings and the dominant hand at the bottom as the hand that helps stabilize the racket at contact. That is the feeling we want to develop.
What You Need
- A tennis racket and tennis balls.
- An oversized ball, such as a volleyball, soccer ball, or basketball.
- A partner willing to feed easy balls, or a ball machine.
I use a volleyball borrowed from my younger daughter. Nothing complicated! I do not recommend a medicine ball because this is a coordination exercise, not a strength exercise.
If you do not have a larger ball, you can hold a tennis ball with both hands. There will simply be less space between them.
Drill 1: Teach Your Hands to Work Together
Start with the oversized ball
Hold the ball in both hands and imitate the shape of a two-handed backhand. Use this simple sequence:
- Bring both hands up, as though lifting the ball over an imaginary object.
- Lower the ball underneath that object to create a loop.
- Swing from low to high.
- Finish as though you were going to throw the ball over your shoulder, without releasing it.
As your hands move, let your hips and shoulders rotate. We are not trying to move the arms while keeping the body frozen. We are teaching the hands and body to work together.
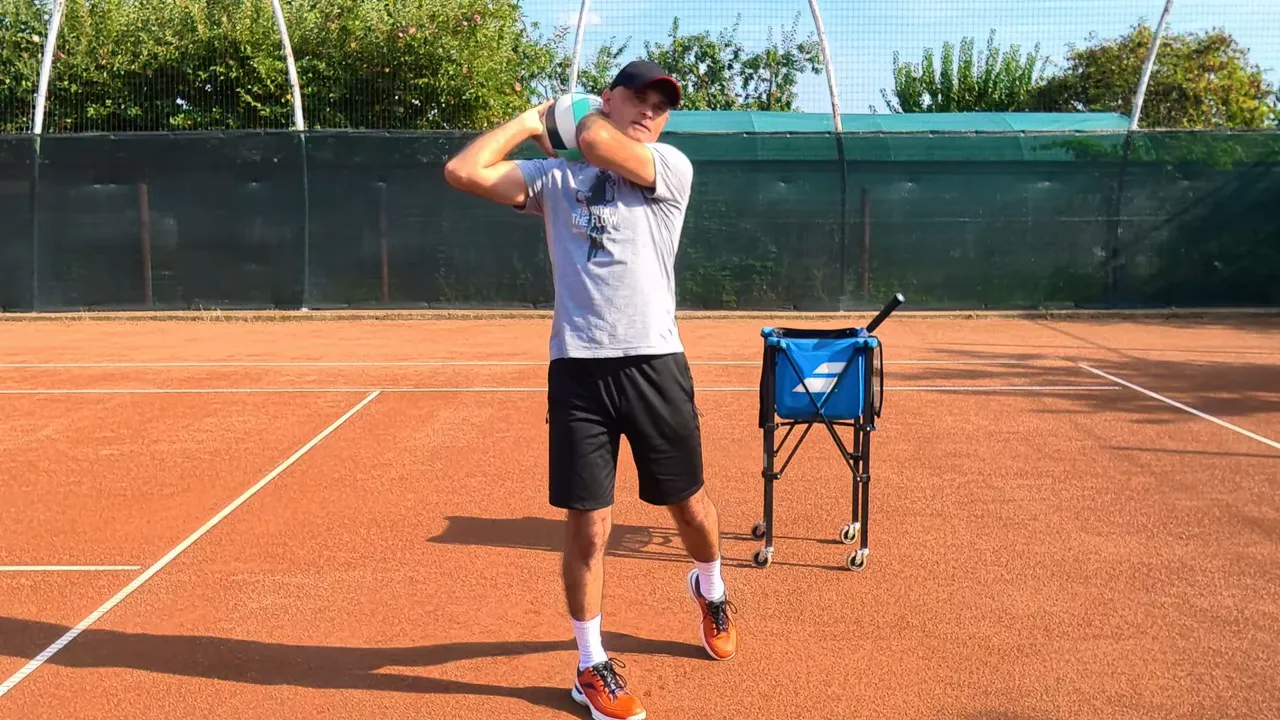
You can use an open stance or a square stance for this exercise. The stance is not the main concern here. Pay attention to the loop, the low-to-high swing, and the feeling of both hands traveling together.
Set your two-handed backhand grip
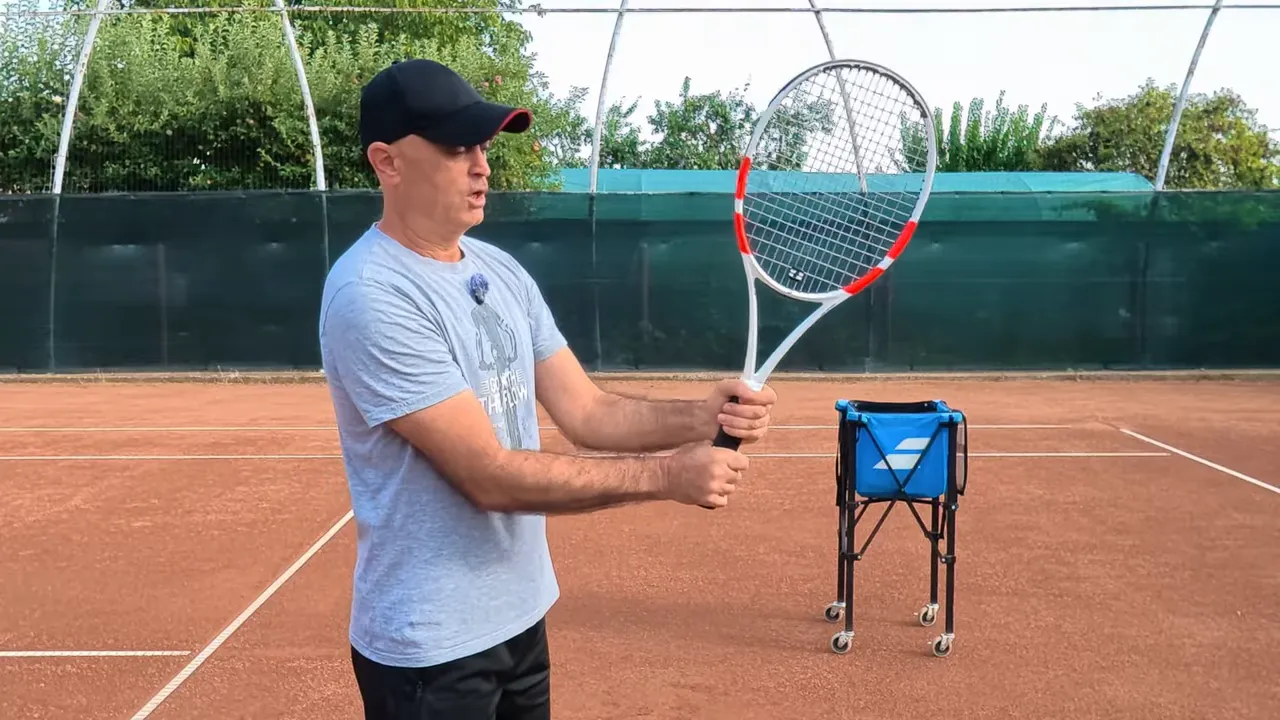
Before repeating the exercise with your racket, check your grip:
- Dominant hand: Place it at the bottom of the handle in a continental, or hammer, grip. Imagine using the edge of the racket to hammer a nail.
- Non-dominant hand: Place it above the dominant hand in a forehand grip, such as an eastern grip.
A useful way to find the upper hand position is to place that palm flat against the strings, then slide it down toward the handle until it meets the bottom hand.
Repeat the movement with your racket
Now put the ball aside and make the same motion with the racket: lift, drop, swing low to high, and finish over the shoulder. Keep hold of the racket throughout. The throwing image is only a way to picture the finish.
Let your hips and shoulders turn as both hands swing together. Spend enough time on these shadow swings to feel comfortable. There is no need to rush into hitting balls just because you understand the instructions.
Drill 2: Teach Your Non-Dominant Hand to Swing
Next, remove your dominant hand from the racket. Keep your non-dominant hand at the top of the grip, exactly where it belongs on the two-handed backhand. Leave the lower part of the handle available for the other hand.
Turn sideways, lower the racket, and swing low to high, finishing over your shoulder. You are essentially practicing a non-dominant forehand.
This is important because your non-dominant hand may be very comfortable moving backward during a one-handed backhand. Now we are asking it to do the opposite: swing toward the ball.
Make several shadow swings with that hand alone. Then add your dominant hand at the bottom and repeat the same swing. Try to preserve the feeling that the upper hand is swinging, rather than changing the movement completely when the second hand joins.
Add Easy Feeds: Four, Two, One, Then Both
Start just behind the service line with slow, easy feeds. Do not begin at the baseline with fast balls. When learning a new skill, you want time to focus on the movement instead of rushing to make contact.
I use a ball machine, but a partner can feed the same progression. If you practice independently, my ball machine tennis drills offer other ways to organize your sessions.
Work through these rounds:
- Four and four: Hit four balls with the non-dominant hand alone, then four with both hands.
- Two and two: Hit two balls with the non-dominant hand, then two with both hands. Repeat.
- One and one: Alternate one non-dominant forehand with one two-handed backhand.
- Both hands: Finish with a round of eight two-handed backhands.
Expect the single-hand shots to feel awkward, especially with your hand higher on the handle. That is okay. Your first job is not to get every ball over the net. It is to become comfortable swinging with the non-dominant hand.
When you add the second hand, keep the same priorities: start high, let the racket drop, swing low to high, and allow the hips and shoulders to rotate.
Build the Movement Before Judging the Result
The whole progression comes back to those two changes: both hands work together, and the non-dominant hand swings toward the ball instead of moving away.
Give yourself time with the oversized ball, the shadow swings, and the easy feeds. At this stage, where the ball lands matters less than learning the new coordination. Make the movement comfortable first, then continue developing the complete stroke.
|

0 Comments