In this tennis lesson, I explain where to execute the drive volley, the subtle technical differences from a forehand groundstroke, and a step-by-step progression of drills you can practice today. The goal is simple: take the ball early, hit with purpose, and move forward to finish the point.
Why the drive volley matters
The drive volley is an aggressive, attacking shot. Most of the time it is a put-away: you take the ball early and force your opponent into a defensive reply. Even when it doesn’t finish the point outright, it often produces a weak response that lets you close the rally.
In match play, the player who can consistently execute the drive volley converts pressure into points.
This drive volley tennis lesson focuses on repeatable mechanics and progressive drills so you can build that consistency.
Three technical differences from a forehand groundstroke
Technically, the drive volley is similar to a forehand (or backhand) groundstroke, but there are three important differences to remember:
- Contact happens in the air – you take the ball before it bounces.
- The point of contact is higher – aim to strike around the chest to shoulder level.
- The ball is dropping faster when taken in the air, so you must swing and aim higher or the ball will sail into the net.
Preparation and grip: how I set up
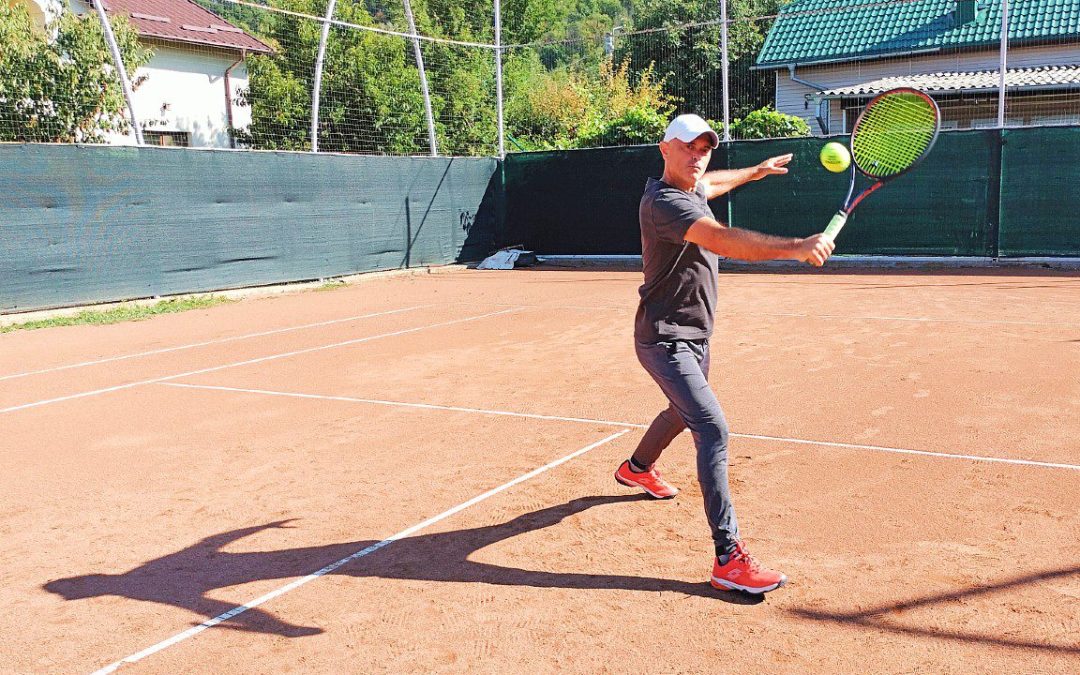
Grip: I use the same grip I do for a regular forehand groundstroke: either an Eastern (hand on bevel 2) or a Semi-western (bevel 3). Keeping that familiar grip helps the feel and timing when switching from baseline rallies to taking balls early.
Footwork and positioning: you will usually be well inside the baseline – around the service line or even closer to the net – when you prepare for a drive volley.
As soon as you see your opponent produce a high, floating return, move forward quickly. Good footwork and balance are the hardest parts of this shot because you need to get your body behind the path of the incoming ball quickly.
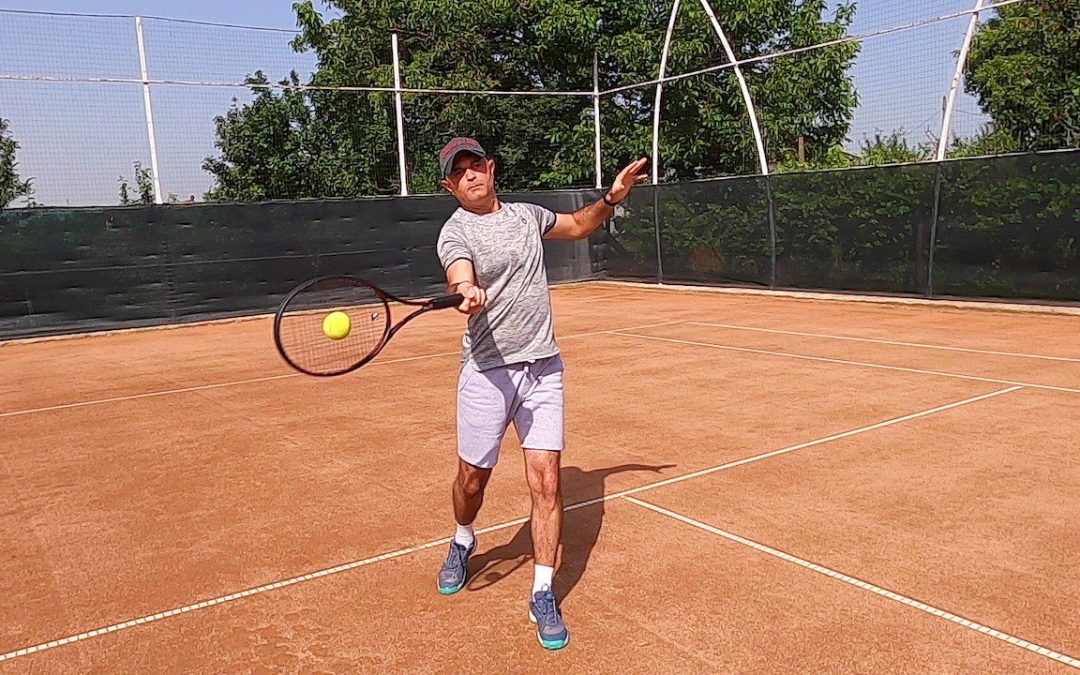
Body setup: load your weight on the outside (back) foot and bring the racket back with both hands. Keep your non-dominant hand on the racket neck to ensure a solid shoulder turn. Elbow slightly elevated; racket face roughly 45° pointing upward; dominant palm facing down; strings slightly angled down.
This setup is nearly identical to a forehand, except you will take the ball in the air.
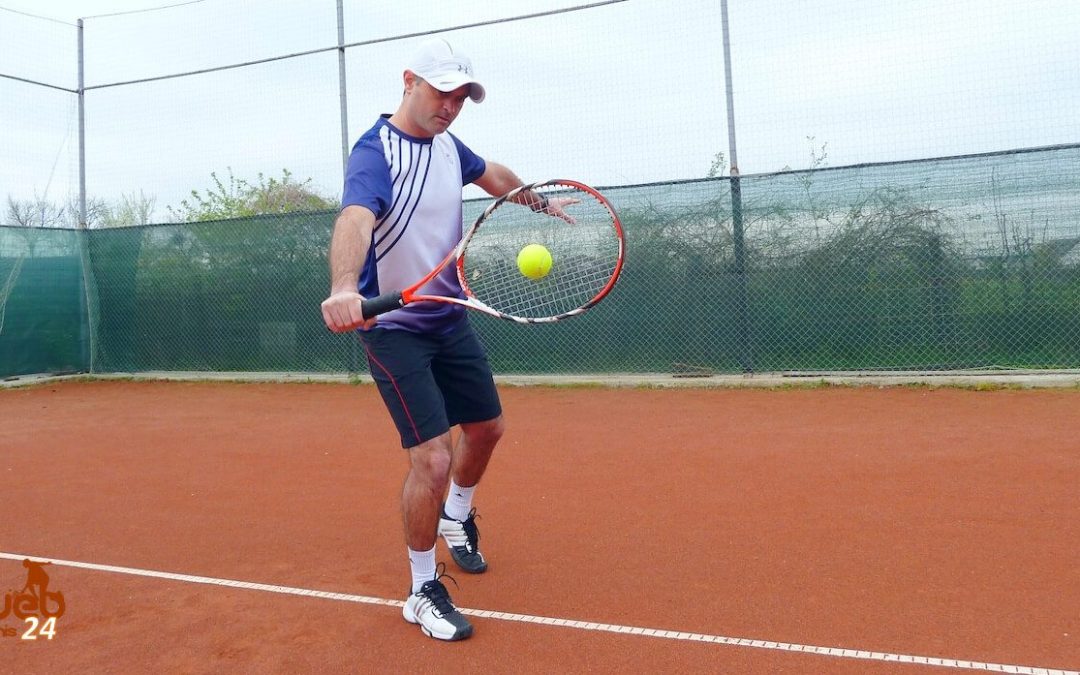
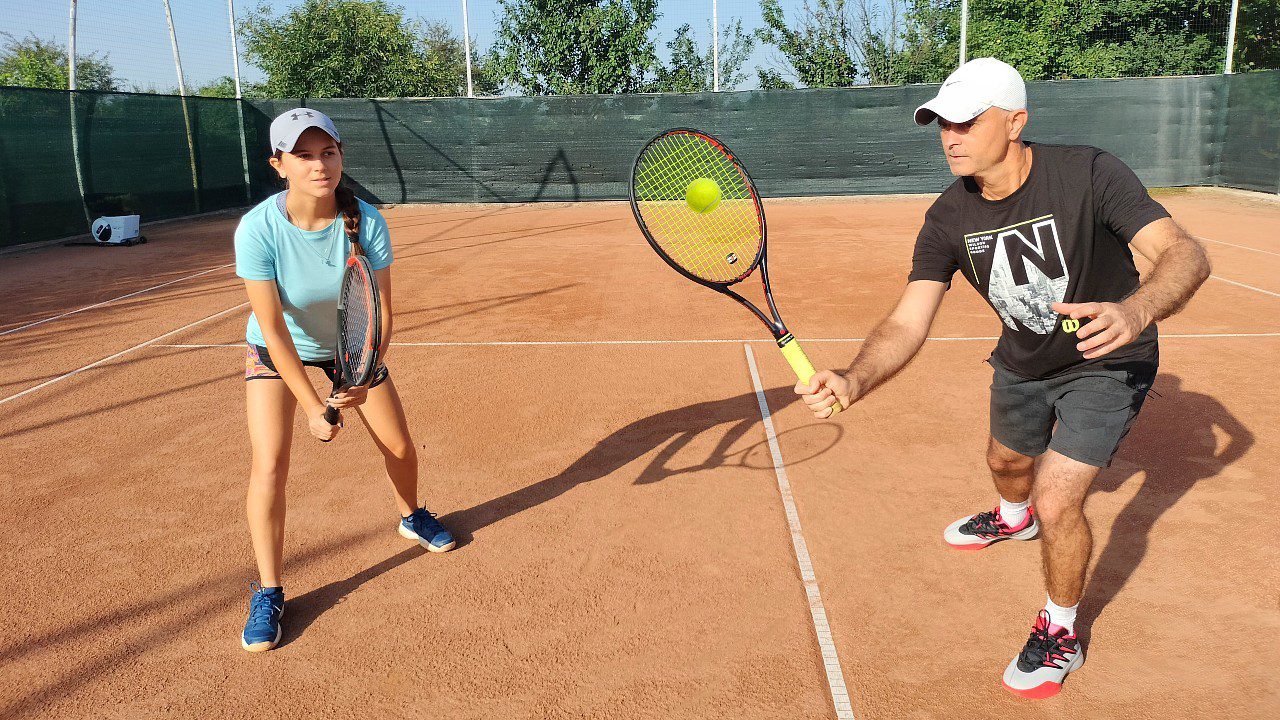
Contact: chest/shoulder level, short backswing, low-to-high
Where to hit: aim to make contact at chest or shoulder height – the higher you hit, the easier it is to clear the net. Letting the ball drop lower increases the chance of hitting the net.
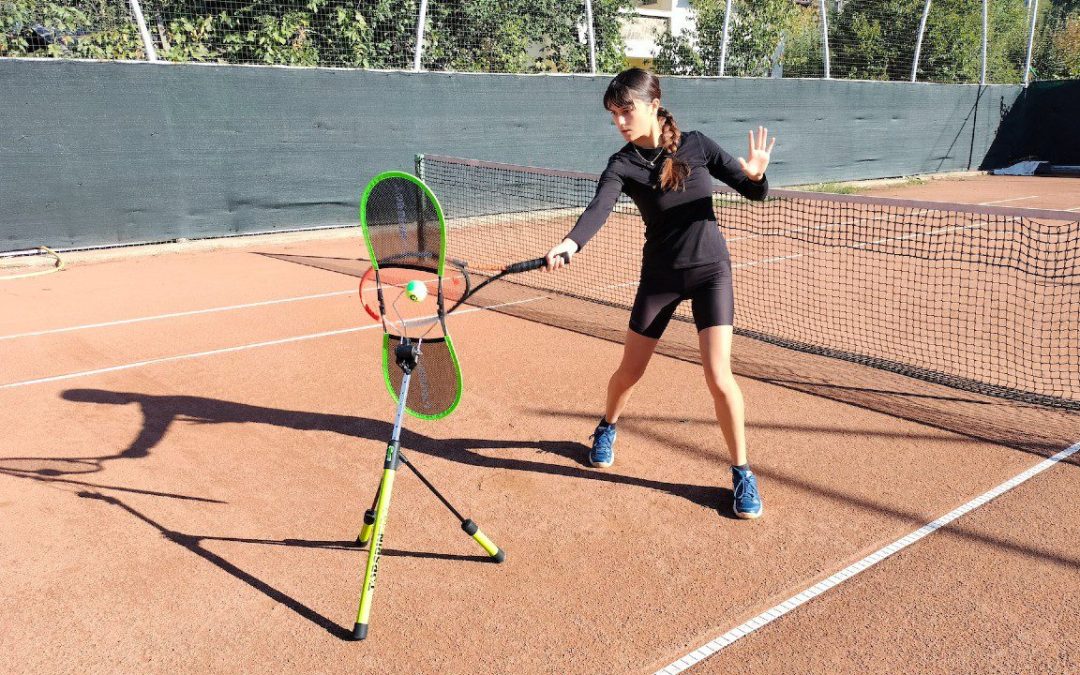
Backswing: keep it short. You don’t want a large wind-up. For the drive volley, the racket should stay just behind the incoming ball. Practice tossing balls up to yourself and see how the racket naturally drops into the correct position without a long take-back.
Swing direction: swing low-to-high. Because the incoming ball may have underspin or be dropping quickly, a low-to-high path helps lift and clear the net. Brush up and slightly across to add spin when appropriate.
Initiation: start the swing with the hips, then let the shoulders and arm follow. This sequencing keeps the shot compact and powerful without over-swinging.
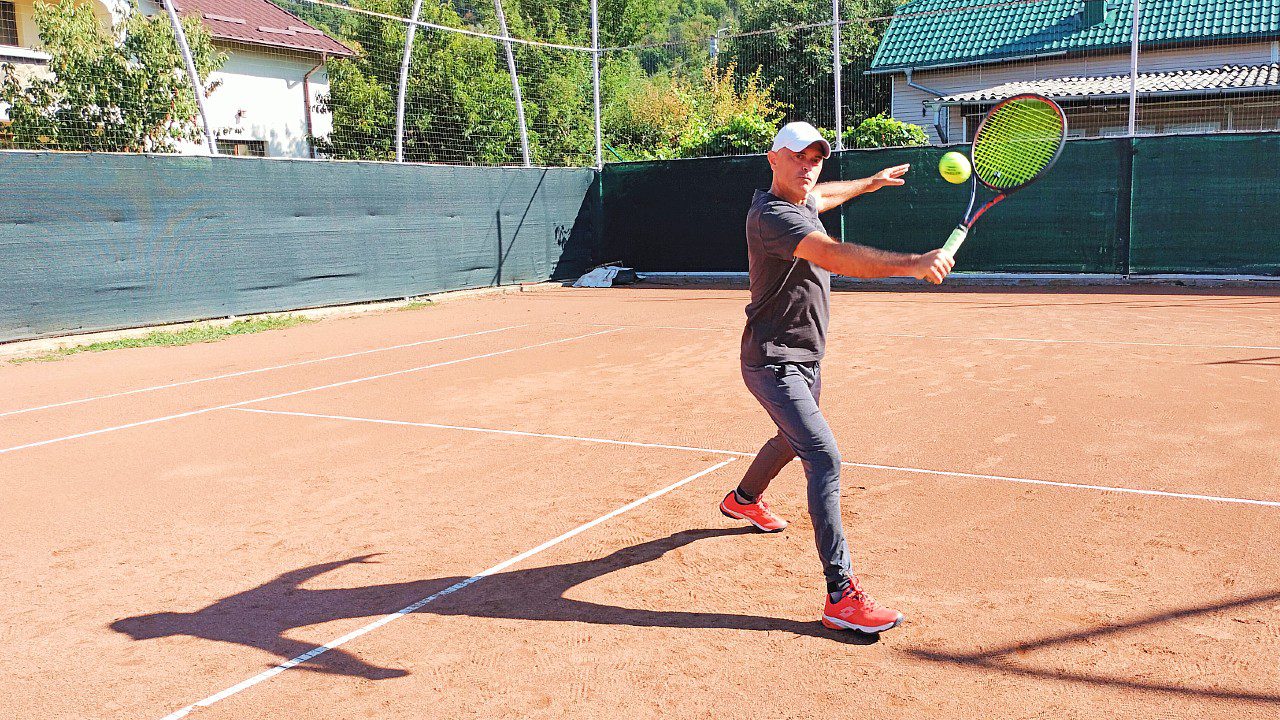
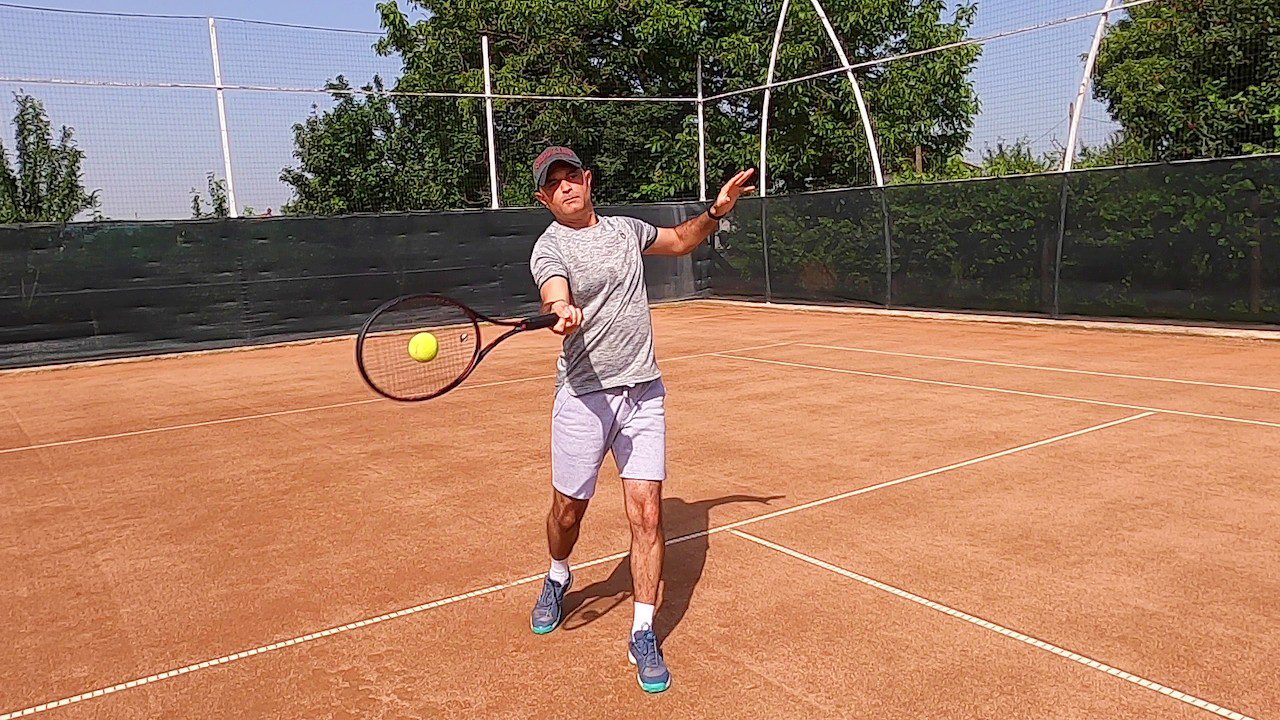
Follow-through: finish across the body and transfer weight
When you brush up and across the ball, the racket travels across your body and typically finishes near the waist. If you’re imparting more spin, the finish can end lower around the hips. After contact, transfer your weight from the outside foot onto the inside foot – finish with your whole body moving forward.
Net positioning after the shot: a successful drive volley usually results in a powerful ball that your opponent blocks back. Do not retreat to the baseline – move forward to the net and be ready for a finishing volley.
The drive volley should be followed by aggressive net coverage so you can convert the point.
Common mistakes and how I fix them
- Too big a backswing: This leads to timing issues and nets.
Fix: shorten the backswing – keep the racket just behind the ball and let the swing drop naturally.
- Contact too low: Hitting when the ball is below chest level makes it harder to clear the net.
Fix: step forward earlier and meet the ball higher.
- No weight transfer: Staying on the back foot reduces power and control.
Fix: consciously push weight from the outside foot to the inside foot as you swing.
- Finishing with the racket too high: If you’re not brushing the ball, you may lack spin.
Fix: brush up and across to finish nearer the waist for extra spin and control.
- Retreating after the shot: Moving back to the baseline gives your opponent time.
Fix: immediately approach the net after your drive volley and prepare to volley again.
Final tips and review
Keep the grip you use for your forehand. Anticipate early and get your outside foot behind the ball as soon as you see a floating return. Short backswing, contact at chest or shoulder height, low-to-high swing path, brush across for spin, and finish with weight on the inside foot. After the shot, move forward and be ready to finish the point with a volley.
I’ve found the drive volley to be one of the most satisfying offensive shots – play it aggressively and with good footwork.

FAQ / Frequently Asked Questions
Q: Where should I stand to hit the drive volley?
A: Generally well inside the baseline – around the service line or closer to the net. You want to be positioned so you can take the ball early at chest/shoulder height.
Q: What grip do you recommend for the drive volley?
A: Use the same forehand grip you already use – eastern (bevel 2) or semi-western (bevel 3). This keeps the feel and mechanics consistent with your groundstroke.
Q: How high should I make contact?
A: Aim to make contact around chest to shoulder level. The higher the contact (within reason), the easier it is to clear the net and dictate the point.
Q: Should I follow the shot to the net?
A: Yes, always move forward after a drive volley. The shot is usually heavy, and opponents often block the return. You should be in a position for a finishing volley rather than retreating to the baseline.
Q: How can I practice this alone?
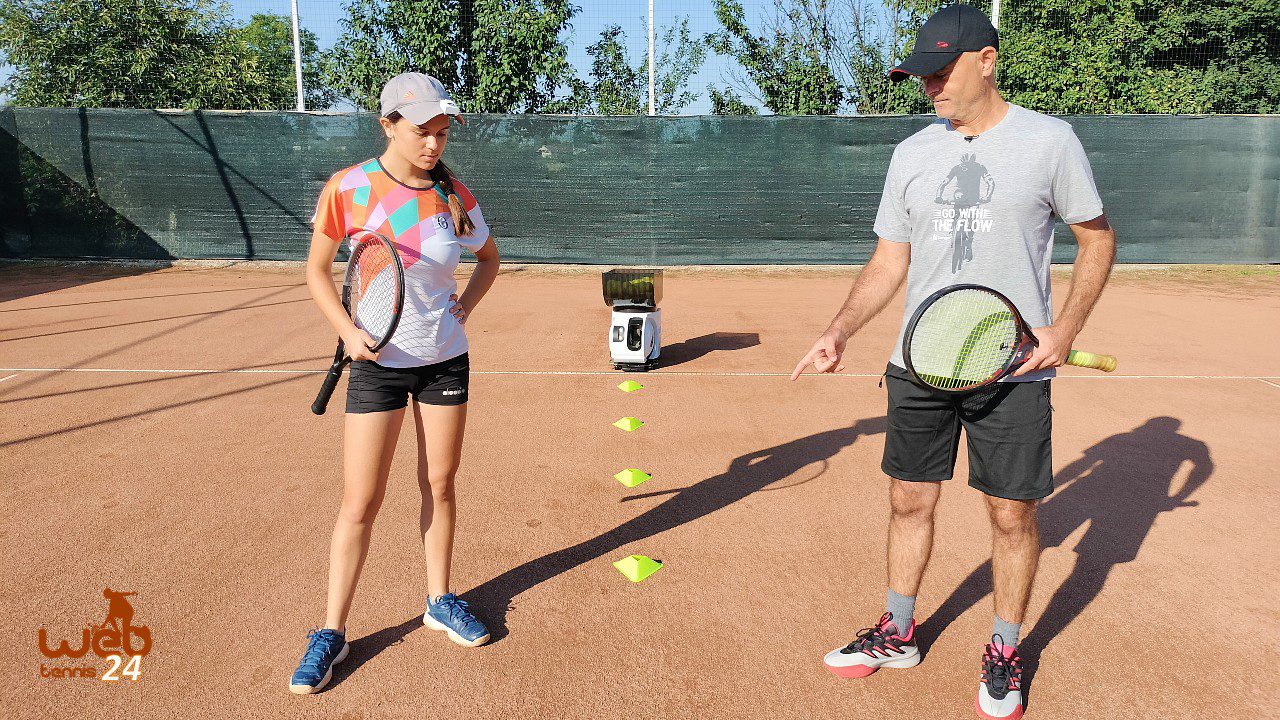
A: Start with tosses to yourself, then use a ball machine or feed from a basket. Focus on short backswing, chest-level contact, and low-to-high finish. Gradually add movement and match-like feeds.
Closing
This drive volley tennis lesson lays out the technical essentials and a practical progression you can use on the court. Keep your backswing short, contact the ball higher than a groundstroke, swing low-to-high, and always move forward to finish the point.
Have fun with it – it’s an aggressive, rewarding shot that changes the match when executed well.