Train Your Put-Away Shots with This Advanced 3-Shot Pattern 🎾
Tennis Drill for Advanced Players: 3-Shot Put-Away
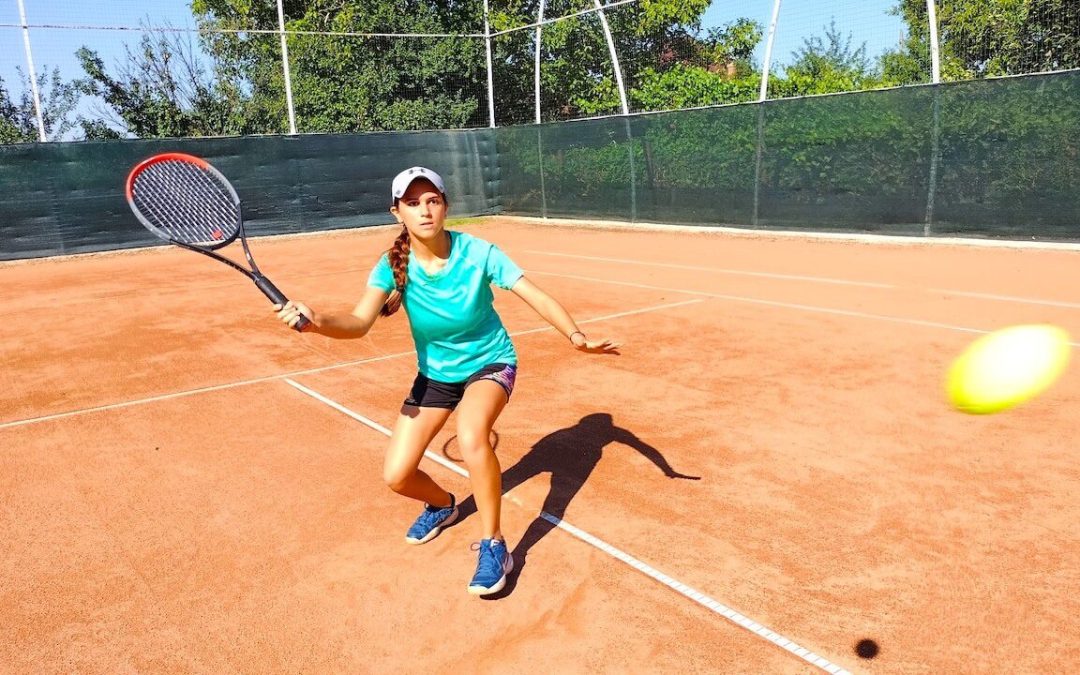
This tennis drill for advanced players trains three decisive put-away shots in sequence: a topspin lob, a short-ball drive, and an aggressive drive volley.
The goal is simple and ruthless – move from defense to offense in three strikes and finish the point with intention. Use it to sharpen timing, footwork, and the mental habit of attacking when the opportunity appears.
Why this drill matters
At higher levels, points are rarely won by pure consistency alone.
Winners come from a combination of smart defense, instant transition to offense, and clean execution at the net.
This tennis drill for advanced players replicates a common rally pattern: set up with an offensive lob, seize a short ball, and close with a put-away volley.
Practicing this chain builds muscle memory for moving forward, striking with purpose, and finishing points under pressure.
What you need
- A ball machine or a committed feeding partner who can deliver three-shot sequences: deep, short, then high into the net area.
- Full court so you can practice both cross-court and down-the-line patterns.
- Focus on intent – this drill is about winning the rally, not just getting shots back.
A programmable machine like the Pongbot Pace S Pro works particularly well because you can set realistic shot sequencing and pace.
If you train alone, a machine removes inconsistencies in the feed and lets you repeat specific patterns until they become automatic.
Drill setup and sequence
- Start at the baseline.
- The machine or feeder sends three shots: deep to your forehand/backhand (topspin lob), then a short ball into the service box, and finally a high feed for a drive volley near the net.
- On the first shot, play an aggressive topspin lob that forces the opponent back or gives you time to approach.
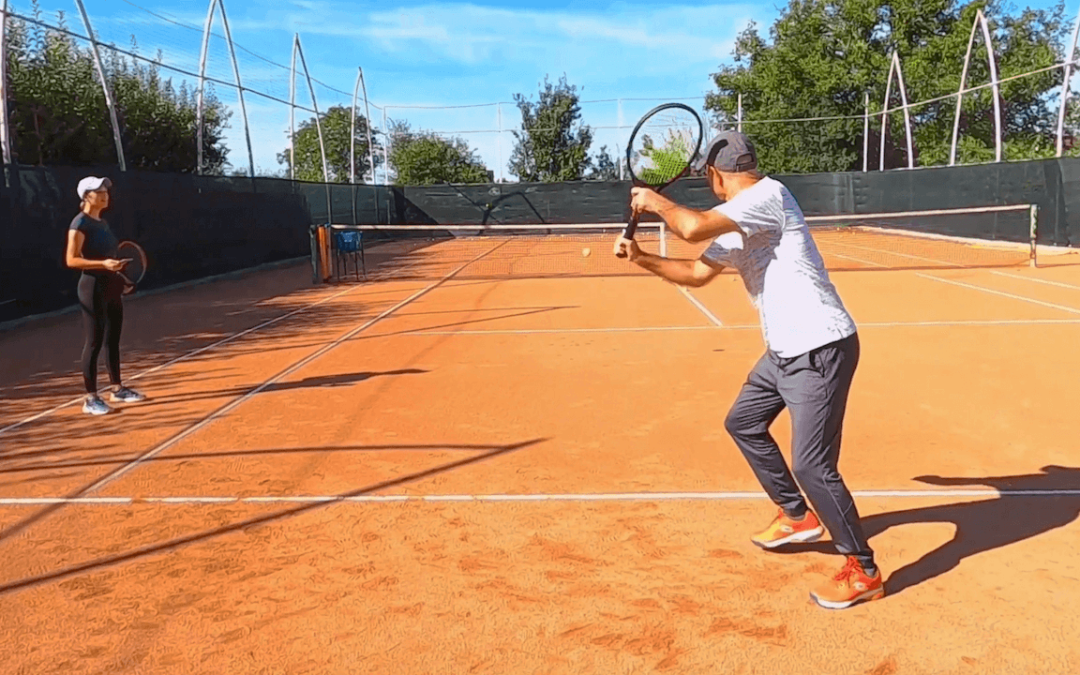
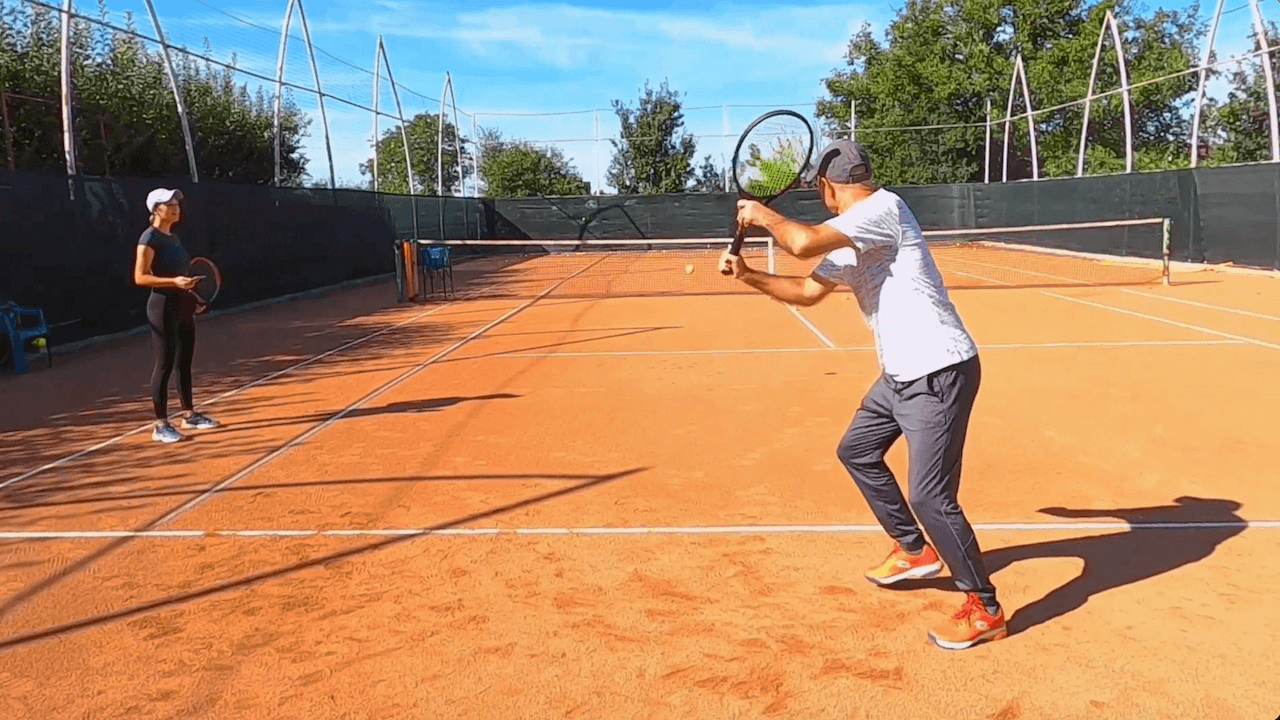
- Move forward quickly for the short ball and hit a hard, flat, or topspin drive aimed to end the point – treat it like a put-away groundstroke.
- Close the sequence by charging the net and taking the high ball with a drive forehand volley – again with put-away intent.
- Repeat the sequence on the forehand and backhand sides to develop both-wing competence.
Technical cues for each shot
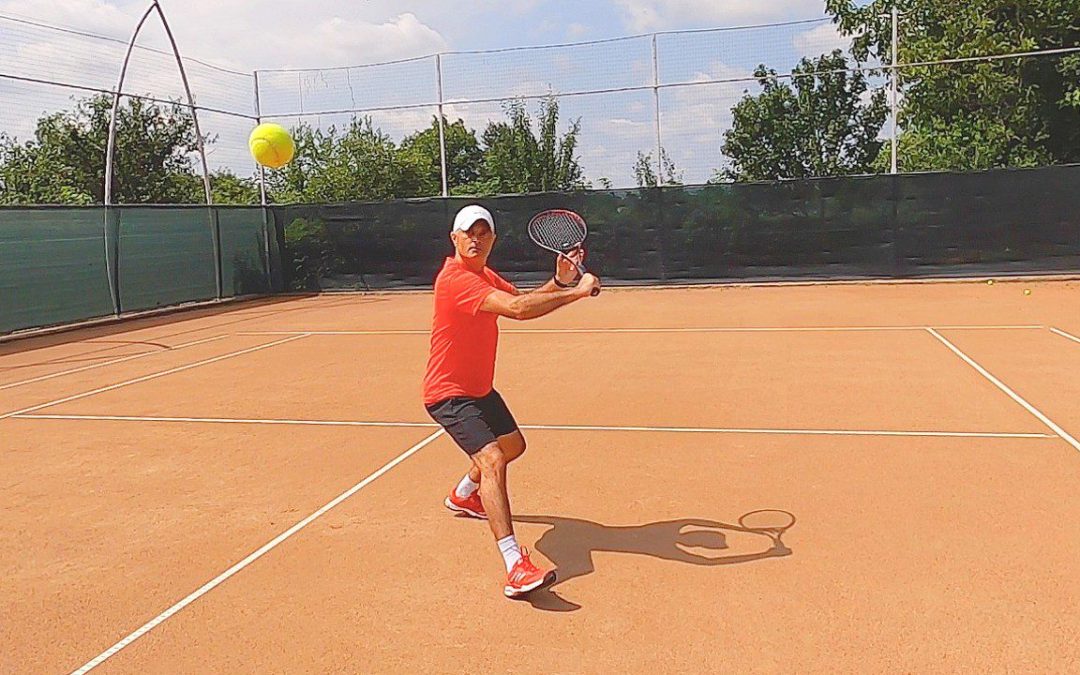
Topspin lob
The lob can both reset your point and create a new point. Concentrate on hitting the ball up and through with a low-to-high path of the swing.
To generate spin, you will need to brush up the ball. Move your weight onto your back foot and aim a little bit deeper to get the opponent to push back.
It is not a defensive moonball but an aggressive, looping tosser that carries you forward.
Short-ball drive
Approach the ball with a load on your legs and step through it.
Your objective is to hit the ball so hard and so flat that it is almost impossible for the opponent to catch it.
If you have to, give preference to the placement rather than just the strength: a steep cross-court angle or an inside-out drive to the weaker side of the opponent are the perfect options.
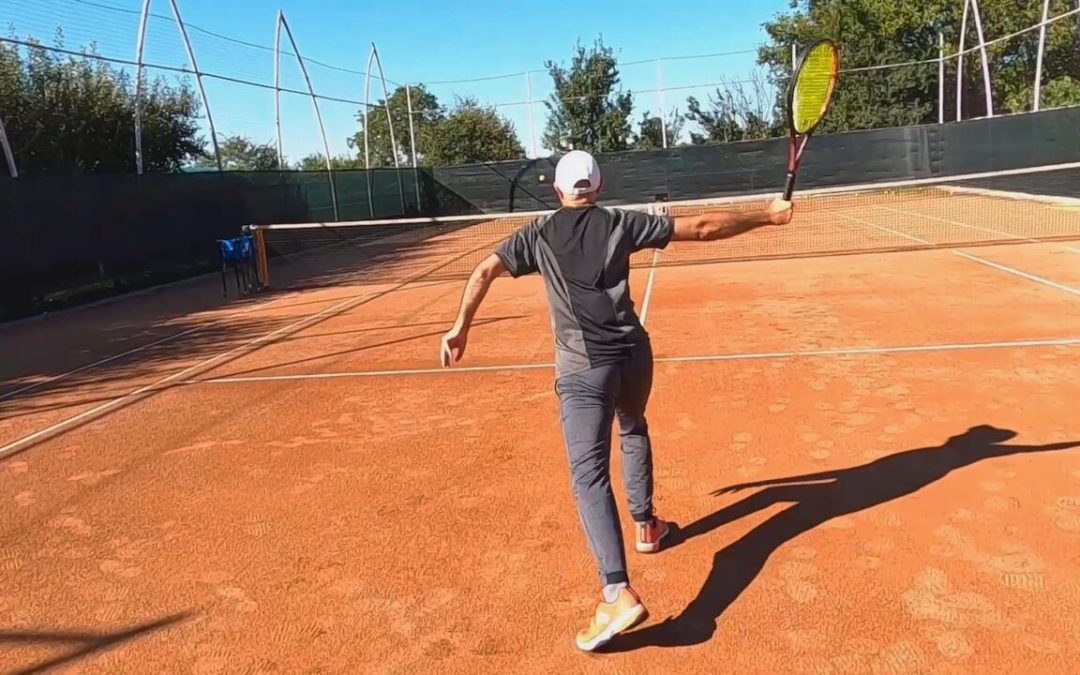
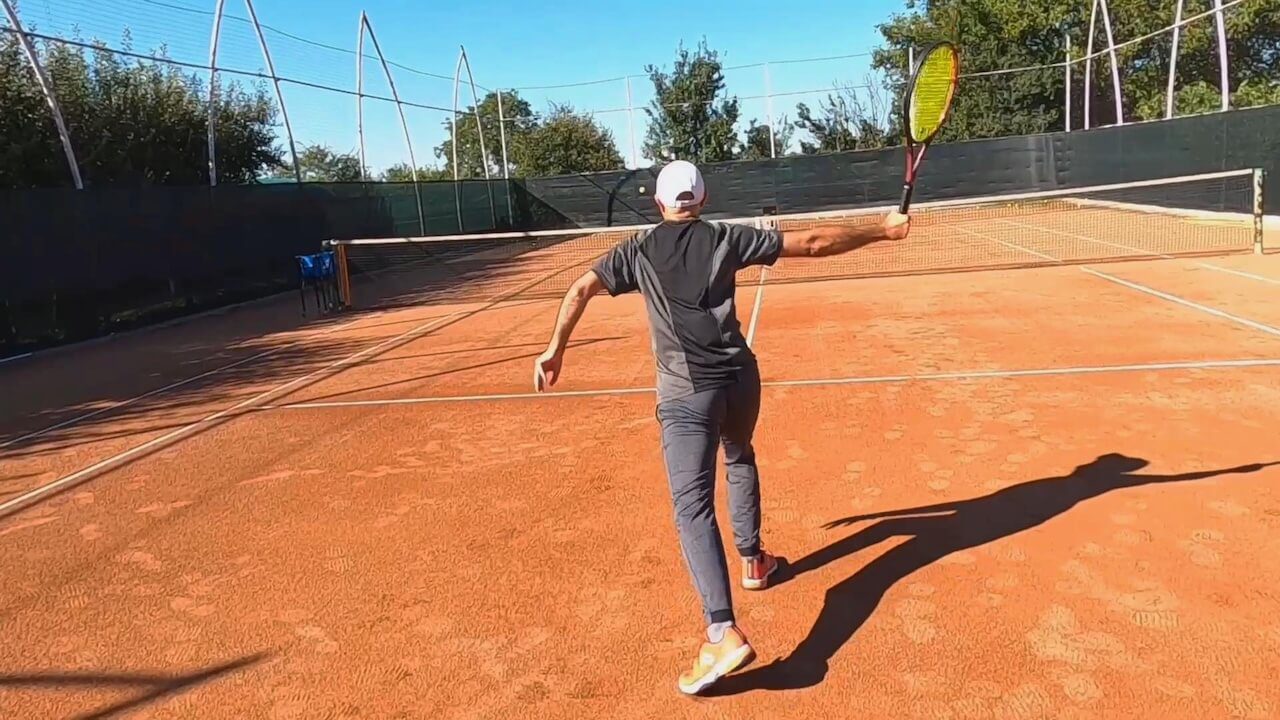
Drive volley
On the volley, get your racket out early and punch through the ball with a firm wrist and forward momentum.
Keep your racquet face slightly closed to avoid popping up.
Move your feet aggressively so the shot is taken out in front.
The line of attack should be low to medium with a decisive follow-through, aiming to end the point either with depth or an angle.
Footwork and movement patterns
Footwork is the glue that makes these three shots work as a sequence.
From the baseline, use small, quick steps to set up for the lob.
After the lob, explode forward into the court to reach the short ball.
After the drive, close the distance to the net with controlled steps and set your base for the volley.
Alternating between cross-court and down-the-line patterns, you should practice approaches. Changing the path of your approach not only tests your balance but also enhances your real-match adaptability.
Practice structure and progressions
- Warm up with simple feed-and-return drills for 10 minutes.
- Run the 3-shot put-away sequence for 8 to 12 reps per side, alternating cross-court and down-the-line targets.
- Take a short rest, then repeat 3 to 4 sets total. Focus on quality over quantity.
- Progress by increasing ball pace, adding unpredictability in feed depth, or having the feeder sometimes mix in a low-skidding short ball to force quicker adjustments.
- Advanced variation: have the final ball come slightly higher or deeper to simulate a real opponent’s defensive reset – this tests volley timing under different trajectories.
Common mistakes and fixes
- Too passive on the lob – Fix: hit a penetrating topspin lob, not a passive moonball. Use weight transfer to make the lob a weapon.
- Rushing the short ball – Fix: ensure your base is set before you swing. Take one compact preparation step and then explode through the shot.
- Late racket preparation for the volley – Fix: read the short ball early and get your racket ready while moving forward. Take the volley out in front.
- Poor footwork closing to the net – Fix: practice split-step timing and short explosive steps; never leap awkwardly into the volley.
Coaching checklist
- Topspin lob: contact point early, low-to-high swing, depth over height.
- Short-ball drive: step in, shoulders turn, hit with intent.
- Drive volley: racket out early, take ball in front, compact punch.
- Movement: aggressive forward momentum, controlled approach steps, and recover quickly after each rep.
Sample 60-minute practice plan using this tennis drill for advanced players
- 10 minutes of dynamic warm-up and groundstroke warm-up.
- 10 minutes of technical practice focusing on the topspin lob mechanics.
- 20 minutes 3-shot put-away drill (4 sets of 8-12 reps) alternating sides and directions.
- 10 minutes of volley-only practice to reinforce drive volley mechanics.
- 10 minutes match-play points starting from lob-to-short transitions.
Equipment note
If training alone, a programmable machine that reproduces realistic rally sequences makes this drill far more effective.
A ball machine that can send deep, short, and high balls in controlled sequences lets you repeat the pattern until your timing and footwork are automatic.
FAQ
How should I set the ball machine for this drill?
Program three-shot sequences: a deep topspin feed to push you back, a short ball into the service box, and a higher feed around the net height for the drive volley. Adjust pace to your level and gradually increase speed as you improve.
Can a lower-level player use this drill?
Of course, but make the drill easier. Begin with a slower feed and instead of emphasizing aggressive shots, focus on the proper footwork and technique right away. In the initial stage, change the direct shot placement to a more controlled shot without poor execution.
What is the main tactical takeaway?
The exercise is designed to cultivate the ability to shift from defensive to offensive and score points with intent. It trains players to immediately identify and make use of short balls, thereby inhibiting a moment of doubt at the time when a put-away chance surfaces.
How do I practice the backhand side?
Perform the same sequence on the backhand wing where you practice both the topspin backhand lobs and the short backhand drives, followed by a backhand volley or a forehand volley if you choose to redirect. Change the feed direction to concentrate on the inside-out and down-the-line patterns.
Final note
This tennis drill for advanced players is the one that links the recovery approach to the finishing of the point. So train it with the right focus, keep it aggressive, and consider it primarily the correct footwork and early racket preparation.
For a drill that is customized for a specific technical or tactical deficiency, you identify the problem and then create a direct development that is solely intended to remedy that problem.